A clipping path is a digital tool used in image editing to isolate a specific part of an image, usually an object or person, from its background. In fashion photography, clipping paths are essential for creating clean, professional-looking images that focus on clothing and accessories without any distractions.
Before diving into essential clipping fly techniques for fashion photography, let’s first discuss what are the benefits of clipping paths for fashion photography.
Benefits of Clipping Path Techniques for Fashion Photography
The benefits of using clipping paths in fashion photography are numerous. First and foremost, it allows for a clean and professional look by removing any distracting elements from the background. This is especially important for showcasing the details and craftsmanship of the clothing. Additionally, clipping paths provide creative flexibility, enabling photographers to place their subjects on different backgrounds or compose unique layouts.
However, creating clipping paths in fashion photography comes with its own set of challenges. Fabrics and hair often have intricate details and soft edges, requiring precise and meticulous work to achieve a realistic cut-out. Moreover, the process can be time-consuming, especially when dealing with complex images featuring multiple subjects or elaborate clothing.
Below, we’ll explore essential tools, professional tips, and advanced strategies to help you master this crucial skill in fashion photography.
Essential Clipping Path Techniques for Fashion Photography
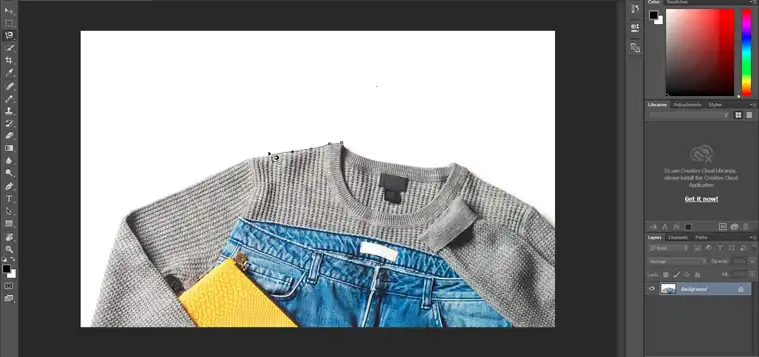
Basic Clipping Path
A basic clipping path is the foundation of all clipping path techniques. It involves creating a simple outline around an object with well-defined edges against a solid or easily distinguishable background. This technique is best suited for images with uncomplicated subjects and backgrounds.
To create a basic clipping path in Photoshop:
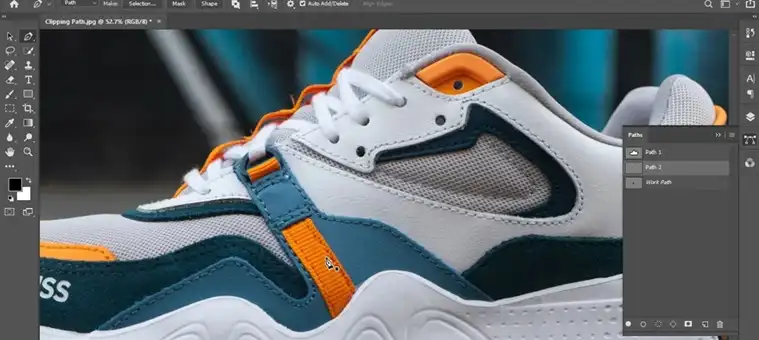
Pen Tool Technique
The Pen Tool is the most precise and versatile tool for creating clipping paths, particularly for images with complex edges and fine details. It allows you to create paths using anchor points and adjustable curves, giving you complete control over the outline.

To use the Pen Tool effectively:
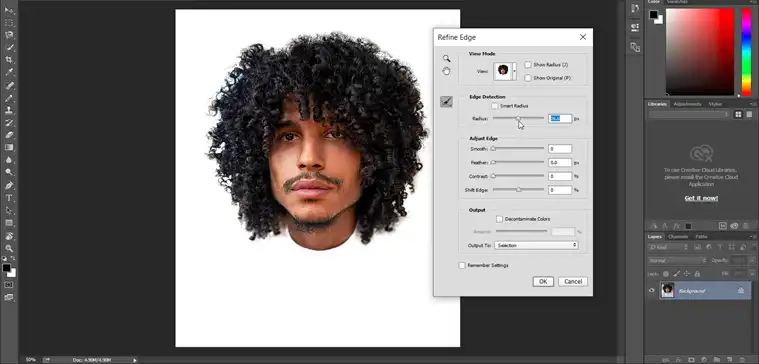
Refine and Adjust
After creating your initial clipping path, it’s crucial to refine and adjust the outline for a seamless and realistic cut-out. This involves fine-tuning the edges, removing any stray pixels, and softening the transition between the subject and the background.
To refine your clipping path:
Advanced Techniques
In addition to the Pen Tool, there are other advanced clipping path techniques that can be useful in specific situations:
Magnetic Lasso Tool: This tool is helpful for quickly selecting objects with well-defined edges. It automatically snaps to the edges of an object as you move your cursor around it. However, it may struggle with more complex or low-contrast edges.
Color Range Selection: This technique allows you to select pixels based on color similarities. It can be useful when working with subjects that have distinct colors or tones, such as a brightly colored garment against a neutral background.
Clipping Path Professional Tips and Techniques for Fashion Photography
Choosing the right software is crucial for efficient and precise clipping path work. Adobe Photoshop is the industry standard, offering a wide range of tools and features specifically designed for image editing. Other popular alternatives include GIMP, a free and open-source program, and online tools like Pixlr or Photopea, which provide basic clipping path functionalities.
When working with different fabrics:
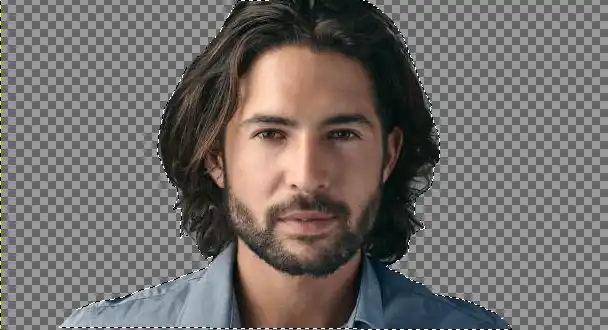
When working with hair:
Hair flyaways and transparent clothing can be particularly challenging when creating clipping paths. For hair flyaways, use the Refine Edge brush to paint over the loose strands, allowing the tool to include them in the selection.
For transparent clothing:
When working with transparent clothing, create separate paths for the transparent areas and use layer masks to control their opacity.
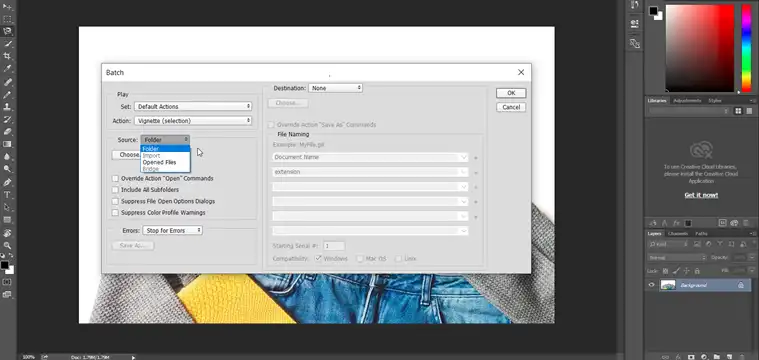
How to batch process:
To save time when working on multiple images with similar clipping path requirements, consider using batch processing:
How to Maintain Quality:
Quality assurance is paramount when creating clipping paths for professional fashion photography. Always zoom in to various areas of the image to check for precision and consistency. Use the “View” menu to switch between different background colors to ensure no stray pixels or edges are visible. Double-check the final product at 100% zoom before saving or exporting.
Sum Up
Don’t be afraid to push yourself out of your comfort zone and tackle more challenging images. With time and dedication, you’ll develop an eye for detail and a steady hand, allowing you to create seamless clipping paths efficiently.
Remember, even the most experienced professionals continue to learn and refine their techniques. Stay up-to-date with the latest software updates and industry trends, and consider investing in online tutorials, courses, or workshops to further enhance your skills.
FAQ
Can clipping path techniques be used for other types of photography besides fashion?
Yes, clipping path is useful for any genre where you need to isolate subjects from their backgrounds, such as product photography or still life.
How long does it typically take to create a clipping path for a fashion image?
The time required depends on the complexity of the image and the desired level of precision. Simple images may take a few minutes, while more intricate ones can take several hours.
What type of images are not suitable for clipping paths?
Images with intricate or wispy edges like fur, smoke, or intricate foliage often do not work well with clipping paths. The edges end up looking too defined and unnatural. In these cases, other techniques like masks or compositing may work better.
Are there any automated clipping path tools available?
While there are some AI-powered tools that attempt to automate the process, they often struggle with complex edges and fine details. Manual clipping path techniques still provide the most precise and reliable results for professional-quality work.