As a graphic designer, I often need to ensure my Canva projects bleed fully to the edge of the page for printing. An inadequate bleed can result in annoying thin white lines or gaps around the edges. So I always opt for the built-in 3mm bleed – it provides a flawless edge-to-edge print every time!
In this article, I’ll walk through just how quick and easy it is to add this ideal bleed size to any Canva design. Whether you’re a fellow designer or small business owner looking for print-ready graphics, these simple steps will have you bleed confidently in no time!
Is 3mm the Default Size of the Bleed?
Yes, the default bleed size in Canva is 3mm on each edge. This standard bleed allows for a margin of error during the printing and trimming process for professional quality results.
Many professional printers recommend having at least a 3mm bleed for the best printing quality. This bleed size ensures artwork can extend fully to the edge after trimming, preventing any white gaps if the paper shifts during commercial printing.
So the 3mm bleed is perfectly suited for crisp, high-quality, full-bleed printing. It provides the right amount of tolerance for potential inconsistencies in commercial printing and cutting workflows.
Adding the Default 3mm Bleed in Canva
Adding the standard 3mm bleed in Canva to your designs only takes a few quick steps:
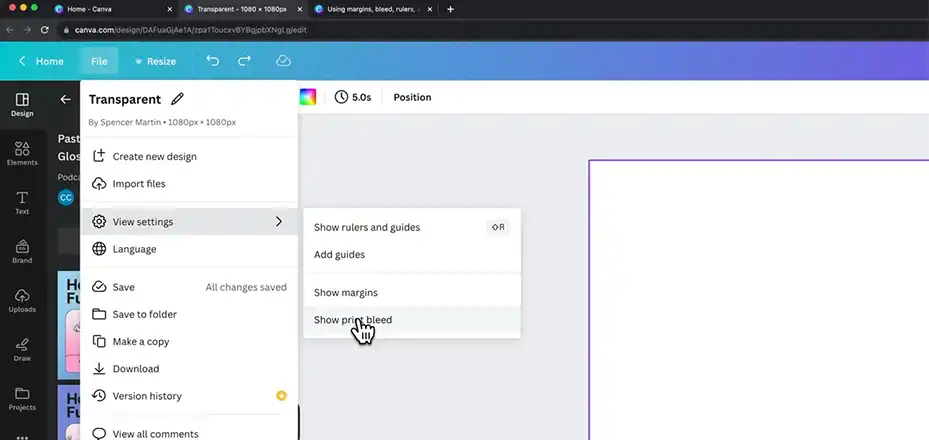
Step 1. Enable Bleeds in Canva
- Open your design.
- Click File then View Settings.
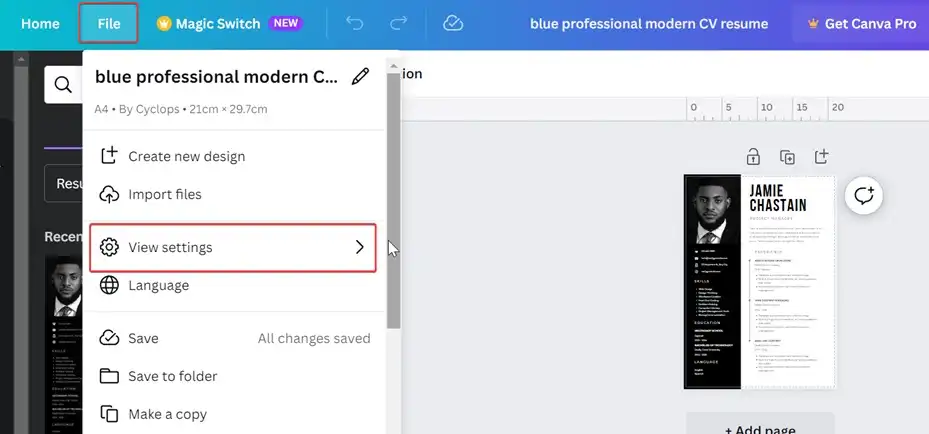
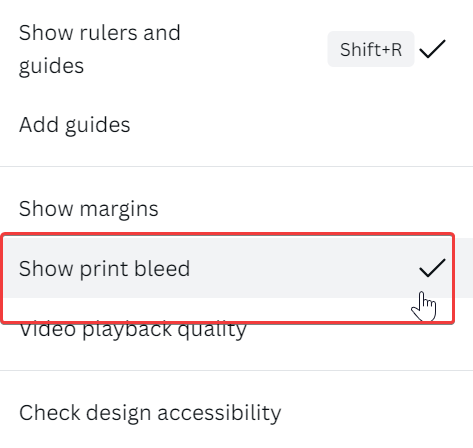
- Select Show Print Bleed to enable 3mm bleeds, shown by dotted lines around the edges.
Step 2. Check and Set Up Proper Bleeds
- Examine your design edges for gaps where the background does not extend to the bleed area.
- Stretch or resize any images/elements to cover potential gaps and fill the bleed area.
Step 3. Download Print-Ready PDF
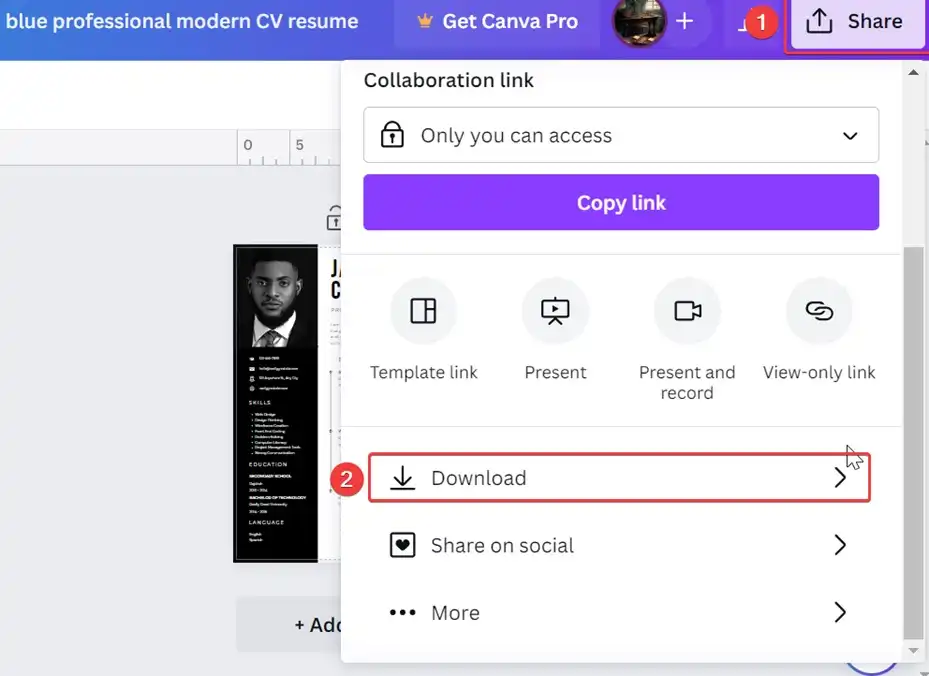
- Click on the Share button, scroll down, and click on Download.
- Set File Type to PDF Print, and enable Crop Marks and Bleeds.
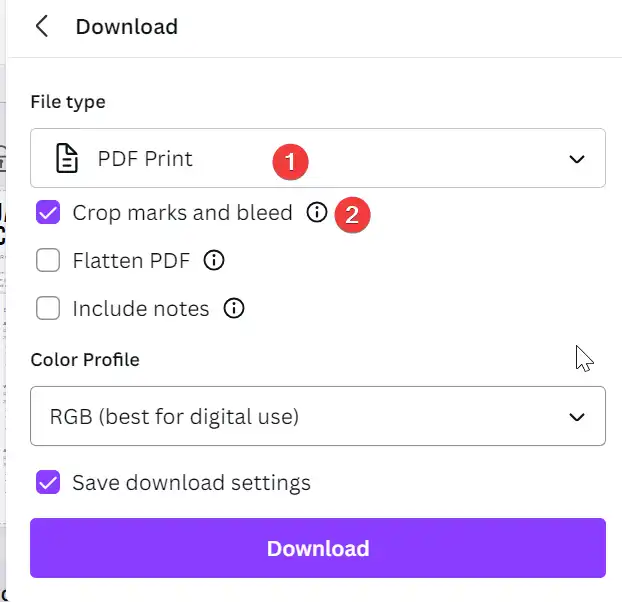
- Click Download then save the PDF file with bleeds to your device.
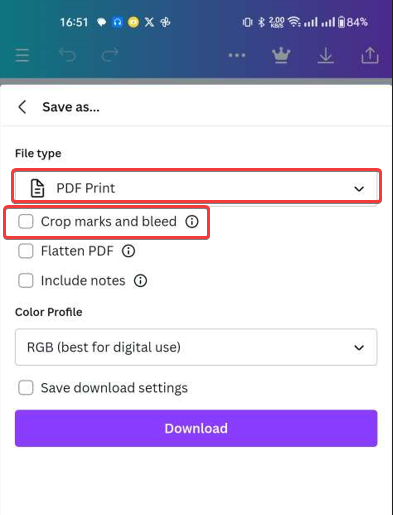
See, how easy the work is! Just follow the steps and you will get a 3mm bleed on your design. If you are using a smartphone, the steps are similar. To open the menu, tap on three dots at the top right portion, and follow the aforementioned steps to add the bleed option.

After that, tap on the share button at the top right corner, and follow Step 3 to visible and download.

Can You Edit the Bleed Size in Canva?
No, you cannot adjust or change the bleed size in Canva.
When you enable the print bleed feature in Canva under View Settings, it automatically adds a fixed 1/8 inch or 3mm bleed allowance around the edges of your design. This bleed size is not configurable or customizable within Canva.
So while Canva provides a standardized bleed for print projects to ensure content extends beyond the trim lines, it does not provide options to set a custom bleed width like some other professional design programs.
Conclusion
After 20+ years working in design, I can truly say Canva’s default 3mm bleed totally takes the guesswork out of preparing files for professional printing. I just love how they have that perfectly calibrated extra bit of padding built right in. No more fiddling with complex software settings! Now I can focus purely on creating gorgeous graphics rather than technical qualifications. So if you ever need to add bleed for a print project, remember – simply open Canva’s size panel and their flawless 3mm default bleed makes the rest easy. I guarantee it will have you bleeding like a pro on any document or product in just click!