Making clipping masks in Illustrator is a handy way to crop or hide parts of objects behind other stuff. I can use one thing to cut out a piece of something under it. Doing this with just one shape is easy peasy. But multiple shapes let me get way more creative and make real snazzy effects!
In this article, I’ll walk you through how to whip up a clipping mask using a bunch of different shapes in Illustrator. We’ll go step-by-step from start to finish. By the end, you’ll be a pro at making complex clipping masks for all your designs. So let’s get crackin’!
Steps for Making a Clipping Mask in Illustrator with Multiple Shapes
Follow these key steps to make a clipping mask with several shapes in Illustrator:
Step 1. Create Your Shapes
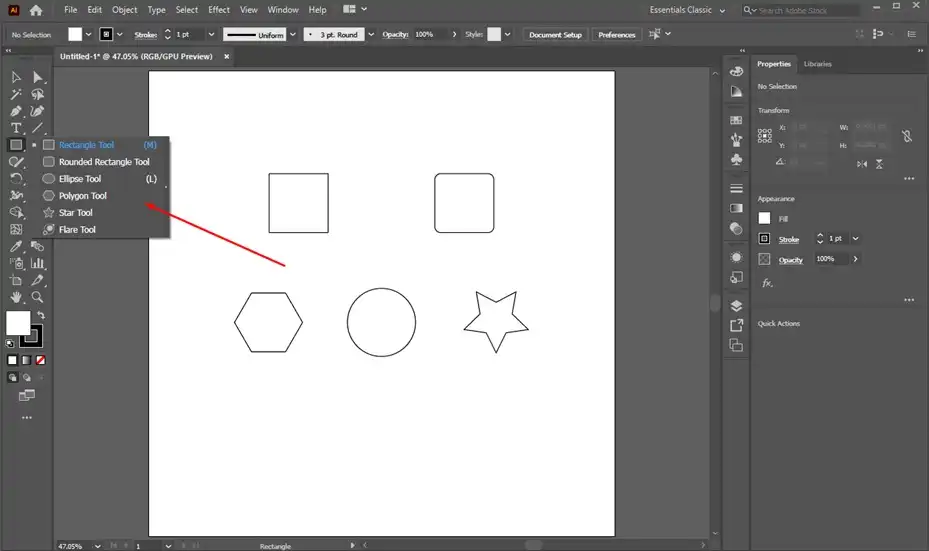
First, create all the shapes you want for clipping and to be clipped. For example:
- Geometric shapes
- Creative shapes made with the Pen Tool
- Text
- Images
- Imported vector artwork
You have full flexibility and creativity in terms of objects for the clipping mask. Design the shapes for maximum impact according to your artistic vision.
Position shapes roughly where desired understanding that placement can be adjusted later.
Step 2. Combine Shapes into a Compound Path
Select all the shapes you want to be grouped into the clipping path/object. Then right-click and choose Make Compound Path.

This merges the shapes into a single compound shape. The individual components will no longer be editable separately.
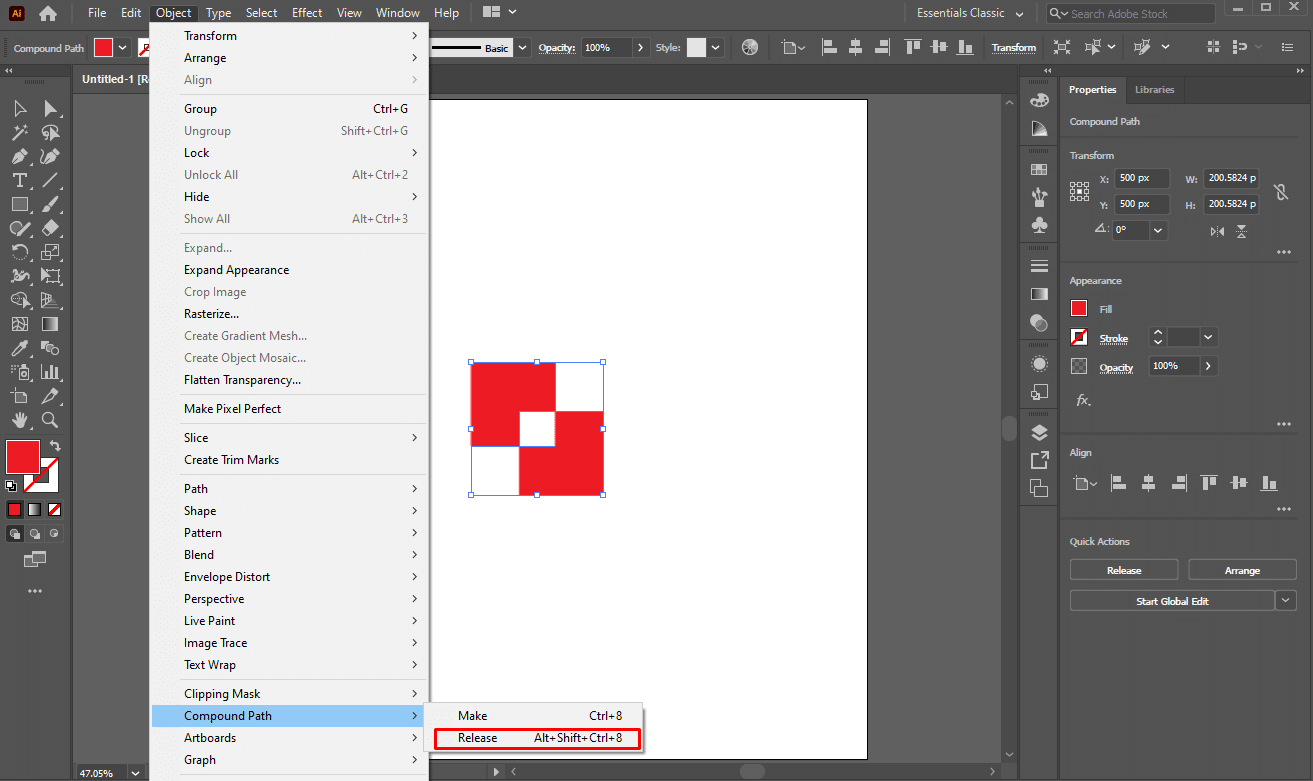
You can release a compound path back to its original shape anytime using Object > Compound Path > Release. So don’t worry if you need to edit later.
Step 3. Position the Objects
With the compound path clipping object in front, move both it and the underlying object(s) to be masked into the desired arrangement.
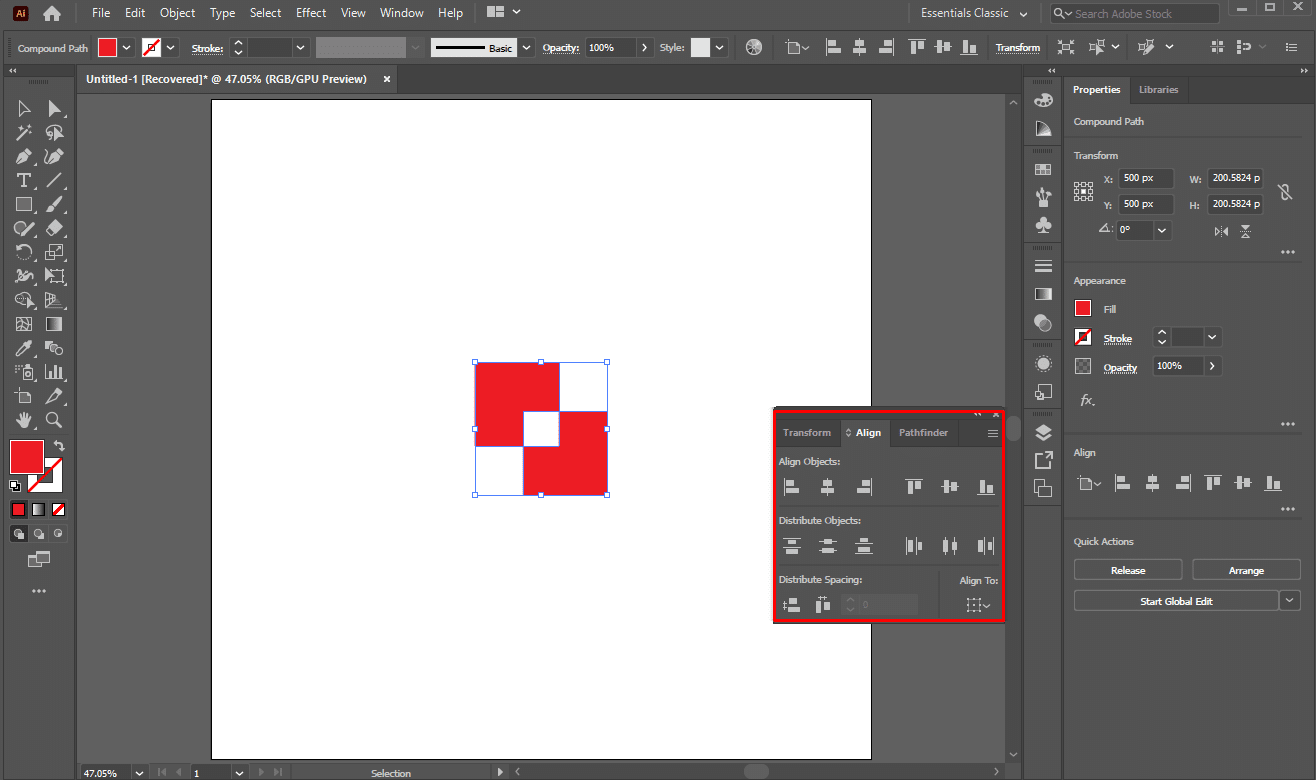
Use alignment tools to perfectly position shapes as needed. Make final tweaks for optimal placement and appearance.
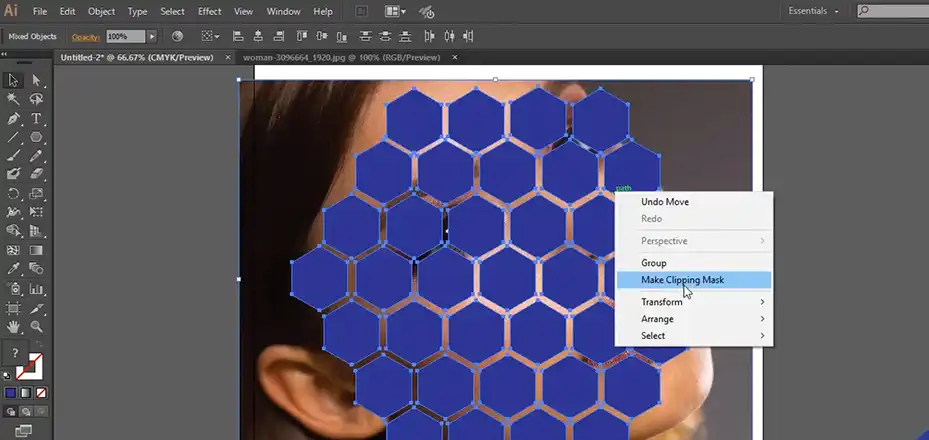
Step 4. Create the Clipping Mask
Select both the compound path object and what lies underneath it that you want clipped/masked.
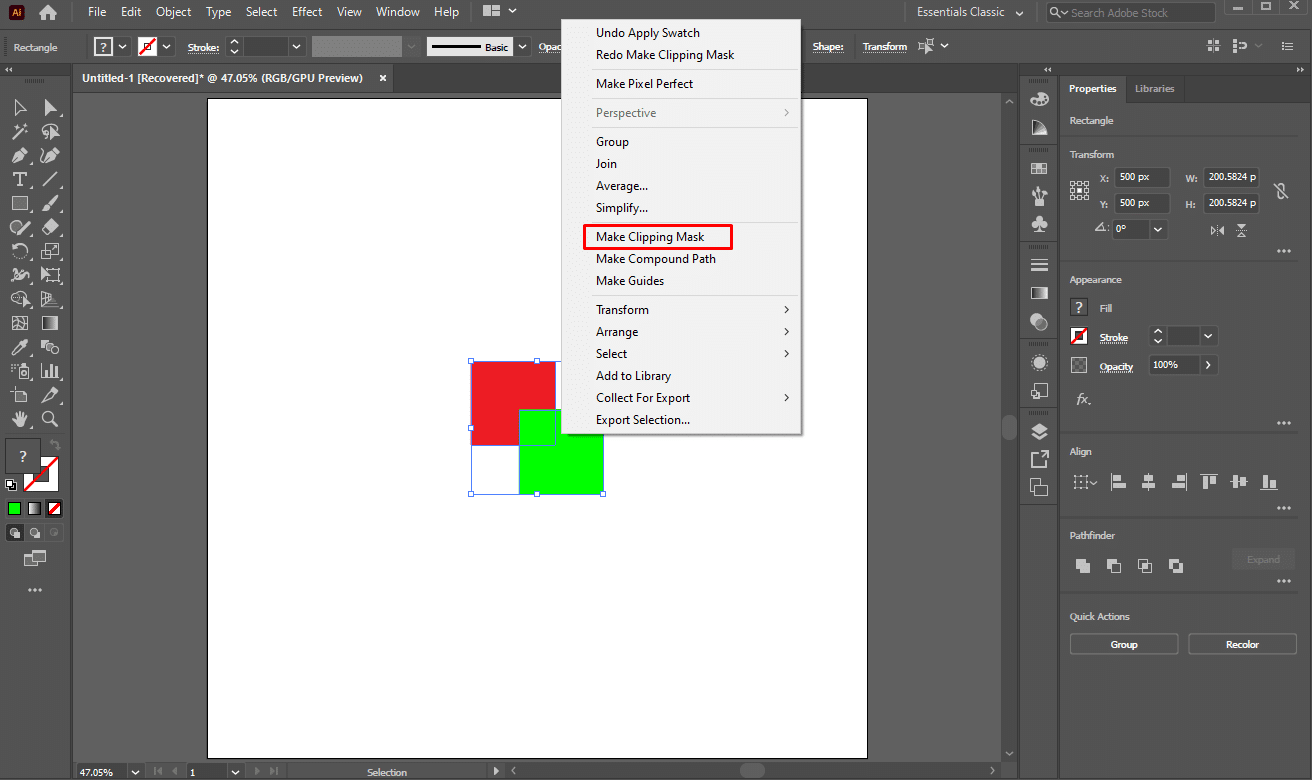
Right-click and choose to Make Clipping Mask, or you can press Clt/Command + 7 to make the clipping mask.
The underlying objects will now be cropped/masked by the frontmost compound shape. Anything inside the shape remains while anything outside is hidden.
You can still select and edit either the clipping path or the underlying clipped object anytime. So changes are easy.
Step 5. Edit and Release (Optional)
To edit the clipping object shape, select it and make changes to anchor points, scale, etc.
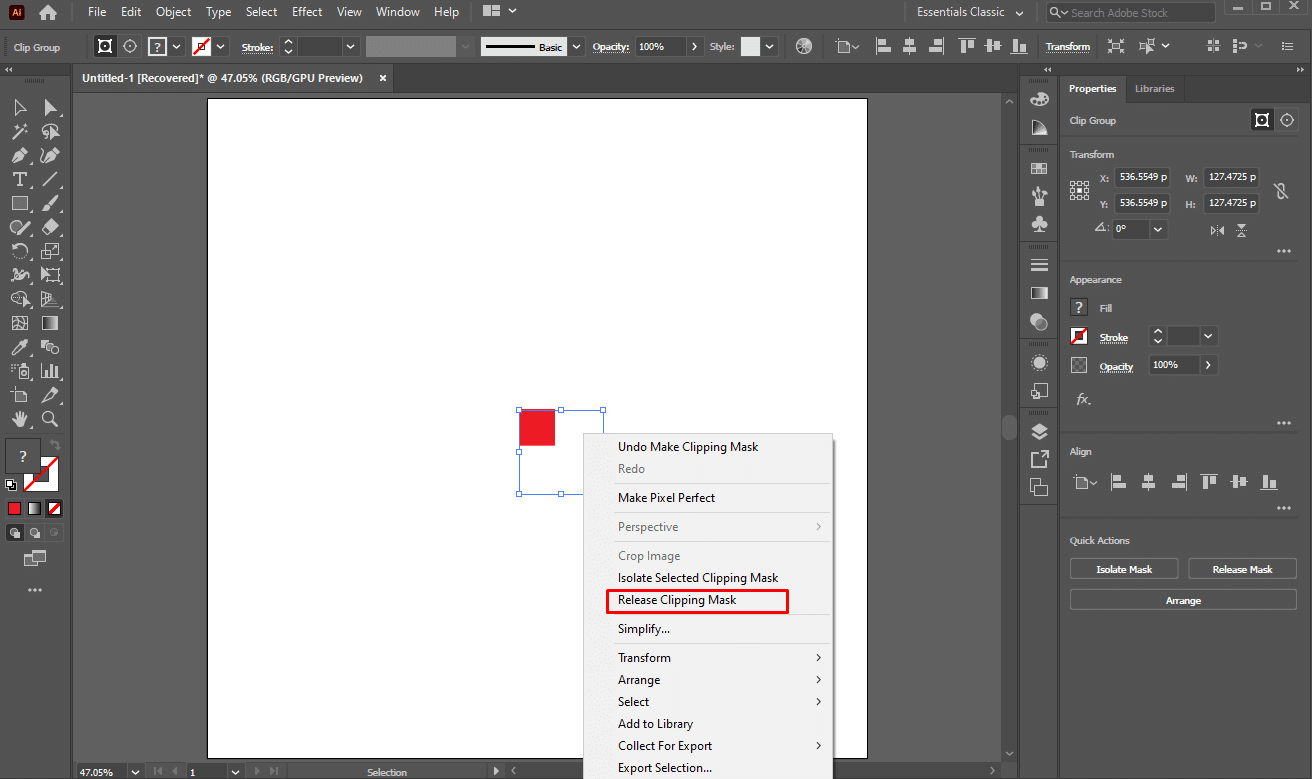
If you need to edit components within the compound path, right-click it and choose Release Compound Path. This separates it back into original shapes for individual alterations. Recreate the compound path after any editing.
Adjust the mask and contents as needed for your design goals.
Pro Tip: Remember, the order of your layers matters! Always keep the compound path above the object you’re clipping.
Masking the Discussion
Creating clipping masks with multiple shapes lets you leverage more of Illustrator’s power and creative potential. By combining shapes into compound paths and following the simple 5 steps covered here, you can craft intricate masks for cool effects. Mix and match all kinds of objects – the possibilities are endless! With practice, even complex multi-shape masks will be a breeze. Now get out there, get clipping, and take your Illustrator skills up a notch!