Adding realistic-looking shadows to my product photos has always been tricky for me. I’m no lighting expert! But I’ve found a nifty little shortcut – using professionally designed shadow PNG packs. Dragging and dropping these pre-made graphic shadows into my shots takes my pics from flat to fab fast.
It’s amazing how adding those layered shadows makes my stuff pop off the screen. My amateur product shots go from meh to wow with just a few easy Photoshop steps. These ready-made shadow graphics allow you to quickly and easily add realistic, high-quality shadows to your product photos with just a few steps in Photoshop.
With the right techniques, you can seamlessly match the imported shadow to the angle of light, shape, and texture of your product. The result is enhanced product images that look naturally and professionally lit. Seems interesting, right? Let’s find out in depth now.
Initial Work to Do Before Dropping Custom Shadows
First and foremost, you will need to find out the actual type of shadows you want. Therefore, look for websites or marketplaces like Creative Market, Etsy, or even stock photo sites offering product shadow packs in PNG format. Make sure the shadows match the style and perspective you want for your photos (flat lay, side view, etc.).
Choosing appropriate PNG shadow packs according to the type of product photos you want to enhance is key. For example, shadows for apparel products should differ from those used on hard goods or jewelry. Browse various sources to find shadow graphic sets that best match the look you want to achieve.
Set up your product photos with clipping paths, layers, and grouping to make adding shadows easier later. Plan your lighting so the direction and hardness of the shadows you’ll add match the existing light source in your photos.
Procedure to Add Professionally Designed Shadows to Product Photos
Once you’ve got your product images and shadow PNGs ready, here’s the step-by-step process to composite them together:
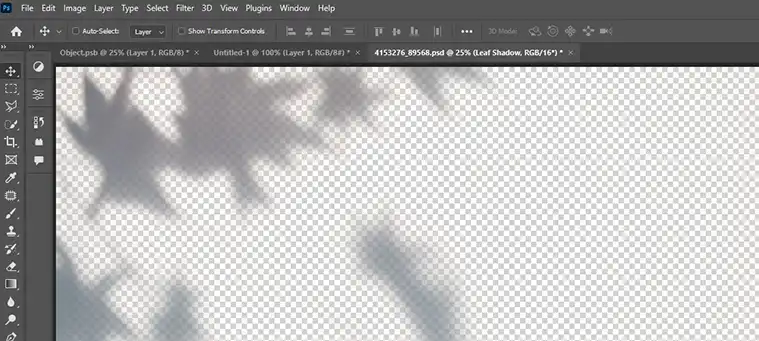
Import the shadow PNG
Drag and drop the shadow graphic onto your Photoshop canvas as a new layer above your product photo layer. You may need to scale or transform the shadow layer to fit the shape and angle you want to create. Use layer masks and clipping masks to cut out just the shadow area you need.
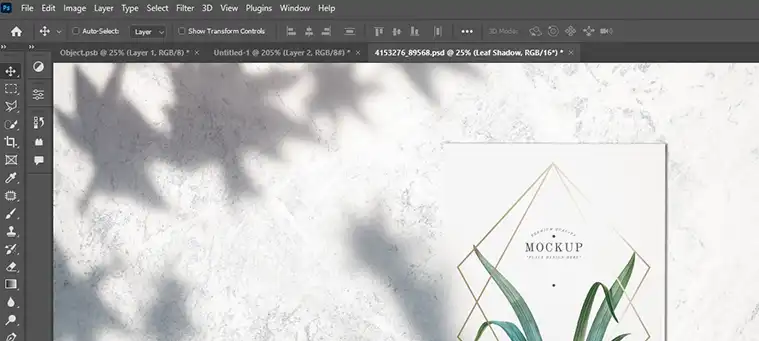
Position and adjust the shadow
Align the imported shadow with the appropriate edges and planes of your product image. It should match as if the light were truly casting that shadow. Adjust the opacity of the shadow layer to make it look natural, usually around 30-60% opacity works best. Use layer masks to fine-tune shadow edges and gradients for a realistic look.
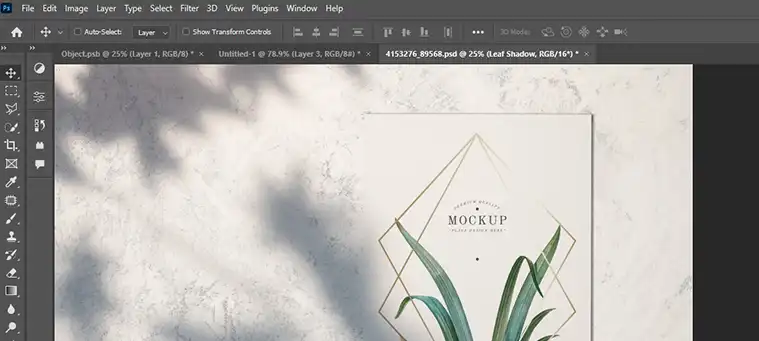
Balance light and shadow
Check that the direction and hardness of the imported shadow match the lighting already established in your photo. The light and shadow angles need to be cohesive. You may need to adjust the brightness, contrast, or temperature of the lighting layers in your photo to integrate the new shadow. Make sure the shadow doesn’t overwhelm the product itself.
Bonus Tips – Simple Steps to Create Custom Shadows
Adding realistic shadows to product photos can really make them stand out. Here is a simple procedure to create a custom shadow for a phone image in Photoshop:
First, prepare your phone image by isolating it on a clean white background. Then you can add your own custom shadow.
- Duplicate the phone layer so you have two layers of the same image.
- Make a new empty layer and fill it with a white background. Move this below your top phone layer.
- Use the magic wand tool to select the white background around the phone.
- Refine the edge of the selection by smoothing the transition.
- Add a layer mask to the top phone layer and invert the selection to hide the background.
- On the bottom layer’s mask, use a soft feather brush at low opacity to lightly paint in the shadow on the ground.
- Adjust the brush strokes to build up the look of the shadow you want under the phone.
- Flatten layers when done to finalize the image with your custom shadow effect.
Following these steps allows you to integrate a realistic shadow that matches the angle and perspective of your particular product. This can add depth and interest to any product shot.
Wrapping Up
I’m no pro photographer, but with these cool shadow packs, I can make my products shine like a real studio shot them. Now my online store pics stand out and sell more. I wish I’d discovered this simple trick sooner – my stuff looks a thousand times more awesome. Thanks to realistic shadows, I can take product photos that get results, even with my limited skills!