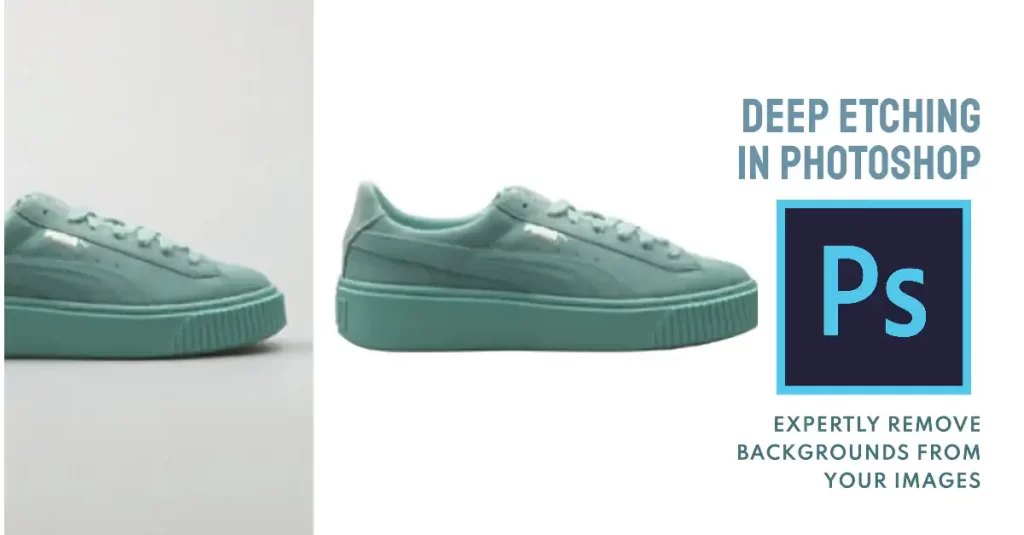
Deep etching in Photoshop refers to making complex and intricate selections to isolate specific parts of an image. This allows you to selectively apply effects or modifications only to the selected areas.
Getting clean and accurate selections is crucial for convincing photo manipulations. Deep etching techniques give you surgical control over your selections. Mastering them takes your Photoshop skills to advanced levels.
With deep etching, the possibilities are endless – replace backgrounds, apply targeted adjustments, or integrate elements from other images. However, these techniques do have a learning curve.
This article will guide you through multiple methods for deep etching in Photoshop. You’ll also learn advanced tricks that professionals use for their incredible edits. Stick till the end – and you’ll be deep etching like a pro!
What is Deep Etching in Photoshop?
Deep etching refers to making precise selections around intricate or fine details in an image. Basically, clipping path and deep etch are the same thing. Both terms refer to the process of using image editing software, like Photoshop, to create a precise path or selection around an object in an image, effectively isolating it from the background.
The goal is to accurately isolate small or complex parts rather than making quick, rough selections. For instance, deep etching can help select the fine strands of hair, fur, lace, tree branches, chains, wires, etc.
It allows you to separately work on specific portions without affecting the whole image. You can:
Deep etching relies on using Photoshop’s selection tools in advanced ways. It may involve combining multiple selection techniques as well.
Ways to Do Deep Etching in Photoshop
Photoshop offers different selection tools, each suited for particular purposes. Here are three common ways to deep etch in Photoshop:
By Using Pen Tool
The Pen tool lets you plot points and contours to create custom paths. With practice, you can trace intricate details accurately.
To deep etch with the Pen tool:

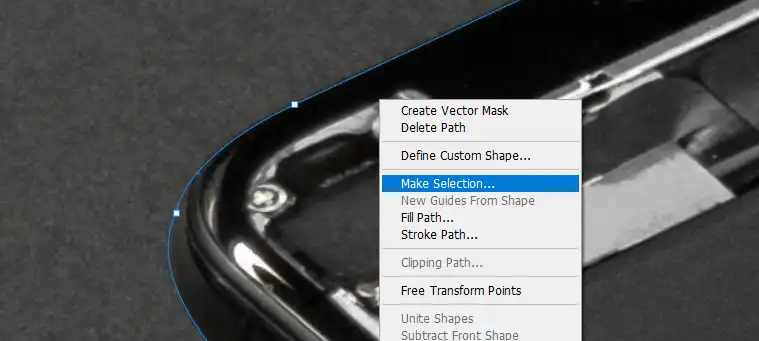
This method needs practice but gives the most control for challenging selections. It is ideal for subjects with fine details and complex contours like hair, fur, trees, lace, etc.
Pros
Cons
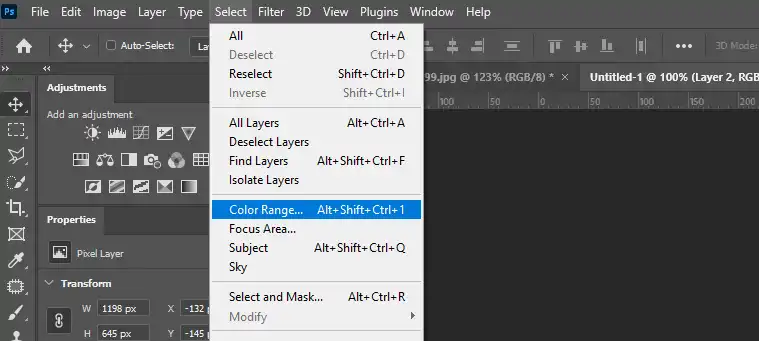
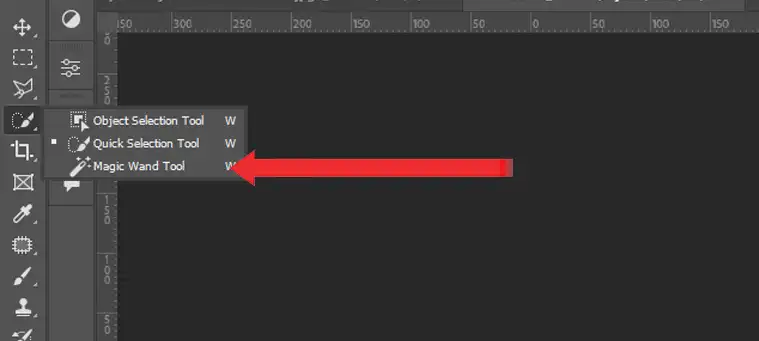
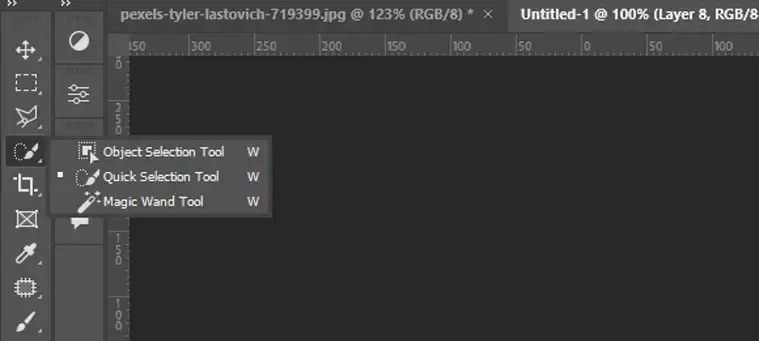
By Using Color Range or Magic Wand Tool
The Color Range and Magic Wand tools automatically select pixels based on tone and color. For repetitive patterns or contiguous color areas, they offer a quicker alternative.
Here is the basic workflow:
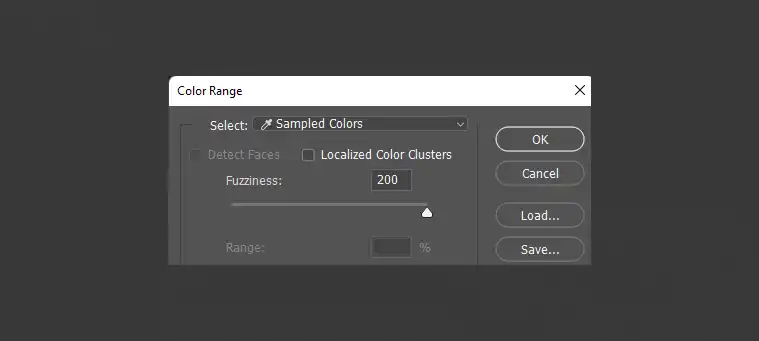
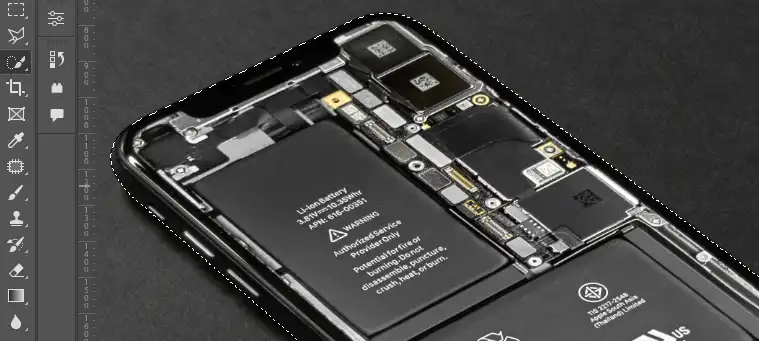
Color Range: For objects with specific color ranges, go to Select > Color Range. Use the eyedropper tool to sample the object’s color and adjust the Fuzziness slider to refine the selection.
Magic Wand: For well-defined, solid-colored objects, select the Magic Wand Tool and click on the object. Adjust the Tolerance slider to control how similar surrounding pixels should be to be included.
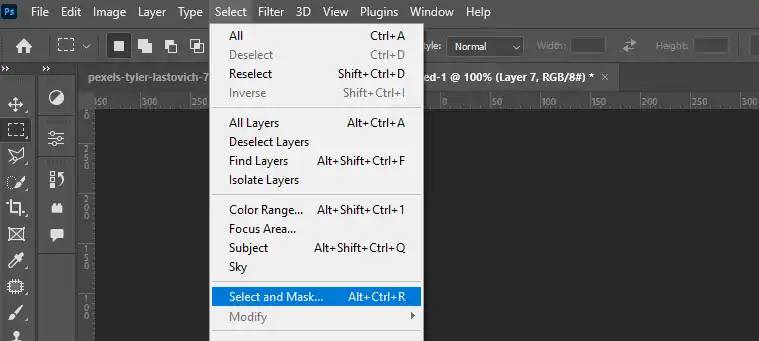
After that, Use the Select > Refine Edge/Select and Mask option to adjust the selection borders and remove unwanted areas. Once satisfied, click OK in the Refine Edge/Select and Mask window, and you’ve made your selection!
When done right, these tools can accurately deep etch large portions faster than manual tracing. However, significant color variations and intricate details can trouble them.
Pros
Cons
Usage in Deep Etching
Use Color Range/Magic Wand to make an initial selection. Then switch to Pen Tool to carefully complete the intricate portions. This combines the speed of automatic tools and the precision of manual tracing.
By Using the Quick Selection Tool
The Quick Selection tool lets you ‘paint’ over the target area to select it. The selection automatically expands to detect and follow defined edges.
Here is how to use it:
It works better with good contrast between foreground and background colors. Adjust brush size to control how quickly or responsive the selections should spread.
Pros
Cons
For deep etching, the Quick Selection tool helps speed up making rough selections. You can then use other tools like the Pen tool for precision editing.
Advanced Techniques for Deep Etching
Learning the basics of selection tools is the first step. But professional photo manipulators take it to the next level with these advanced techniques.
As you master the basics, explore these advanced techniques to achieve even more precise results:
1. Feathering for a Smooth Transition
In the Pen Tool options bar, adjust the “Feather” value. This softens the edges of your selection, creating a gradual fade between the object and the background. Use this technique for a more natural look, especially for objects with soft edges like hair or fur.

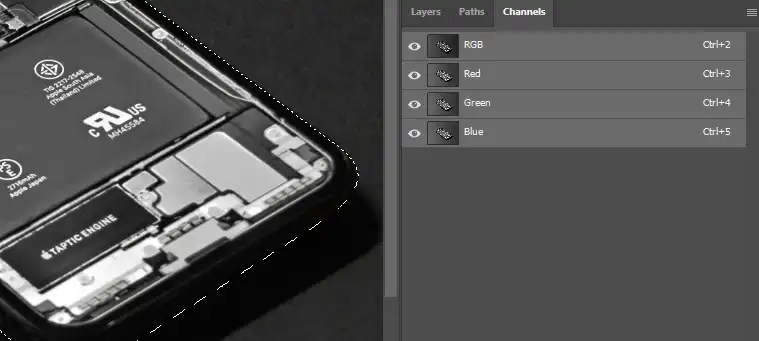
2. Channels for Complex Selections
Channels (accessed in the “Channels” panel) store color information from your image. They can be incredibly helpful for isolating objects with multiple colors or overlapping elements. You can create selections based on specific color information in different channels and then combine them using various selection tools.
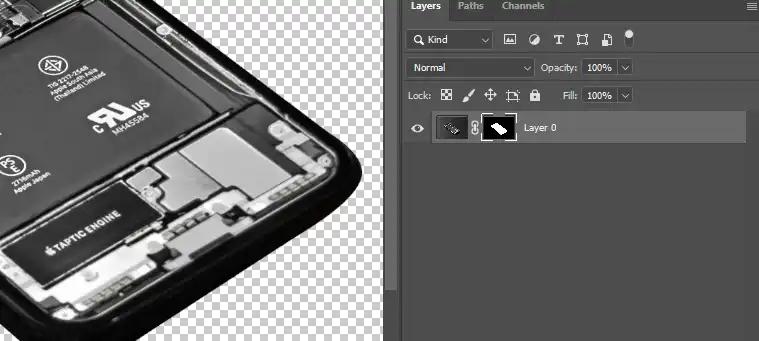
3. Masking
While not technically deep etching, masking offers a non-destructive way to isolate objects. Instead of deleting the background, you create a mask that hides unwanted areas while preserving them in the original image. This allows for easier adjustments and revisions later on.
Remember, practice is key! Experiment with different techniques based on your image complexity and find the workflow that best suits your needs.
Conclusion
I hope this gives you a solid grasp of deep etching in Photoshop! Learning does take time and experience with using the Pen tool and channels. But the control it provides for selections is worth the effort. Whenever you need to integrate elements from other images or replace backgrounds, deep etching ensures clean results.
Additionally, precise selections let you apply edits and adjustments only where you need them. Your images will start showing dramatic improvements once you can target specific portions without ruining surrounding details. Try these techniques, keep practicing, and soon master-level photo manipulation abilities will be at your fingertips!