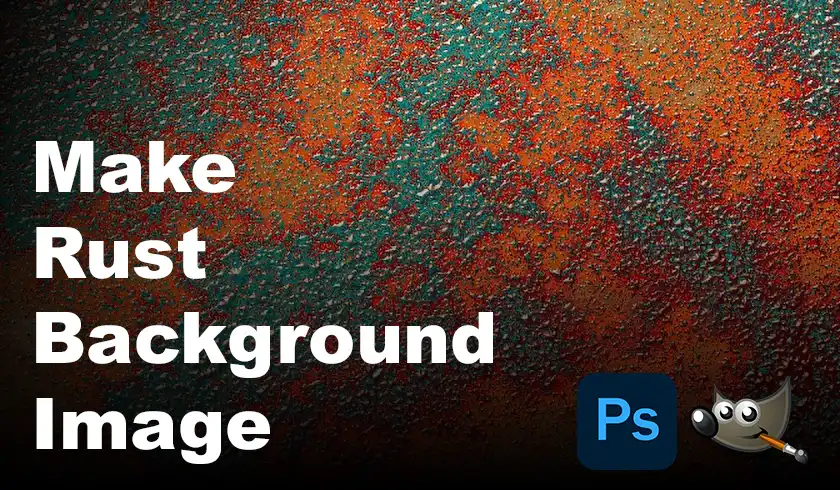
Rust backgrounds can add a unique and gritty touch to your designs, instantly capturing attention with their industrial and weathered aesthetic. Whether you’re working on a website, graphic design, or photography project, incorporating a rust texture can elevate your work and create a visually striking impact.
In this article, we’ll explore two popular methods for creating a rust background image using Photoshop and GIMP. So be my guest and stay with me till the end of this article!

Ways to Make a Rust Background Image
Creating a rust background image can be a fun and creative challenge. The rustic and gritty texture can add depth and character to your designs, making it a popular choice for various projects. In this section, we’ll explore two popular methods for achieving a realistic rust effect using Photoshop and GIMP.
Using Photoshop
Photoshop is a powerful tool that allows you to create stunning rust backgrounds with ease. Here’s how you can achieve this:
New Document: Open Photoshop and create a new document at your desired size.
Base Colors: Set the foreground colour to dark brown (#653415) and the background colour to a dark red (#311800).
Create Base Texture: Go to Filter > Render > Clouds. This creates a base texture with variations in color.
Refine Texture: Go to Filter > Filter Gallery. Here you can experiment with different filters to enhance the texture. Some suggestions:
- Sharpen > Unsharp Mask: Adds definition and small details.
- Noise > Add Noise: Creates a grainy effect, mimicking rust’s roughness. Adjust the amount of noise for subtlety.
- Texture > Craquelure: Adds crackle effects, similar to aged paint.
Color Adjustments: Go to Image > Adjustments. You can use various tools here to achieve the desired rust colour:
- Levels: Adjust the sliders to darken the shadows and brighten highlights, creating a more rusted look.
- Colour Balance: Shift the balance towards orange and red hues for a rusty appearance.
- Hue/Saturation: Experiment with reducing saturation for a more muted rust tone.
Refine Details (Optional):
- Use the Dodge Tool (O) with midtones exposure at 50% to lighten areas representing exposed metal.
- Use the Burn Tool (O) with shadows range at 50% to darken areas with deeper rust.
- Use a brush with a low opacity to paint on details like rust flakes or streaks.
Using GIMP
GIMP is a free and open-source alternative to Photoshop that can also be used to create rust backgrounds. Here’s how:
Set Up the Base: Start by creating a new image with a red background. Then, go to Filters > Render > Noise and select “Plasma.” Set the turbulence to around 7 and click OK. Repeat this step on two new layers.
Add Layer Masks: For each of the three noise layers, add a layer mask and set it to grayscale. Apply the masks to the layers.
Adjust Saturation: Next, go to Colors > Saturation and set the saturation to zero, making the image completely white.
Invert Layers: Finally, invert all the layers to make them black. You can leave one layer white if you want some white areas in your final rust effect.
Conclusion
Creating a rust background image can be a fun and creative process, regardless of whether you use Photoshop or GIMP. By following the steps outlined in this article, you’ll be able to create a unique and gritty rust background that can add depth and character to your design projects.
Remember, practice makes perfect, so don’t be discouraged if your first attempt doesn’t turn out exactly as you envisioned. Keep experimenting with different tools, filters, and techniques until you achieve the desired result. And if you have any questions or need further guidance, don’t hesitate to leave a comment below. I’ll be happy to assist you.

