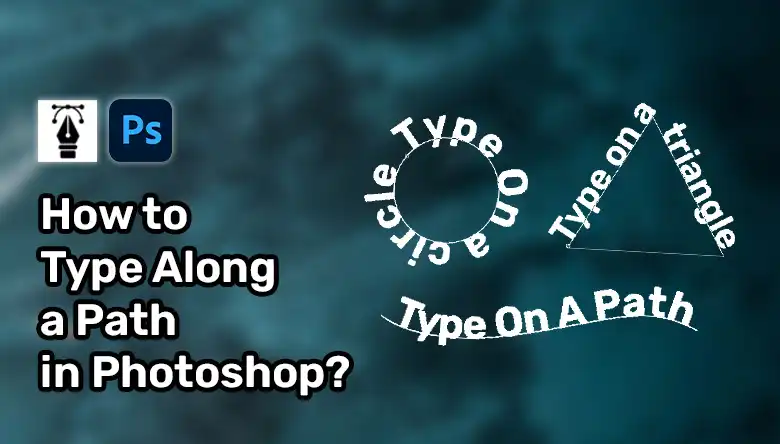
Do you have ever wanted to see your text curve around a circle, snake along a wavy line, or spiral outwards? Typing text along a path in Photoshop is a fantastic way to create eye-catching headings, logos, or any other text-based designs. This technique allows you to shape your text in various forms, such as circles, waves, or any other custom path you desire. It’s a versatile skill that can elevate your designs to a whole new level.
In this article, I’ll share the step-by-step process of typing along a path in Photoshop. So, be with me till the end and learn how to be a master in such task!
Steps for Typing Along a Path in Photoshop
Typing text along a path in Photoshop is a creative way to add flair and visual interest to your designs. It allows you to shape your text in various forms, such as circles, waves, or any custom path you desire. Here are the steps you will need to follow –
Step 1 – Create a Path
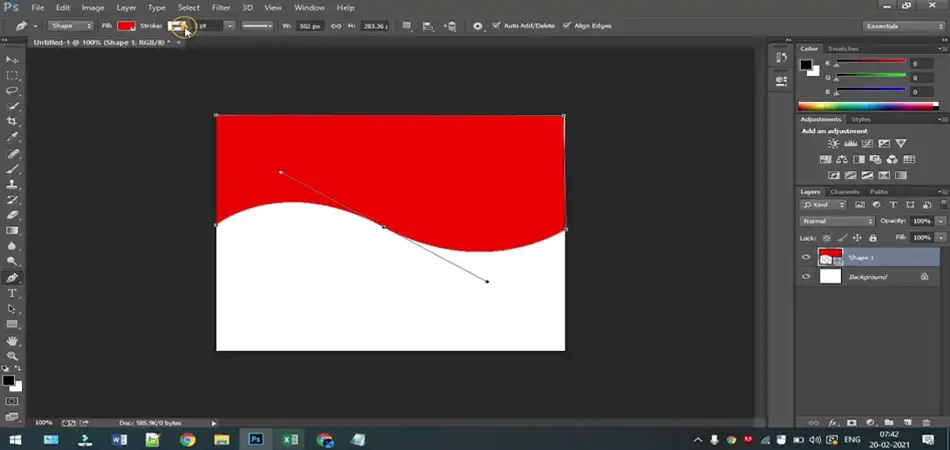
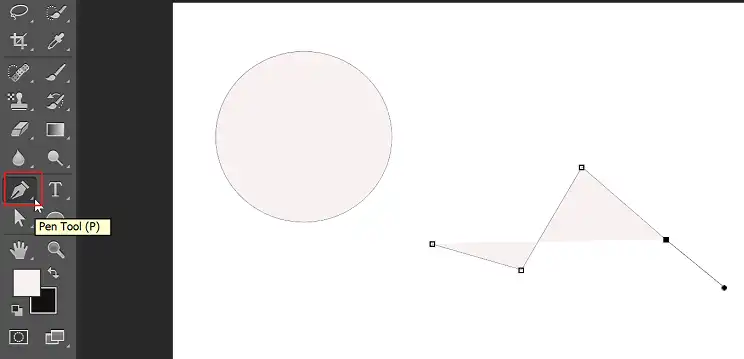
The first step is to create a path that will serve as the foundation for your text. You can either use the Shape tool or the Pen tool to draw the desired path. The Shape tool is a great option if you want to create predefined shapes like circles, rectangles, or custom shapes. It’s beginner-friendly and easy to use.

However, if you need more control and precision for intricate paths, the Pen tool is your go-to option. With the Pen tool, you can create custom paths by clicking and dragging to define anchor points and curve handles.
Step 2 – Start Typing Along the Path
Once you have your path ready, it’s time to start typing along it.
- First, click on the Text Tool or press T.
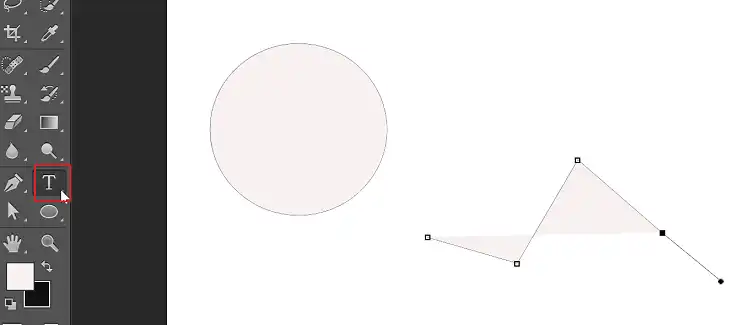
- After that, hover the cursor over the path (cursor changes to text I-beam).
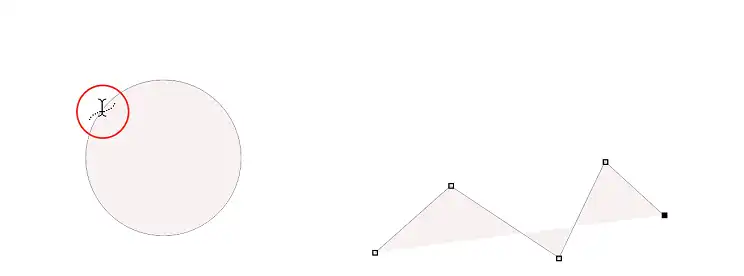
- Click on the path to define the typing position.
- Type your desired text.
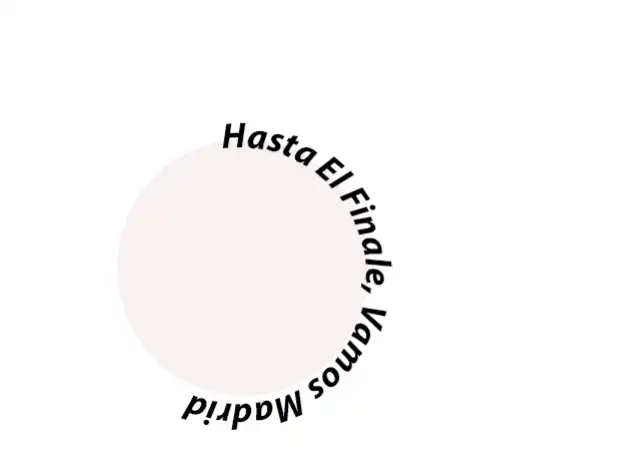
Step 3 – Format the Text Written on the Path
After you’ve typed your text along the path, you can format and adjust it to your liking. Here’s how:
- Click on the text layer to reveal the starting and ending points of your text, represented by a small circle.
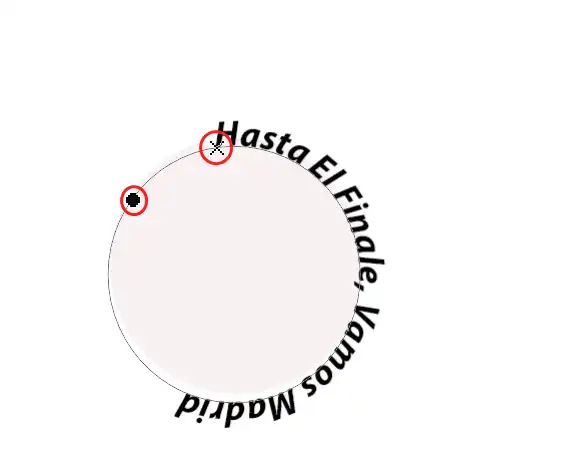
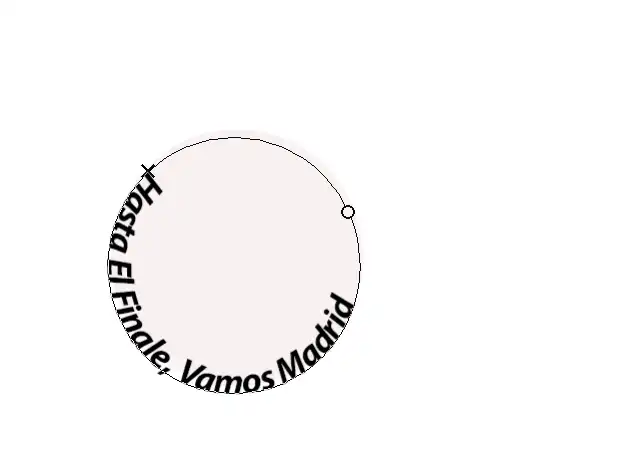
- Hold down the Command/Control key and click on the ending point (circle), then drag to reposition the text along the path. The ending point defines where your text ends and how it will be aligned.
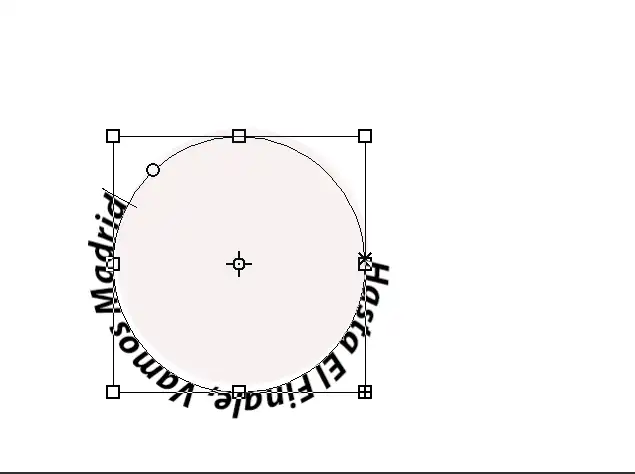
- To flip the text to the other side of the path, hold down the Command/Control key, click on one of the points, and drag inwards.
With these basic steps, you can easily format and adjust your text to achieve the desired look and alignment along the path.
Once you’ve mastered these techniques, feel free to explore different formatting options, such as font styles, sizes, and colors, to create unique and visually appealing designs.
Wrapping Up
Typing along a path in Photoshop is a versatile technique that can add a creative touch to your designs. Whether you’re working on a logo, a heading, or any other text-based project, this skill can help you create eye-catching and visually appealing designs that stand out.
Remember, practice is key to mastering this technique. Experiment with different paths, text styles, and formatting options to find what works best for your design goals. Don’t be afraid to explore and push the boundaries of your creativity.
With these basic steps, you can easily format and adjust your text to achieve the desired look and alignment along the path.
Once you’ve mastered these techniques, feel free to explore different formatting options, such as font styles, sizes, and colors, to create unique and visually appealing designs.