Alright, let’s talk about something that’s been a real pain for anyone working with product photos – those darn mannequins! I can’t even count how many times I’ve had to spend hours painstakingly removing them from clothing shots.
In this article, I’m going to break down everything you need to know about this technique – the good, the bad, and even walk you through exactly how to do it step-by-step in Photoshop. Whether you’re a pro or just starting out, trust me, clipping paths are a game-changer when it comes to mannequin removal.
Is Clipping Path Good for Mannequin Removal?
Removing mannequins from product photos is a common task in e-commerce photography. Clipping paths offer a versatile solution, but it’s important to understand their pros and cons. Let’s explore when clipping paths work well and when alternative methods might be better.
Advantages of Clipping Paths
Precision: Clipping paths allow you to create a very precise selection around the clothing item. This is especially useful for intricate details like lace or embroidery that need a clean, accurate outline. With some practice, you can achieve professional-looking results.
Clean Results: When done correctly, clipping paths produce clean, mannequin-free product images with a natural drape to the clothing. The final image looks polished and ready for use on your website or marketing materials.
Scalability: Since clipping paths are vector-based, you can resize the images without any quality loss. This flexibility is handy when you need the same image in different dimensions for various platforms.
Drawbacks of Clipping Paths
Time-consuming work is one of the main drawbacks of clipping paths. Tracing detailed outlines takes patience and meticulousness, especially for complex garments with many folds or patterns. It’s a labour-intensive process that requires skill and practice.
Skill Required: Creating accurate clipping paths is an art form that takes some training in photo editing software like Photoshop. Sloppy paths can lead to jagged edges or parts of the mannequin remaining in the image.
Background Issues: Clipping paths remove everything behind the subject, including the background. If the backdrop has shadows, or patterns or isn’t seamless, you’ll need extra editing to fill in that space cleanly.
Alternatives to Clipping Paths
Ghost mannequin photography and automatic background removal AI tools are two alternatives worth considering. They each have their own pros and cons compared to clipping paths in terms of equipment needs, speed, and final quality.
How to Use Clipping Path for Mannequin Removal?
Clipping paths can seem daunting, but this step-by-step process will help you get professional results in Photoshop. Just take it slowly and refine your path as needed for pixel-perfect edges.
Step 1: Open the Image in Photoshop
Open the image in Adobe Photoshop. Ensure that the image is in a format that supports layers, such as PSD or TIFF.

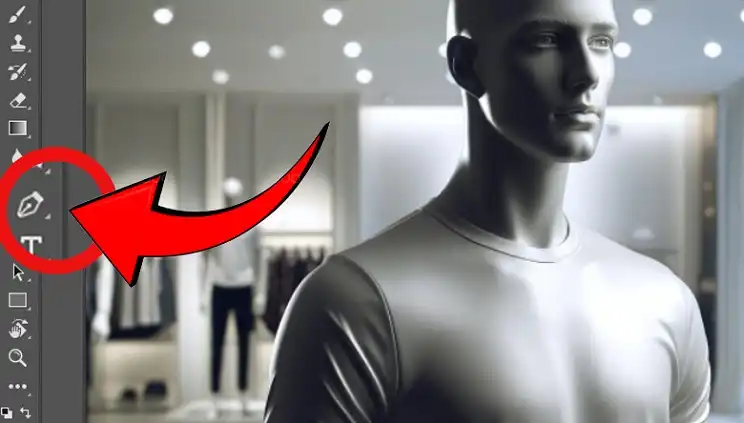
Step 2: Select the Pen Tool
From the toolbar on the left, select the Pen Tool. This tool is ideal for creating precise paths and selections.
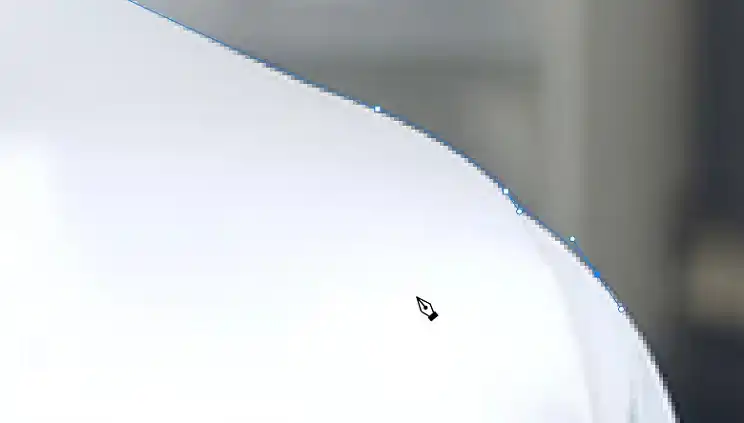
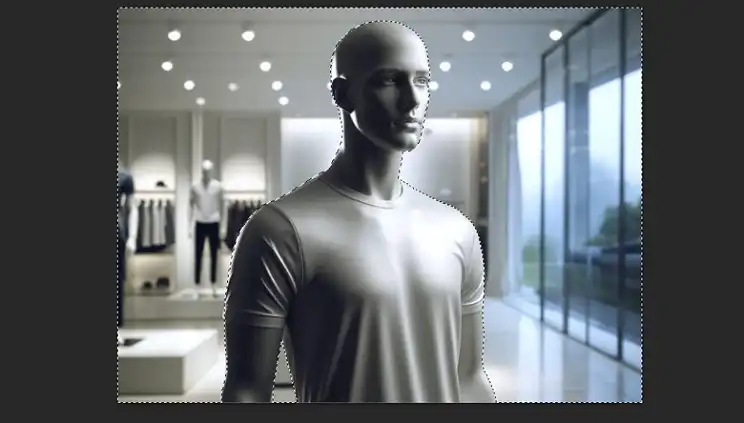
Step 3: Zoom in and Start Tracing
Zoom in on the mannequin area and carefully trace the outline of the apparel item using the Pen Tool. You can use anchor points to create curves and angles as needed.
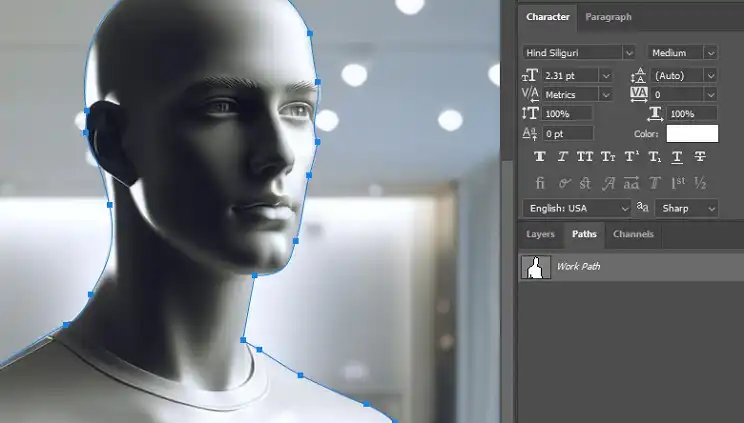
Step 4: Create a New Path
Select a new path as shown in the image below to create a clipping of the image. If the path option does not appear automatically, you can select it from the Windows menu. Leave the flatness setting blank and click OK.
Step 5: Start Creating Clipping Path
Continue tracing the outline of the apparel item, creating a closed vector path around it. This path will serve as the clipping path for the mannequin removal.
Step 6: Inverse Selection
Press and hold Ctrl, then choose the inverse selection option. This will select everything except the clipping path, effectively isolating the apparel item from the mannequin and background.
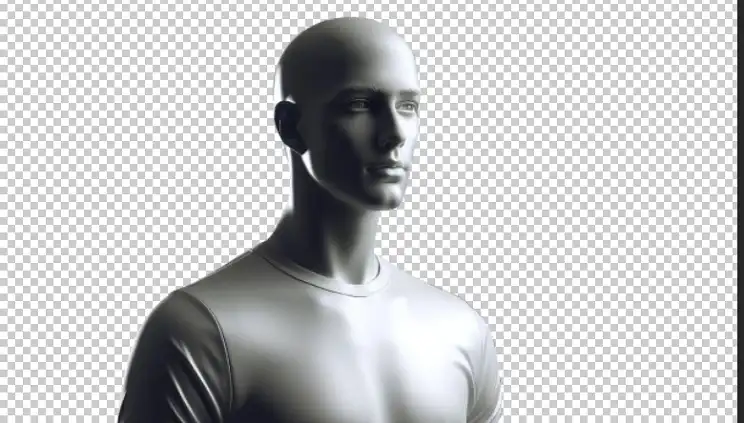
Step 7: Delete the Background
Delete the background by pressing the Delete key or using the Eraser Tool. This will remove the mannequin and any unwanted parts of the image.
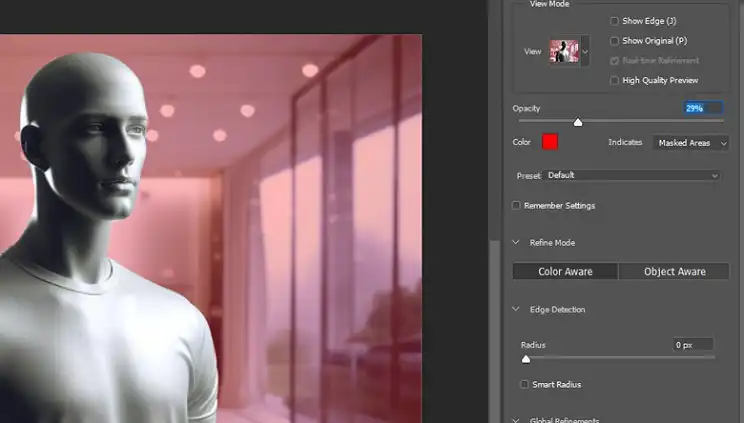
Step 8: Refine the Selection
Use the Refine Edge Tool or the Select and Mask Tool to refine the selection and remove any remaining parts of the mannequin or background.
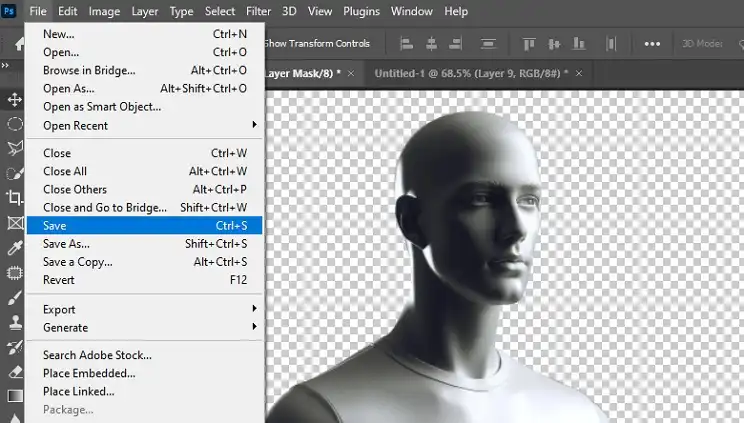
Step 9: Save the Image
Save the image in the desired format, such as PSD, TIFF, or JPEG. The clipping path will be preserved, allowing you to easily edit or manipulate the image further.
FAQ
What is a clipping path, and how does it work?
A clipping path is a vector-based outline that defines the boundaries of an image or object. It allows you to separate a specific element from its background, enabling precise editing and manipulation. In the case of mannequin removal, a clipping path is created around the clothing item, allowing you to isolate it from the mannequin and background.
Can clipping paths be used for any type of clothing or product?
Yes, clipping paths can be used for a wide range of clothing items and products. However, the complexity of the item may affect the time and effort required to create an accurate clipping path. Intricate patterns, lace, or highly detailed garments may require more meticulous tracing and refining.
Is it necessary to have advanced Photoshop skills to create clipping paths?
While creating clipping paths can be learned relatively quickly, it does require some familiarity with Photoshop’s tools and techniques. Practice and patience are essential for achieving clean and accurate results, especially for complex clothing items or intricate details.
Can clipping paths be used for other purposes besides mannequin removal?
Absolutely! Clipping paths are a versatile tool in image editing and can be used for various purposes, such as isolating specific objects, creating composites, or creating unique graphic designs. They are widely used in fields like product photography, graphic design, and even digital art.
Bottom Line
At the end of the day, using clipping paths to remove mannequins from your product shots is a skill that can really level up your e-commerce game. Sure, it takes some practice, but once you get the hang of it, you’ll be cranking out clean, professional-looking images like a pro. If you’re still feeling a bit lost or have any other questions, don’t hesitate to drop a comment below. I’m always happy to help a fellow e-comm warrior out! Thanks for reading, and here’s to making those products look fire without any mannequin distractions.