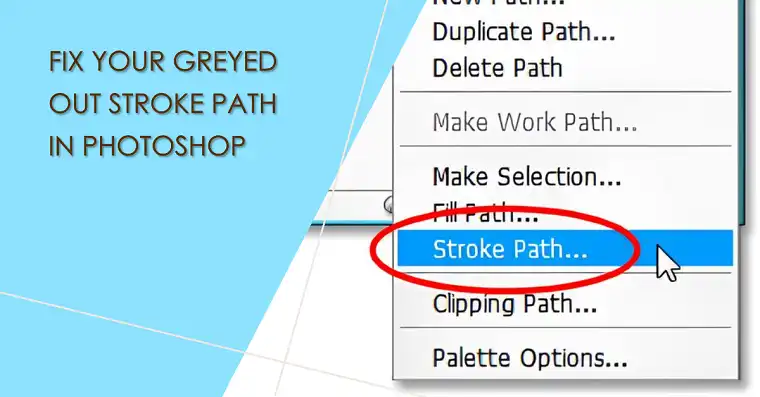
Have you ever found yourself staring at a greyed-out Stroke Path option in Photoshop, wondering why this essential tool is suddenly unavailable? You’re not alone. This frustrating issue affects many Photoshop users, from beginners to seasoned professionals. In this article, we’ll explore the reasons behind this problem and provide you with practical solutions to get your Stroke Path function back up and running.
What Causes Greyed Out Stroke Path
The Stroke Path feature in Photoshop is a powerful tool that allows users to create outlines around paths or shapes. However, several factors can cause this option to become greyed out and inaccessible. The root of the problem often lies in the intricate relationship between paths, shape layers, and the various modes and layer types in Photoshop.
One of the most common causes is simply having the wrong layer or object selected. Photoshop requires an active path or shape layer to enable the Stroke Path function. Another frequent culprit is accidentally working in mask mode, which can disable certain features. Smart Objects, while versatile, can also interfere with the Stroke Path tool’s functionality.
How to Bring Back Stroke Path
Let’s walk through a step-by-step process to diagnose and fix the greyed-out Stroke Path issue:
- Check Your Layer Selection: Ensure you have a path or shape layer active in your Layers panel. If you’re working with a regular pixel layer, the Stroke Path option will remain unavailable.
- Verify Mask Mode: Look at the bottom of your Layers panel. If you see a white rectangle next to your layer thumbnail, you might be in mask mode. Click on the layer thumbnail itself to exit mask mode and regain access to Stroke Path.
- Smart Object Workaround: If you’re working with a Smart Object, you’ll need to take a different approach. Double-click the Smart Object layer to open its contents in a new window. Create your path there, apply the stroke, then save and close to update the Smart Object in your main document.
- Reset Photoshop Preferences: As a last resort, resetting Photoshop’s preferences can sometimes resolve persistent issues. Hold down Alt+Ctrl+Shift (Windows) or Option+Command+Shift (Mac) while starting Photoshop, and confirm that you want to delete the settings file.
Alternative Methods
If you’re still unable to use the Stroke Path tool, don’t worry. Photoshop offers several alternative methods to achieve similar results:
- Brush Tool Method: Select your path with the Path Selection tool, then use the Brush tool (B) to paint along the path. This method offers a more hand-drawn look and allows for pressure sensitivity if you’re using a graphics tablet.
- Selection Stroke: Convert your path to a selection (Ctrl/Cmd + Enter), then use Edit > Stroke to apply an outline. This method works on any layer type but offers less flexibility than the native Stroke Path option.
- Layer Styles: Double-click your layer to open the Layer Style dialog. Use the Stroke option here for a non-destructive stroke that you can easily modify later.
Wrapping Up
Remember, the key to mastering Photoshop is practice and experimentation. Don’t be afraid to try new techniques and push the boundaries of what you can create with Stroke Path and other tools.
By following this guide, you should now have a comprehensive understanding of the Stroke Path tool in Photoshop, how to troubleshoot when it’s greyed out, and how to leverage its full potential in your designs. Keep exploring, and happy creating!