Applying clipping masks to decorative strokes is one of my favorite little tricks in Illustrator and Photoshop. It lets me easily crop lines and images inside shapes, text, and paths for cool effects. I’ll show you how I do it step-by-step.
It just takes me a few clicks to mask strokes in either program. In Illustrator, I create a funky stroke, put a shape on top to crop it, and make a clipping set. In Photoshop, I use a shape to clip expanded line blends I’ve adjusted. The results are sempre pretty rad!

Steps for Applying Mask on Strokes in Adobe Illustrator
Applying a clipping mask to a stroke in Illustrator takes just a few simple steps.
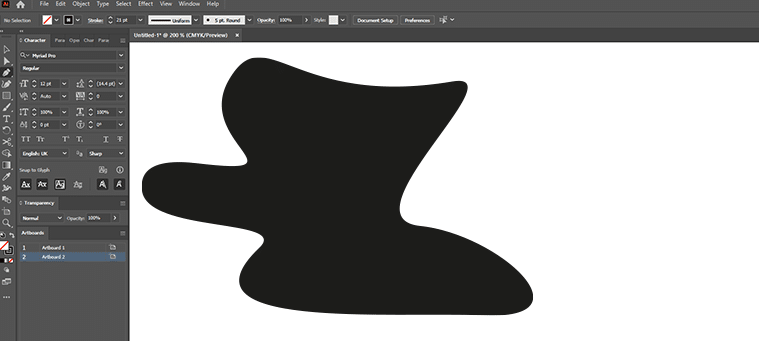
Step 1: Create the Stroke
First, you’ll need to create the decorative stroke that you want to mask. This can be a simple or complex line created using the Pen Tool, Paintbrush Tool, Pencil Tool, or other drawing tools. Customize the stroke color, weight, dashes, arrows, caps, and joins to achieve the desired decorative look.
Here are some ideas for cool strokes to mask:
- Zigzag and wavy lines
- Dashed lines
- Arrows
- Tapered, art, and animated brush strokes
- Scattered symbols and shapes
- Outlined text
Make sure to expand the stroke if using text or brushes so that you have workable vector paths.
Step 2: Design the Clipping Mask
Next, create a shape, text, or custom path to use as your clipping mask. This will crop and hide parts of the stroke outside its boundaries. Some good clipping mask options include:
- Simple vector shapes (circles, squares, stars, etc.)
- Custom shapes and silhouettes
- Decorative frames and borders
- Outlined text and letters
Pay attention to the order you draw these objects, as clipping masks always hide objects below them.
Step 3: Position the Objects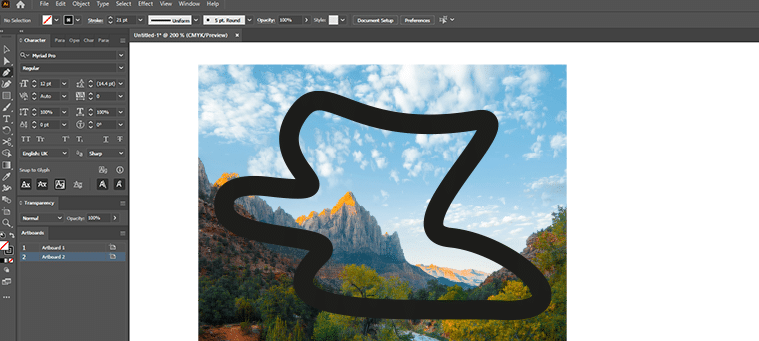
Now arrange the stroke and masking shapes so they visually overlap each other. The clipping mask should be on top, completely covering the sections of the strokes you want hidden.
Use align and distribute options to precisely position objects, or manually place them where desired on the artboard. Make sure all is selected before the next step.
Step 4: Create the Clipping Mask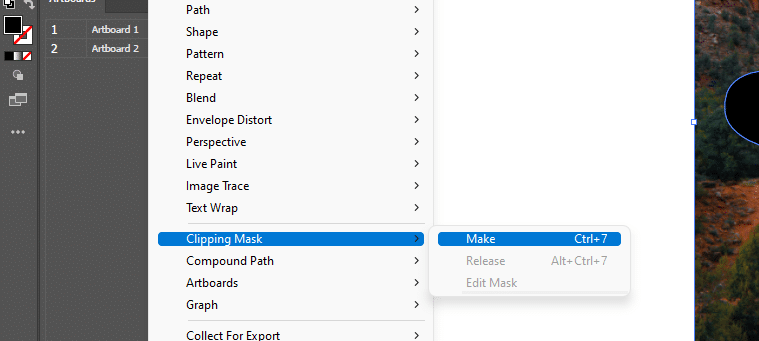
With both objects still selected, go to Object > Clipping Mask > Make. You’ll now see the strokes cropped neatly inside the mask shape, with ends cleanly trimmed off.
Adjust the shape as needed to reveal more or less of the stroke details. Try layering multiple clipped strokes for added dimension.
That’s all there is to it! Clipping masks are hugely useful for both technical and creative workflows in Illustrator. This quick tutorial covers the basics, but don’t be afraid to experiment with the technique.
What to Do to Remove the Clipping Path Boundary from the Final Shape?
When applying clipping masks in Illustrator or Photoshop, you may notice a slight boundary line around the edges of the visible paths inside the mask. Here are a few ways to cleanly remove this path outline:
Release the Clipping Mask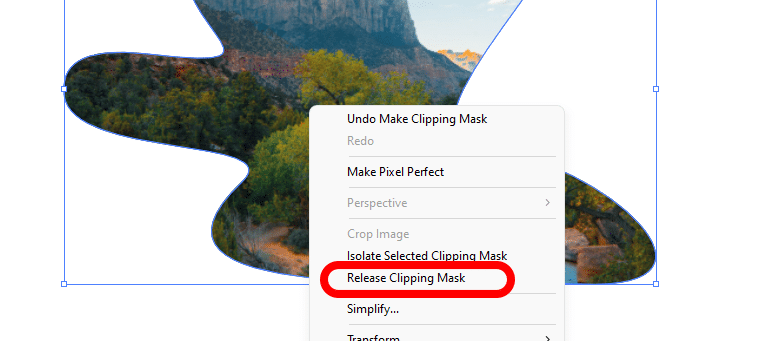
Releasing a clipping set in Illustrator turns the objects back into regular editable paths with no linking between them. To release:
- Select the masked artwork
- Open the Layers panel
- Locate the clipping set and click the two icons on the right to Release the Clipping Mask
This will separate the objects so you can work on the clipped path independently.
Use the Shape Builder Tool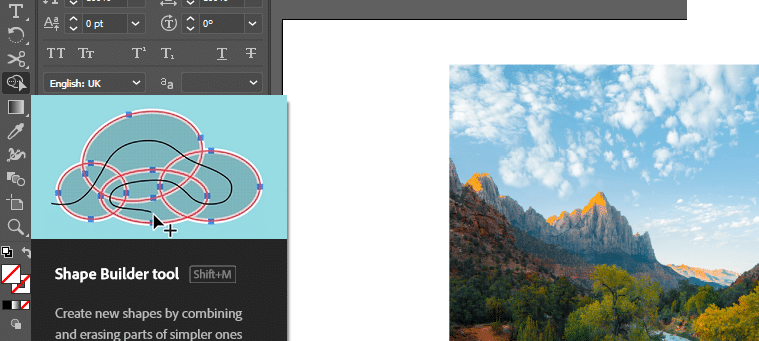
Photoshop’s Shape Builder lets you visually combine vector shapes and remove overlapping areas. To erase clipped path outlines:
- Release the clipping mask if necessary so all paths are editable
- Select the Shape Builder tool
- Hold the Option or Alt key and drag across the excess path lines to delete them
This will neatly erase the lines while keeping the internal paths perfectly intact.
Delete the Mask Shape
Once you’ve trimmed all excess paths with the Shape Builder, simply select and delete the now-empty masking shape to finish.
And that’s it! A clean vector shape with no residual clipping paths remains. You can also apply this method to more complex multi-layered clipped objects.
I Hope
you dig these easy clipping techniques for masking strokes to create killer graphics. Hit me up in the comments if you have any other questions! Thanks for checking out my tutorial, I appreciate you taking the time to read. Clipping masks rule! Now go make some magic strokes. Peace!