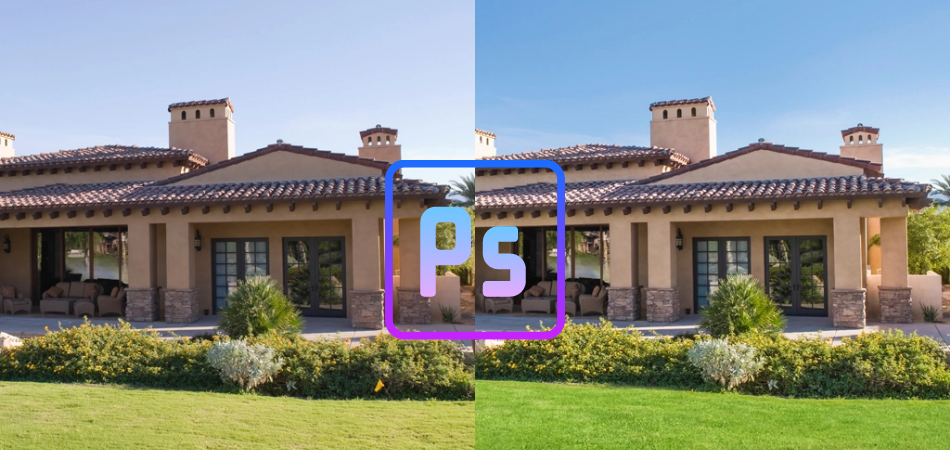
It’s quite tough to get the perfect image every time. You may need to fix the flaws of the image using photoshop. Real estate photos include so many elements that it’s a bit challenging to get everything balanced in the image. So, how to fix the flaws of the image?
Well, photoshop allows getting the job done. You will be able to get better output by editing photos. There are some basic editing methods that make the image better within minutes. These edits don’t require any professionals and can be done by anyone.
Let’s go over the details of real estate photo editing –
What Is Real Estate Photo Editing
Real estate photo editing is basically fixing the flaws of the image. It’s tough to get the perfect image all the time. So, if you have a real estate image with any lighting issue or background problem, it could be solved using photoshop. Photoshop makes the image better for presentation.
Real estate photo editing also includes advertisements. If you have a similar business, you will definitely need real estate photo editing services to make your visuals better with a professional touch. This will help you to grow your business by attracting customers.Real estate photo editing includes color correction, unnecessary object removal, crop and resizing, social media banner creating, and more.
How To Edit Real Estate Photos In Photoshop
Color Correction
Color correction is the most basic photo editing. This is required for any kind of editing. Color correction can be done using the adjustment panel of photoshop. You need to fix the brightness/contrast of the image to get the perfect color. Check the process below –
Step 1:
First of all, import the image into Photoshop. Duplicate the layer by pressing Control+J[Windows] or Command+J[Mac]. Now, try to find the flaw in the image.

Step 2:
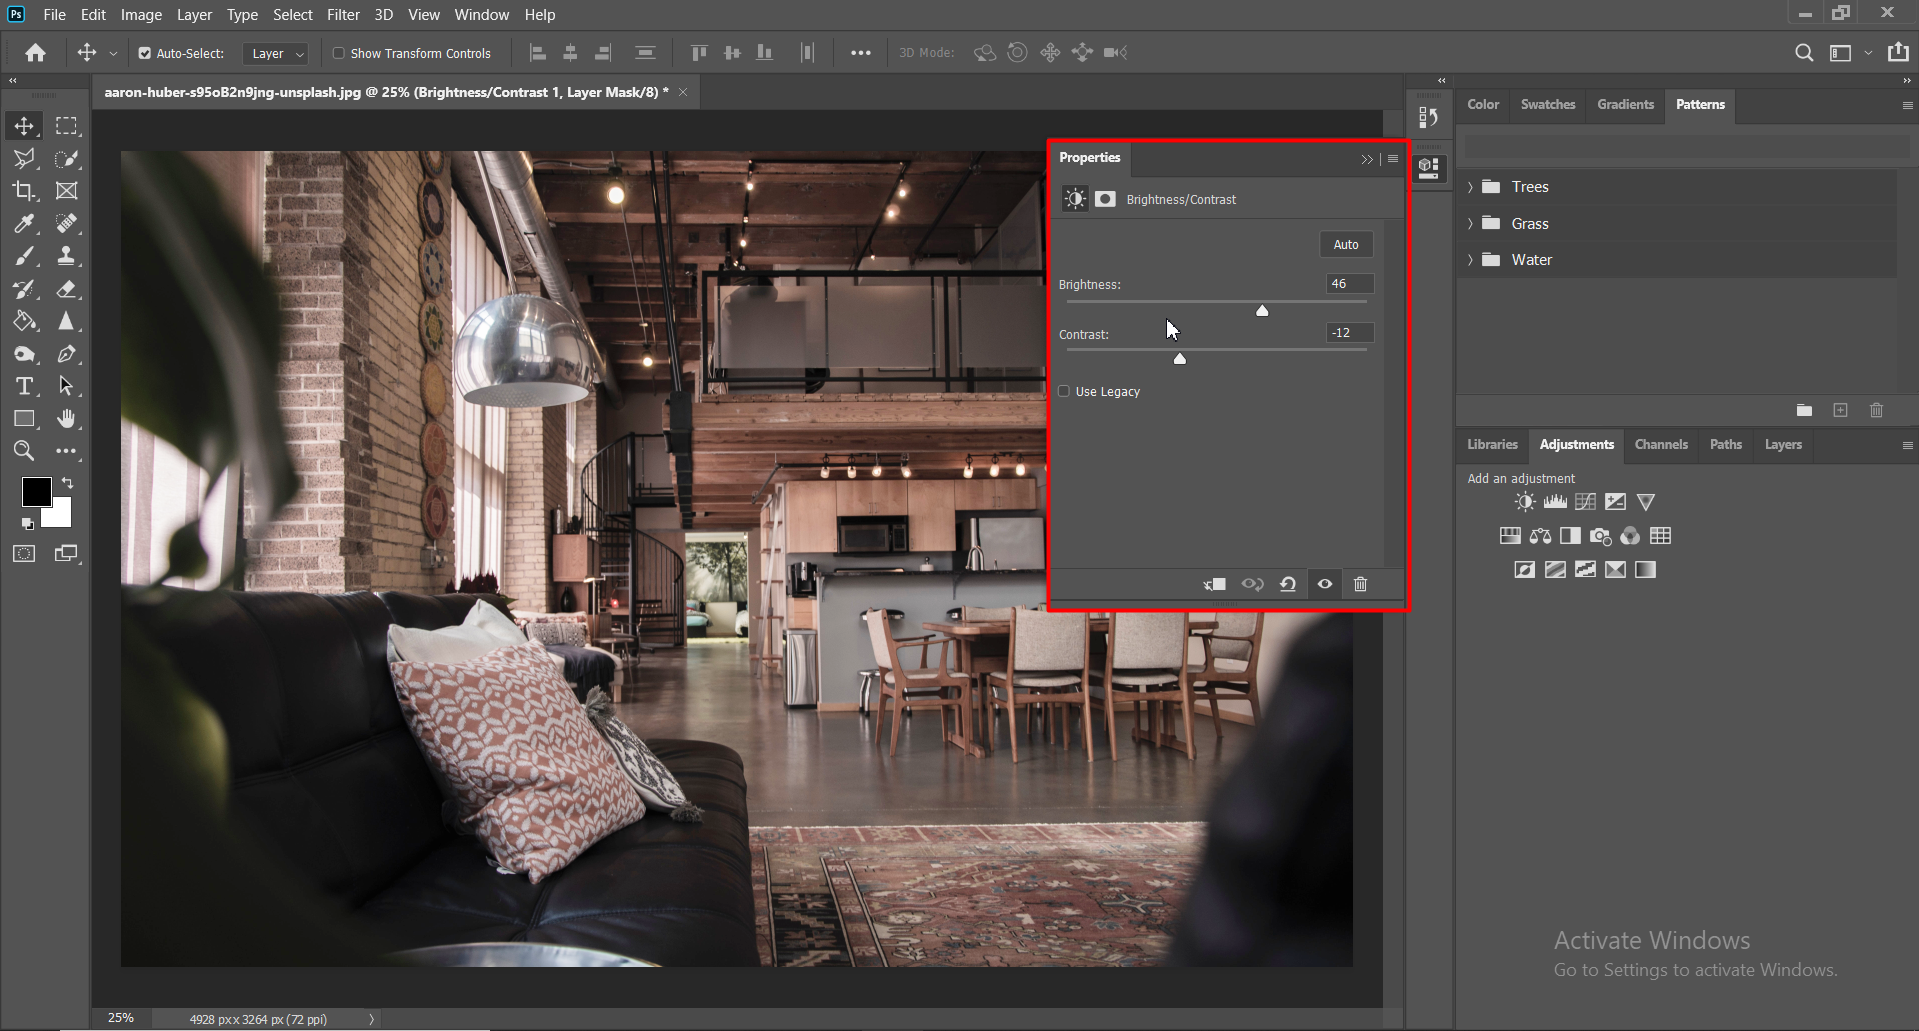
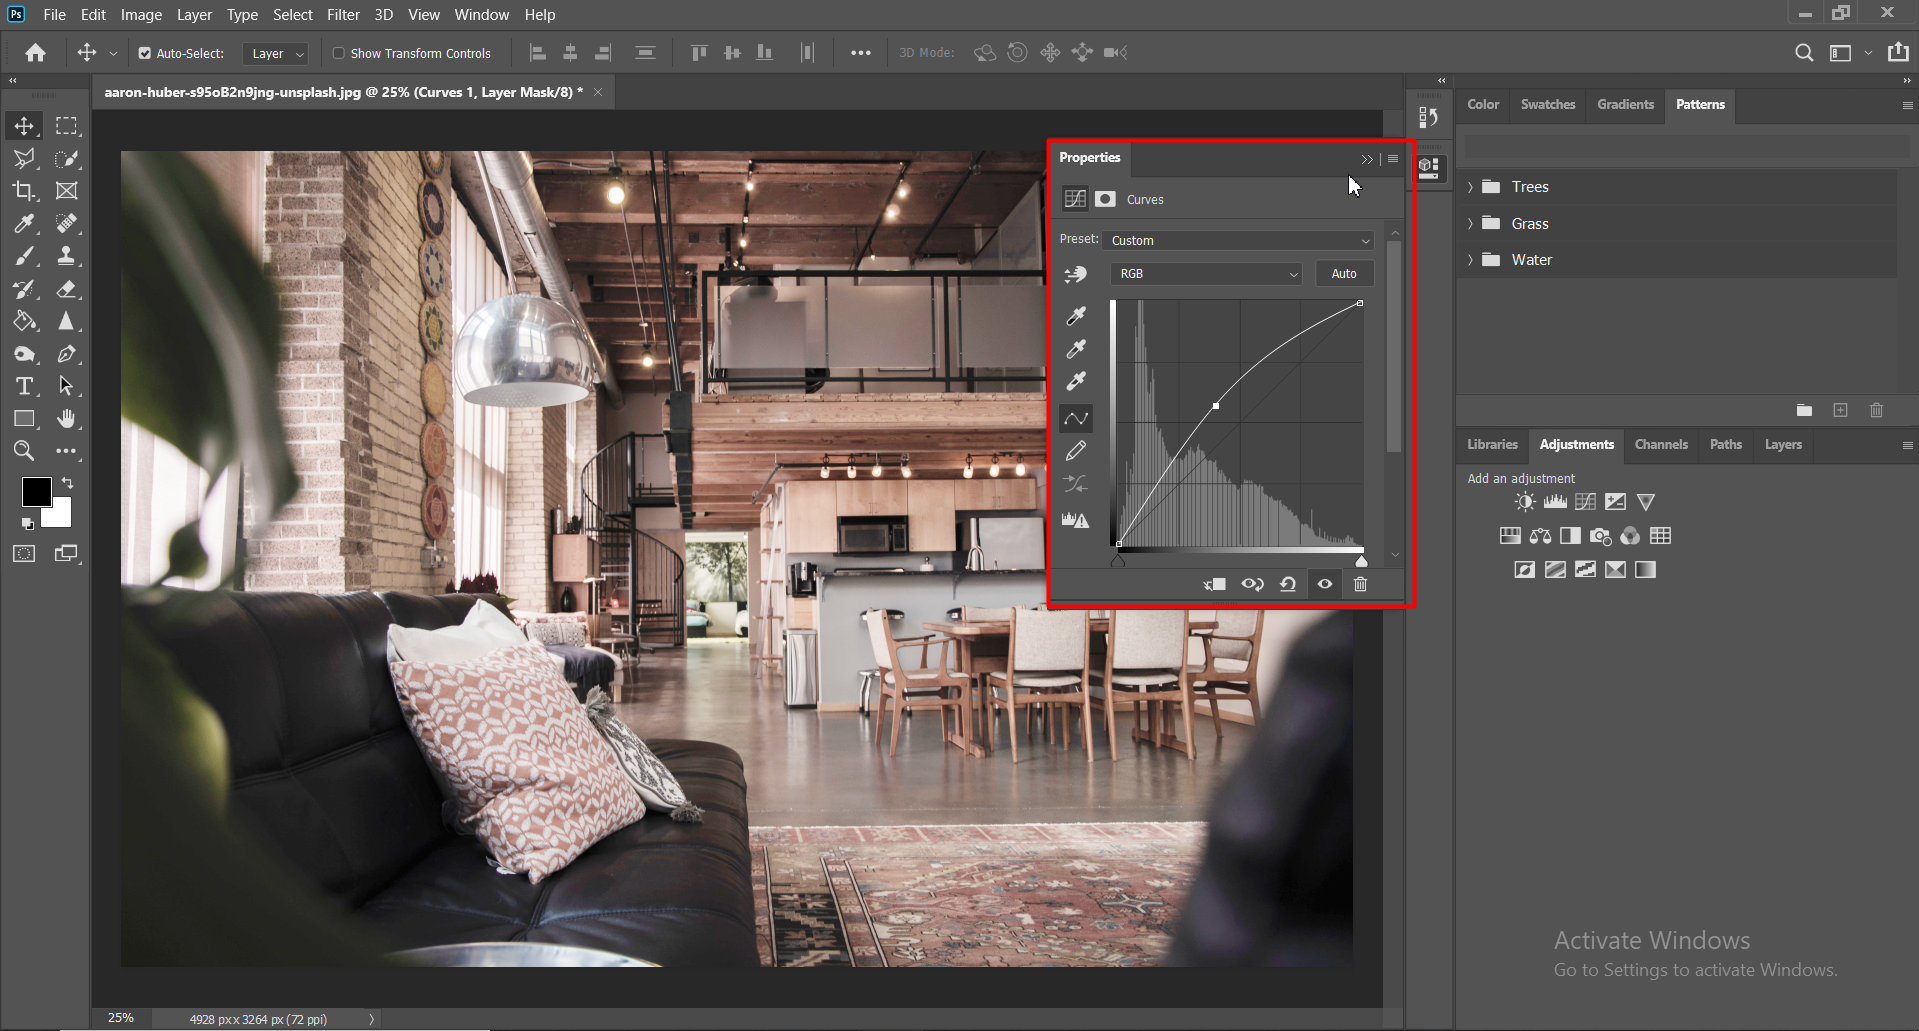
Go to the adjustment panel from the right toolbar and select Brightness/Contrast. You may adjust the values from this setting. There is also a Curve available that corrects the color. Adjust the curve and check the color.
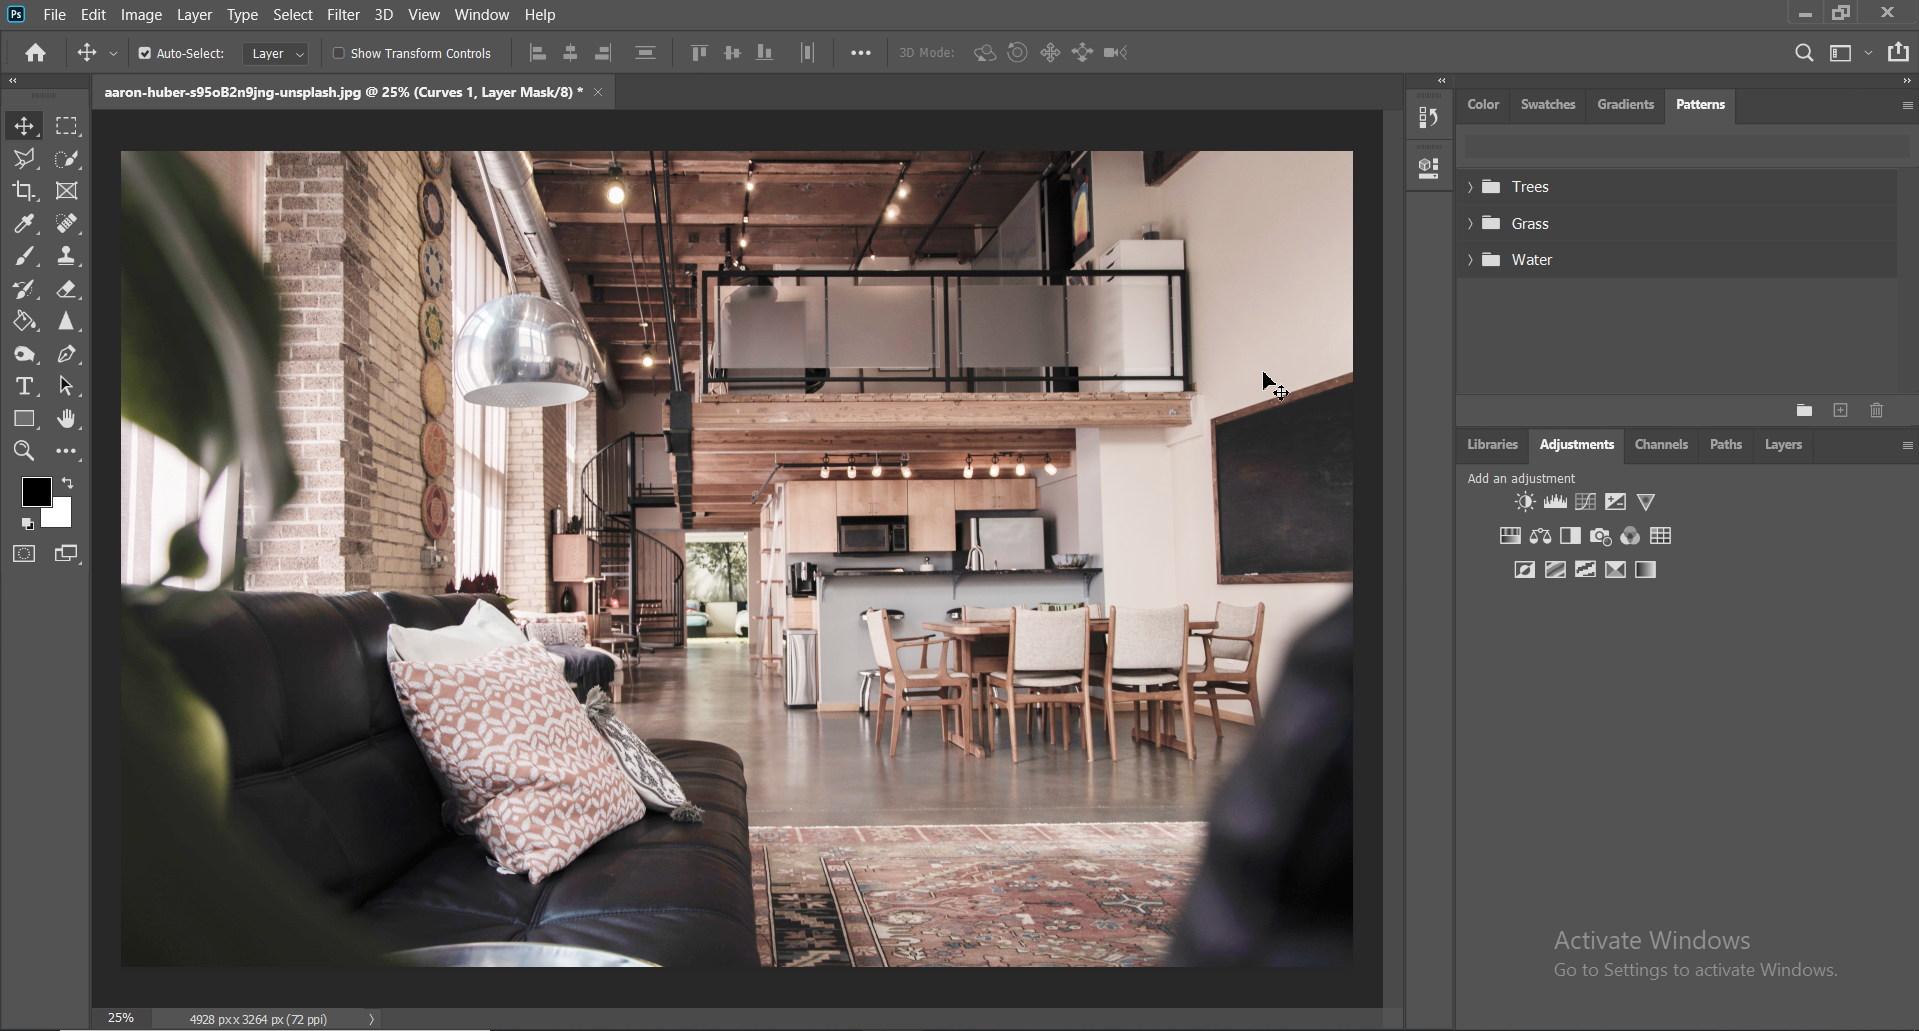
Here is the final output of the first image. You are increasing the brightness but without damaging the details. Adjusting the values will get you a better color
Object Removal:
If you find any unnecessary object in the picture, you need to fix it by removing it. Try to keep the focus on the building or the property to get the better attention of the users. To fix the image, either you need to crop out the object or erase it using any spot healing tool such as patch tool. Make sure removing the objects doesn’t damage the overall balance or content of the image.
Crop & Resizing:
Sometimes, you need to crop unnecessary items and focus only on the object. Cropping on photoshop is just like the other editing apps. Select the crop tool and cut the part of the image that seems unnecessary or doesn’t contain any information worth sharing.
Resizing is the process of adjusting the size of an image. This editing is required if you wish to minimize the size of any huge file before sharing it online. Resizing also allows you to increase the size. This will depend on your purposes, but you should have a sense of how the process works.
Social Media Banner:
This one is the most important for business. You will need to make attractive banners for social media to make your business visible to customers. Banners include details about the real estate and also include the contact information of the owners.
The recommended size for social media banners is 1200 x 630 pixels. Attach enough details to the picture and make it look stunning. Don’t include too much information on the banner as it will make the banner too informative that a user may ignore it.
For banners, use the best image of the property. Use a solid color in the background and include the required text. Include just the price and the contact details in the banner. You may add a website or email address for the users to contact if they are interested to know more about it.
What Are the Alternative Tools to Edit Real Estate Photos?
Photoshop isn’t the only tool to edit real estate photos. There are alternative tools available that you may try to make your photos better. You may try the following tools to edit real estate photos –
- Canva: Canva is an online photo editor that is very simple to use. You will be able to resize, edit or customize your real estate photos using Canva. Canva is free to use and there is a premium version available as well with additional features.
- Pixlr: Pixlr is another photo editing tool available for both mobile and PC versions. It’s fast and simple to use. Pixlr can be used to do different manipulation of a real estate photo.
- Snapseed: Snapseed is a mobile app with tons of features. It has no limitations compared with the PC application. You won’t need any additional software if you are an expert on Snapseed.
Final Thoughts
To make the property look good, you need to have good editing of the real estate photos. Try to get good lighting to get things balanced on the image. Don’t capture unnecessary objects in the image. If the photo doesn’t attract the audience, you won’t get a good response using the image. Making a good banner is also an important thing for the real estate business. So, get your photo editing done like a professional.