Good photographs always have an upper hand when it’s about advertising a product. Take car photographs for example. If you take decent pictures, you can sell your car to potential buyers regardless of how old it is. But if the pictures are not good enough, not many people would show interest to buy the car.
How catchy the photos look depends on several factors. But you can still learn how to edit car photos in Photoshop without any prior experience.
If you’re looking for an alternative to car image editing service, you’ve come to the right place. You can edit car photos yourself in two ways- enhance the existing photo or fix image flaws. It can be the lighting, the background, or an unwanted object on the background. But the first step to editing car photos is to figure out what needs fixing.
Sometimes, you may need to remove any visible spots on the car to present your vehicle to others. This can be done using photoshop “Spot Healing Tool” or “Patch Tool“.
We are going to discuss some major fixes for car photos. Follow the step-by-step instructions to get the best photograph of your car.
What Photoshop Tools Do I Need For Car Photo Editing?
Before you start editing, let’s get familiar with some of the most useful tools for editing car photos. This will help you to edit the photo without any pause.
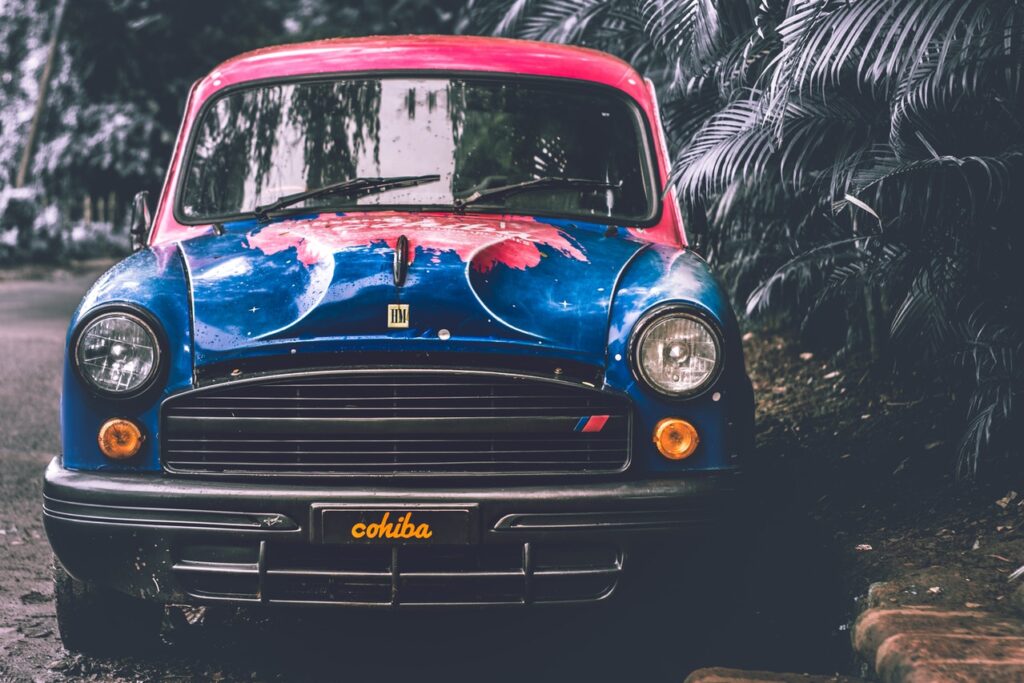
Here are the six most used Photoshop tools for car photo editing –
- Patch Tool
The patch tool is an interesting tool and works great to hide or erase any spot of the car. It will help you to repair any area of the car. Just select the good area and replace it with the area that includes the spot.
- Pen Tool
Pen Tool helps to select any kind of object manually. If you have good control of the selection, the pen tool will be the best option for you. The pen tool will give you lots of advantages while editing car photos as there are different shapes in a car image.
- Spot Healing Tool
Spot Healing tools will make your car flawless. If there is any spot or mark of an accident, using this tool will remove the spot.
- Sharpen Tool
Want to enhance the details of your car? Using sharpen tool increases the image’s contrast and makes it look better. If any part of the cart is unclear or blurry, using this tool will fix it perfectly.
- Dodge and Burn Tool
The dodge and burn tool has several applications. You can brighten or darken any selected part of the image by using this tool.
- Layer Mask
The layer mask tool helps to modify images without erasing them. You will need to use this tool while editing car photos.
How To Edit Car Photos In Photoshop
So, let’s get into the action! Editing car photos will make the visual of your car more appealing. Like mentioned before, the first step is to find the image flaws and try fix them accordingly. Have a glance at the different car editing techniques below –
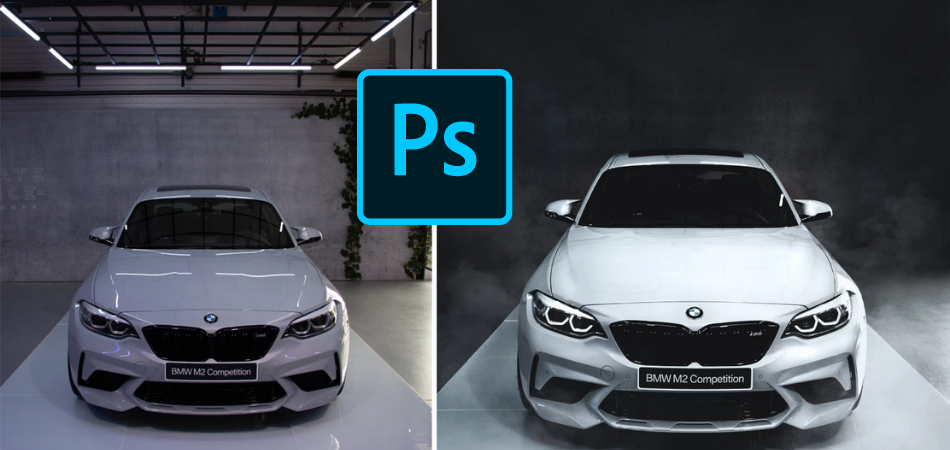
Fix the Lighting
Fixing lighting on photoshop is pretty simple and easy. This helps to make the car get more focus on the image. Be careful while fixing the lighting as it may damage the image if you change the values too much.
Check the detailed instruction below –
Step 1: Import the Image
Open the photoshop software and import the car image. Duplicate the layer by using the keyboard shortcut Ctrl + J [Windows] or Command + J [Mac].

Step 2: Adjust Brightness
As you can see, the image has lighting issues. There is not enough contrast and focus on the body of the car. Let’s fix it.
Go to Adjustment > Brightness/Contrast panel. Change the values of Contrast and Brightness and check the difference.
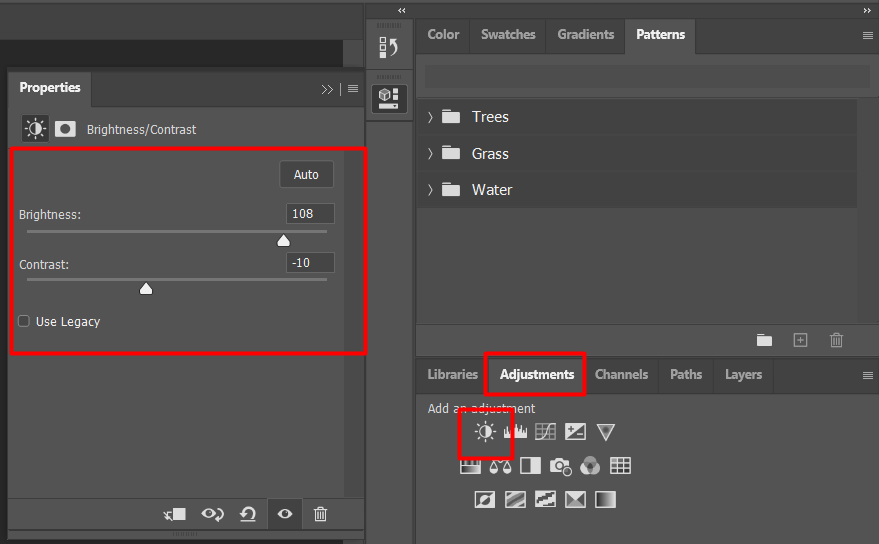
Here we changed the brightness to 108 and the contrast to -10. Check the difference now.
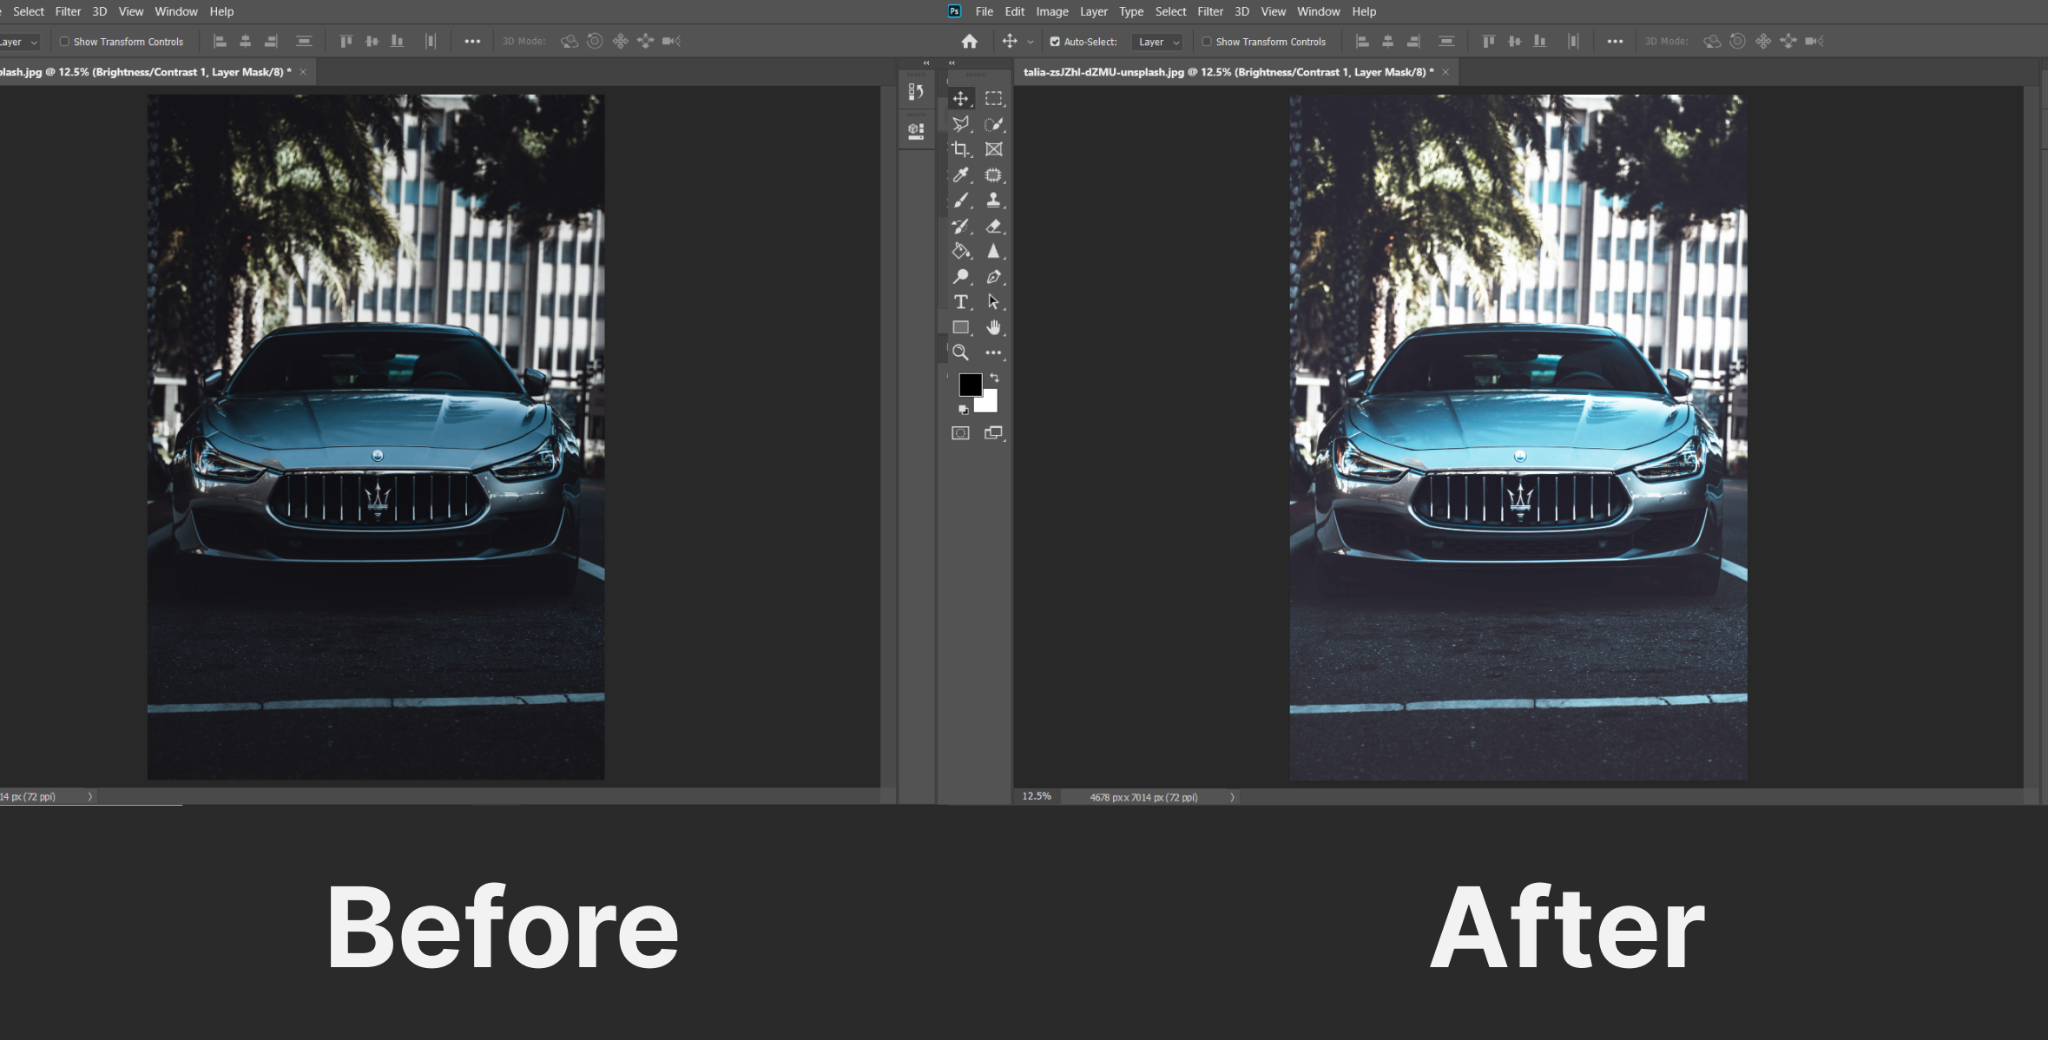
The car is now more visible than before and it’s looking great as well. You don’t need any professional experience in photoshop to fix this lighting. With just two simple steps, you are getting better visuals of your car.
Remove any Spot
A spot on your car will damage the whole picture for sure. You won’t feel good showing or sharing your car image because of this spot. It’s pretty simple to remove the spot from your car using photoshop.
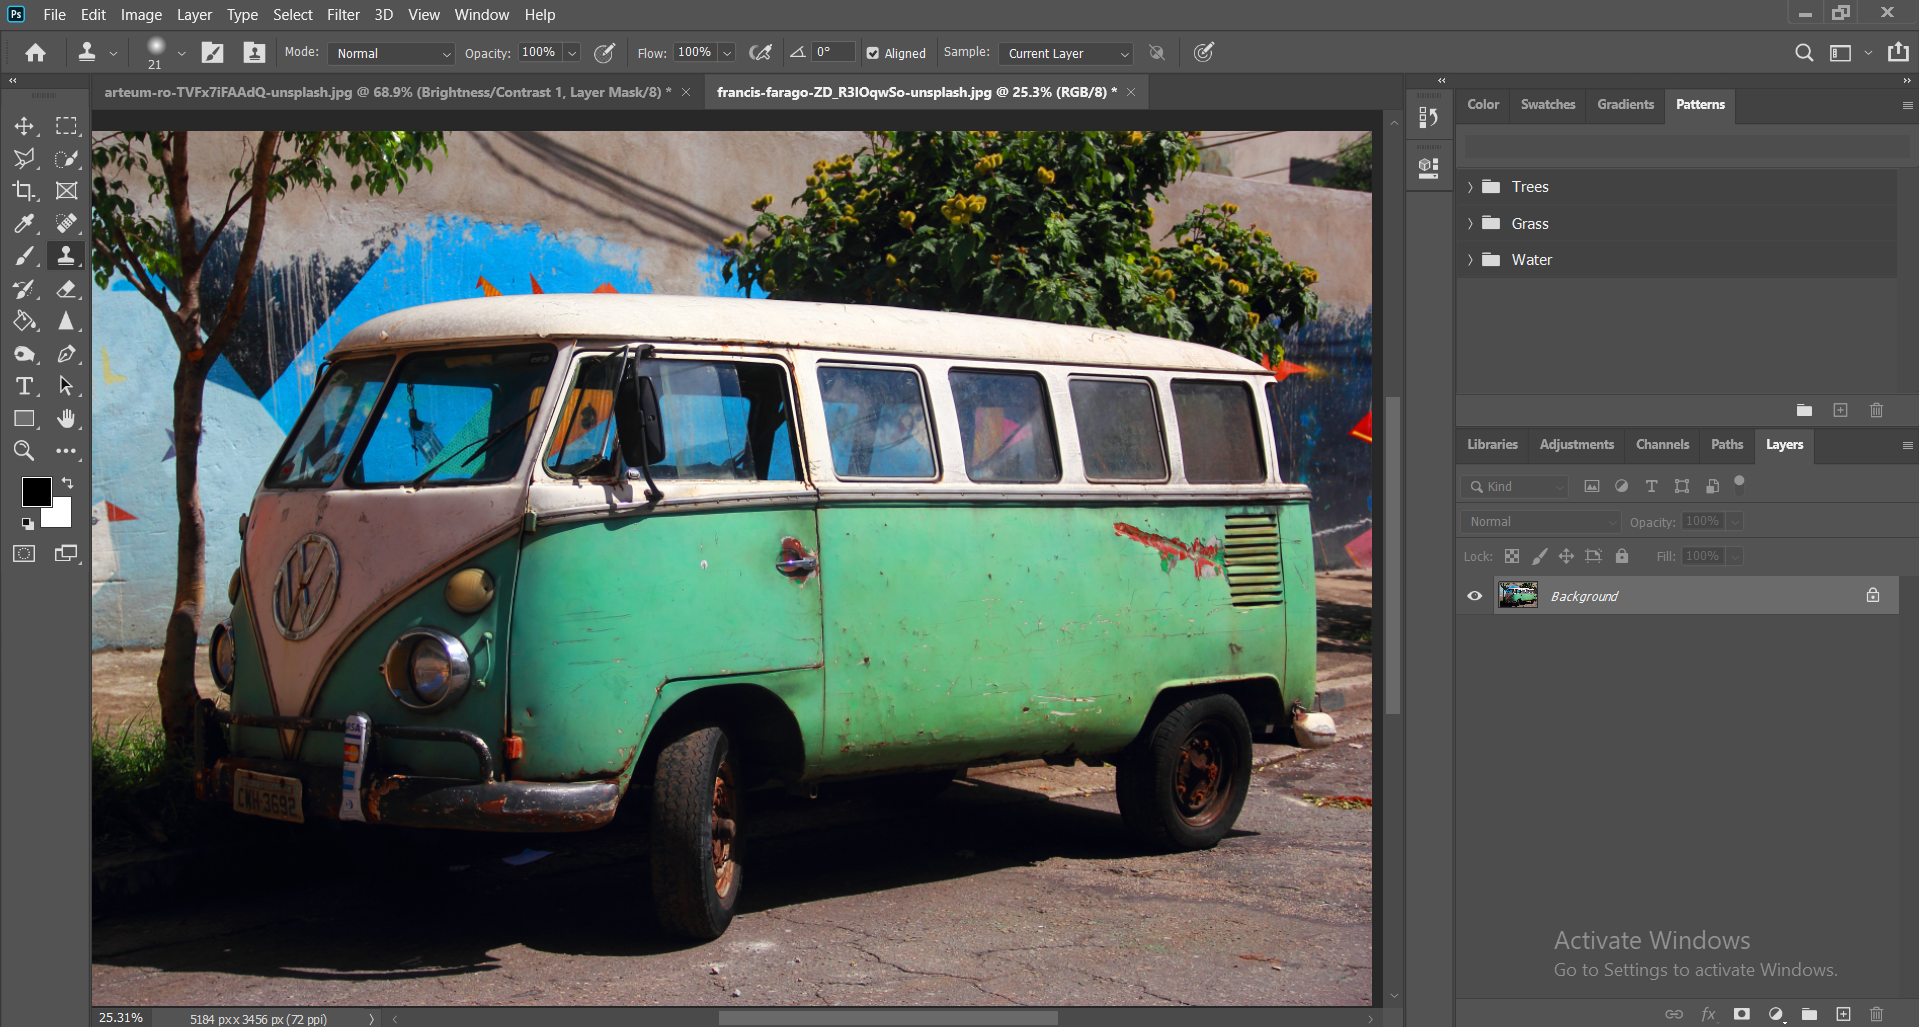
Step 1: Duplicate the Layer
First of all, import the image and duplicate the layer. To do that, select the Duplicate Layer icon from the Layers manu. In this editing, we will use the Clone Stamp tool to erase the spot.
Step 2: Clone Stamp Tool
Select the Clone Stamp Tool from the left toolbar or by using the keyboard shortcut ‘S’. The next step is a bit tricky.
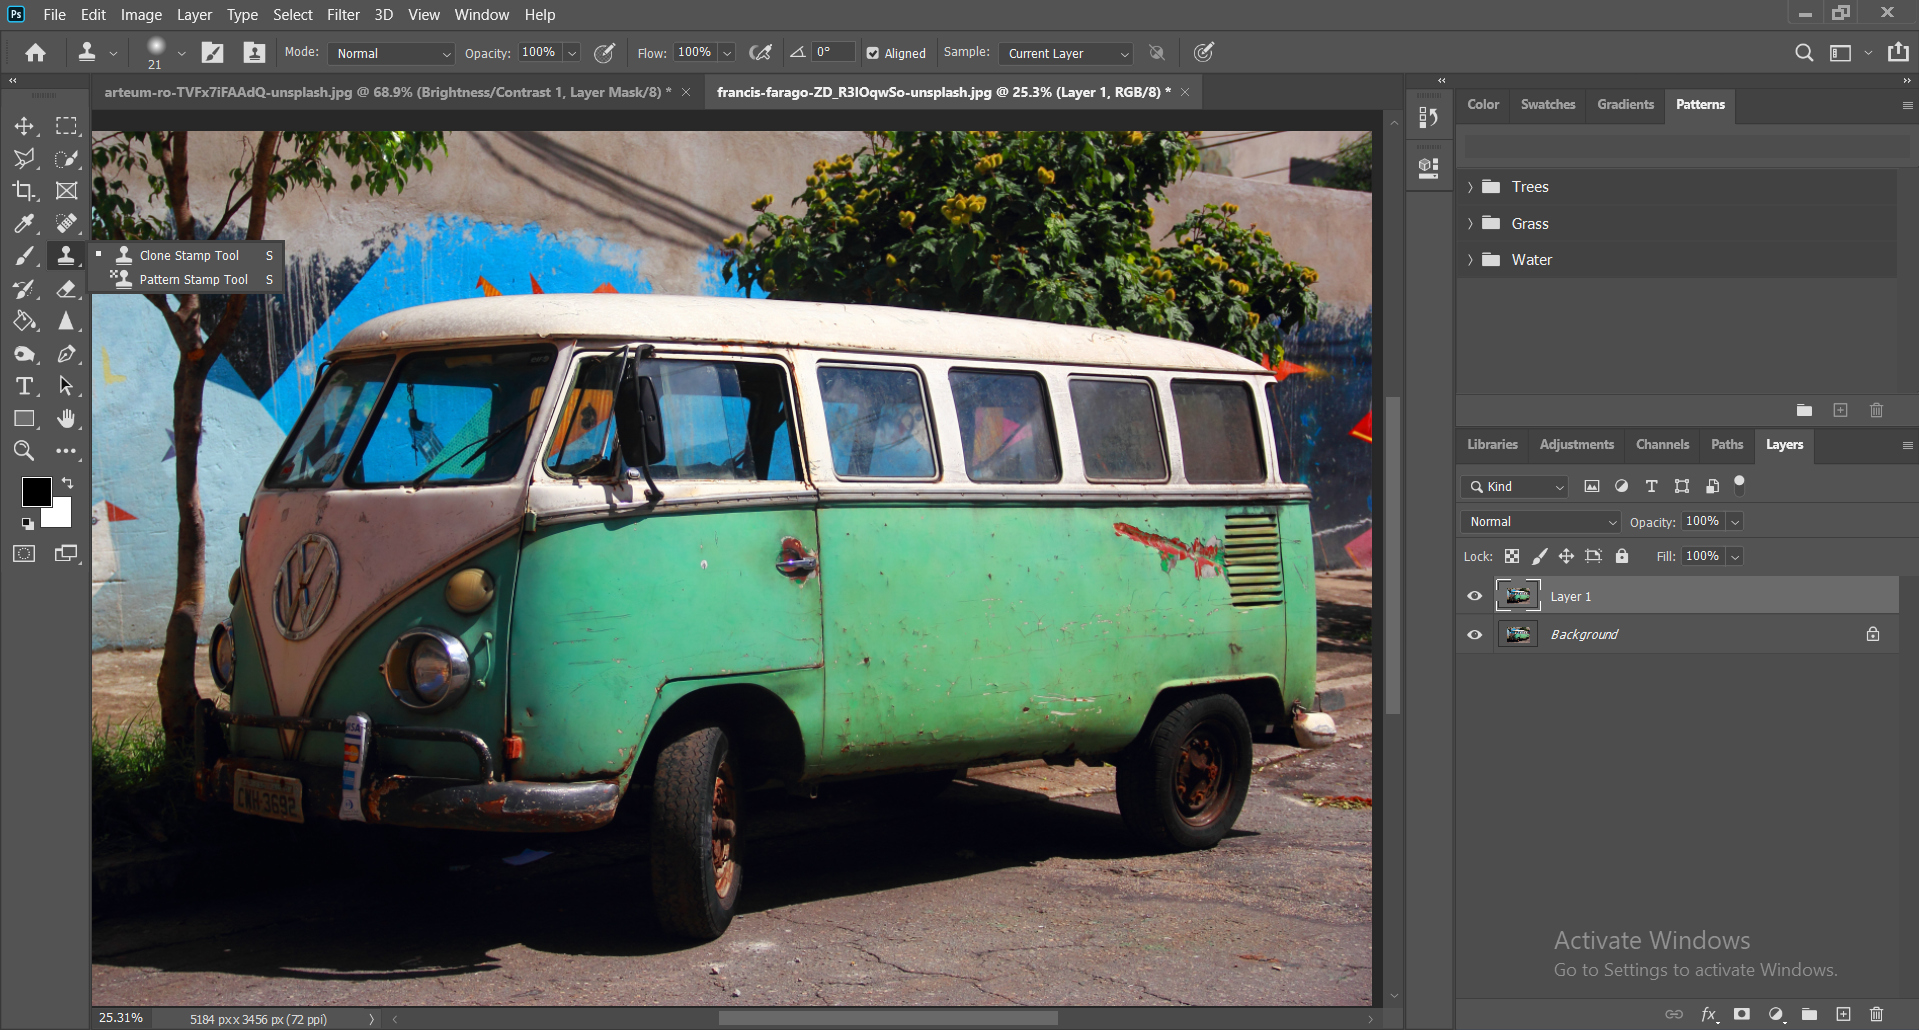
Step 3: Select & Copy Surface
Once you select the tool, click on ‘alt’ and select a surface of the car that doesn’t have any defect or spot. This surface is now cloned or copied to paste over the surface with a spot.
Step 4: Remove Spots
Keep dragging over the damaged surface of the car. This will replace the surface with the cloned one.
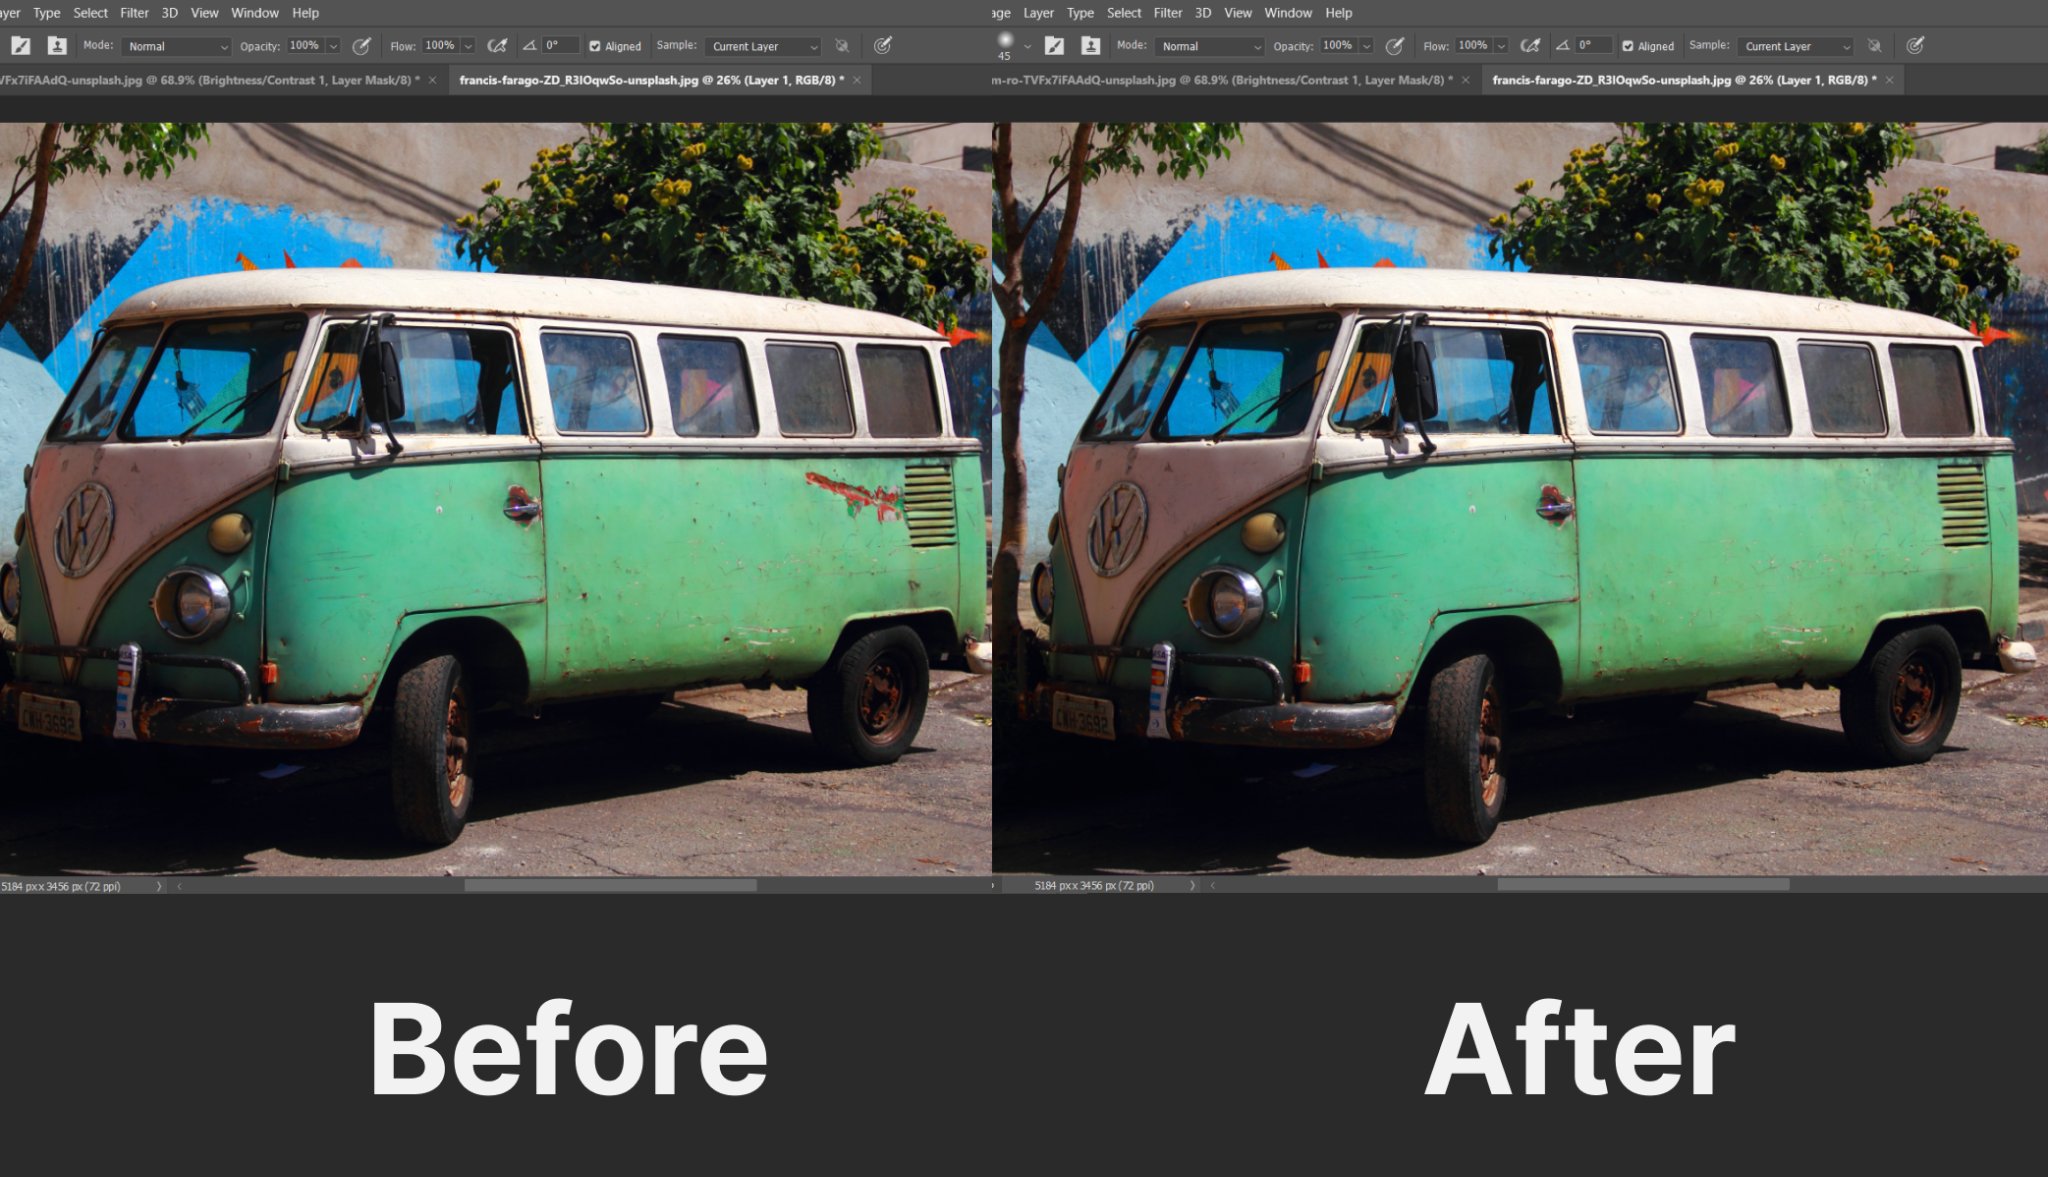
Here is the final output after applying the Clone Stamp Tool. The spot is now removed and it’s looking better than before.
Enhance the Detail
Enhancing detail refers to sharpening edges and remove any blurry segments on the picture. You can work on any part of a car that is visible on an image.
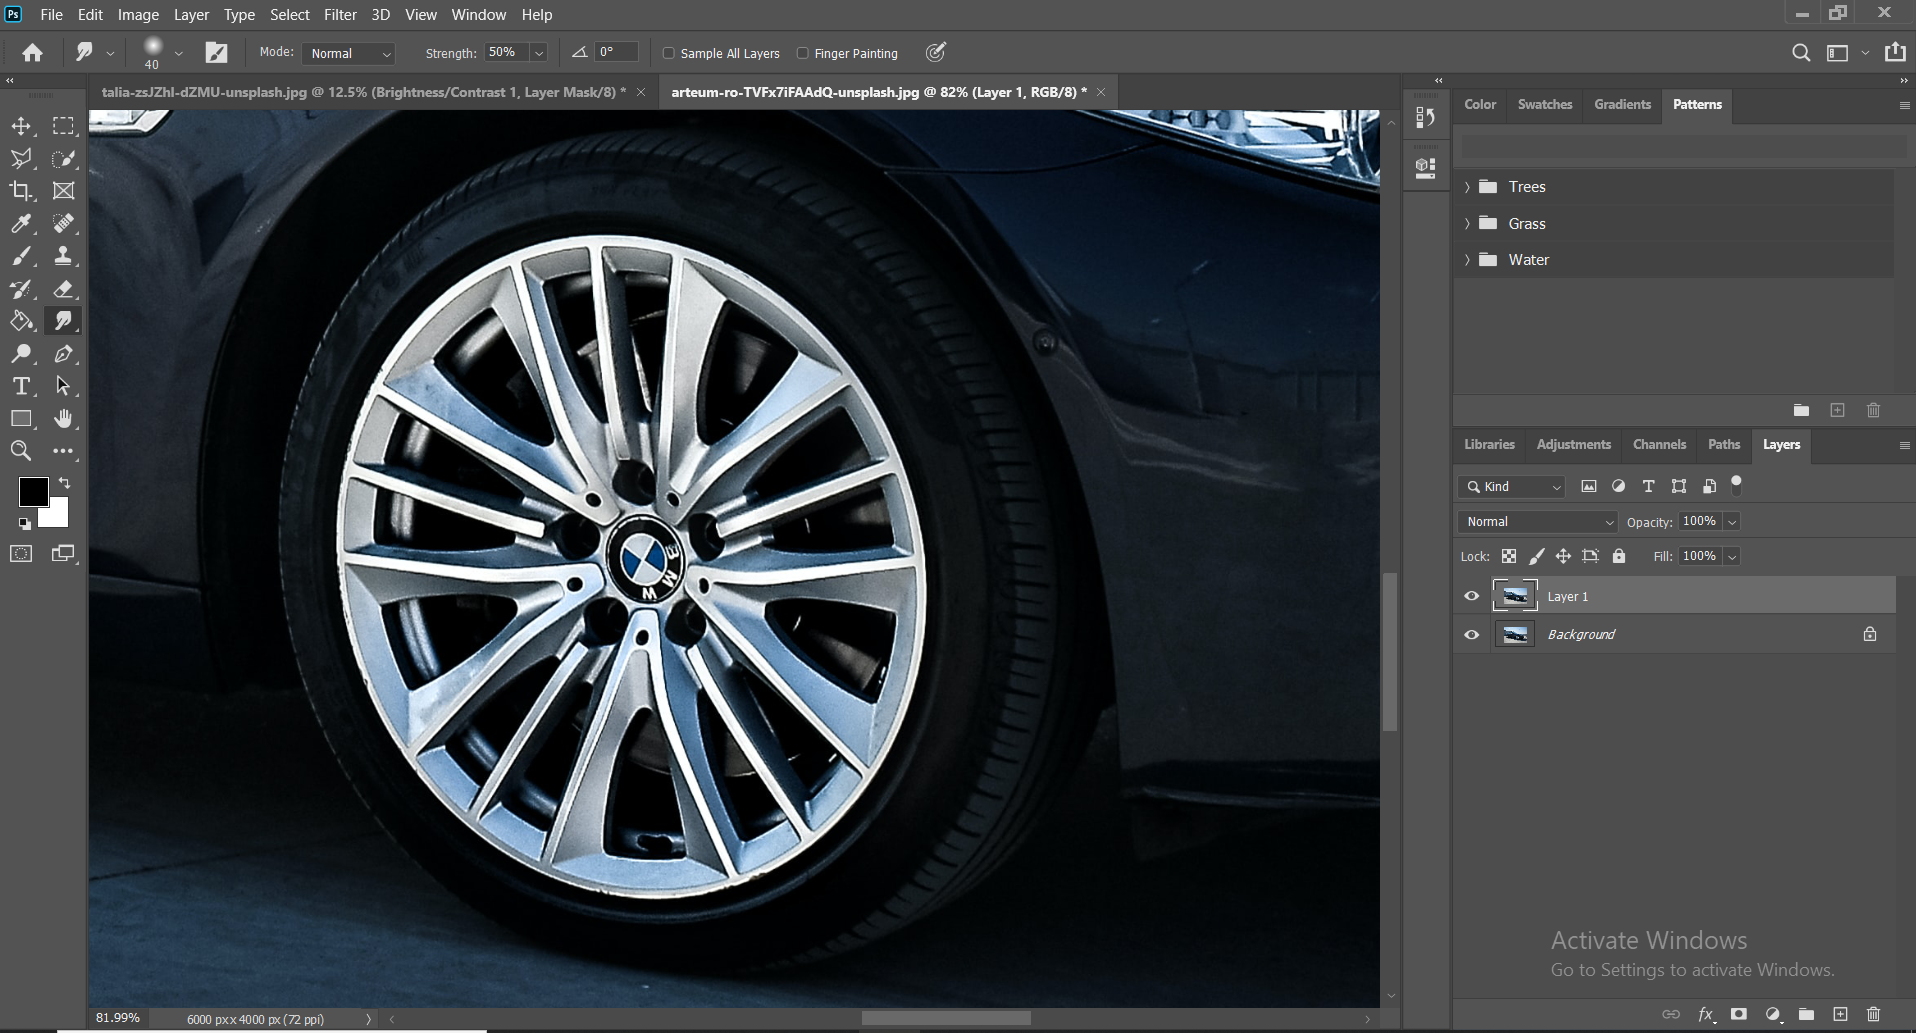
Sharpen tool is one of the common tools to make things clearer. Let’s fix the wheel and check how it looks after applying the sharpen tool.
Step 1: Duplicate the Layer
Import the image and duplicate the layer. Select the Sharpen tool from the left toolbar.
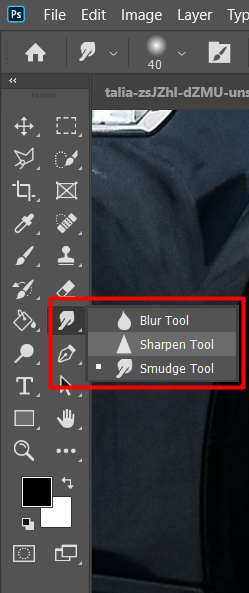
Step 2: Use the Sharpen Tool
Click the mouse and drag it over the wheel. You will notice on the image that the wheel looks crisper and clearer. Don’t drag too much as it may add too much noise to the image. Try to keep it natural.
You may adjust the brightness/contrast a bit to make it look better.
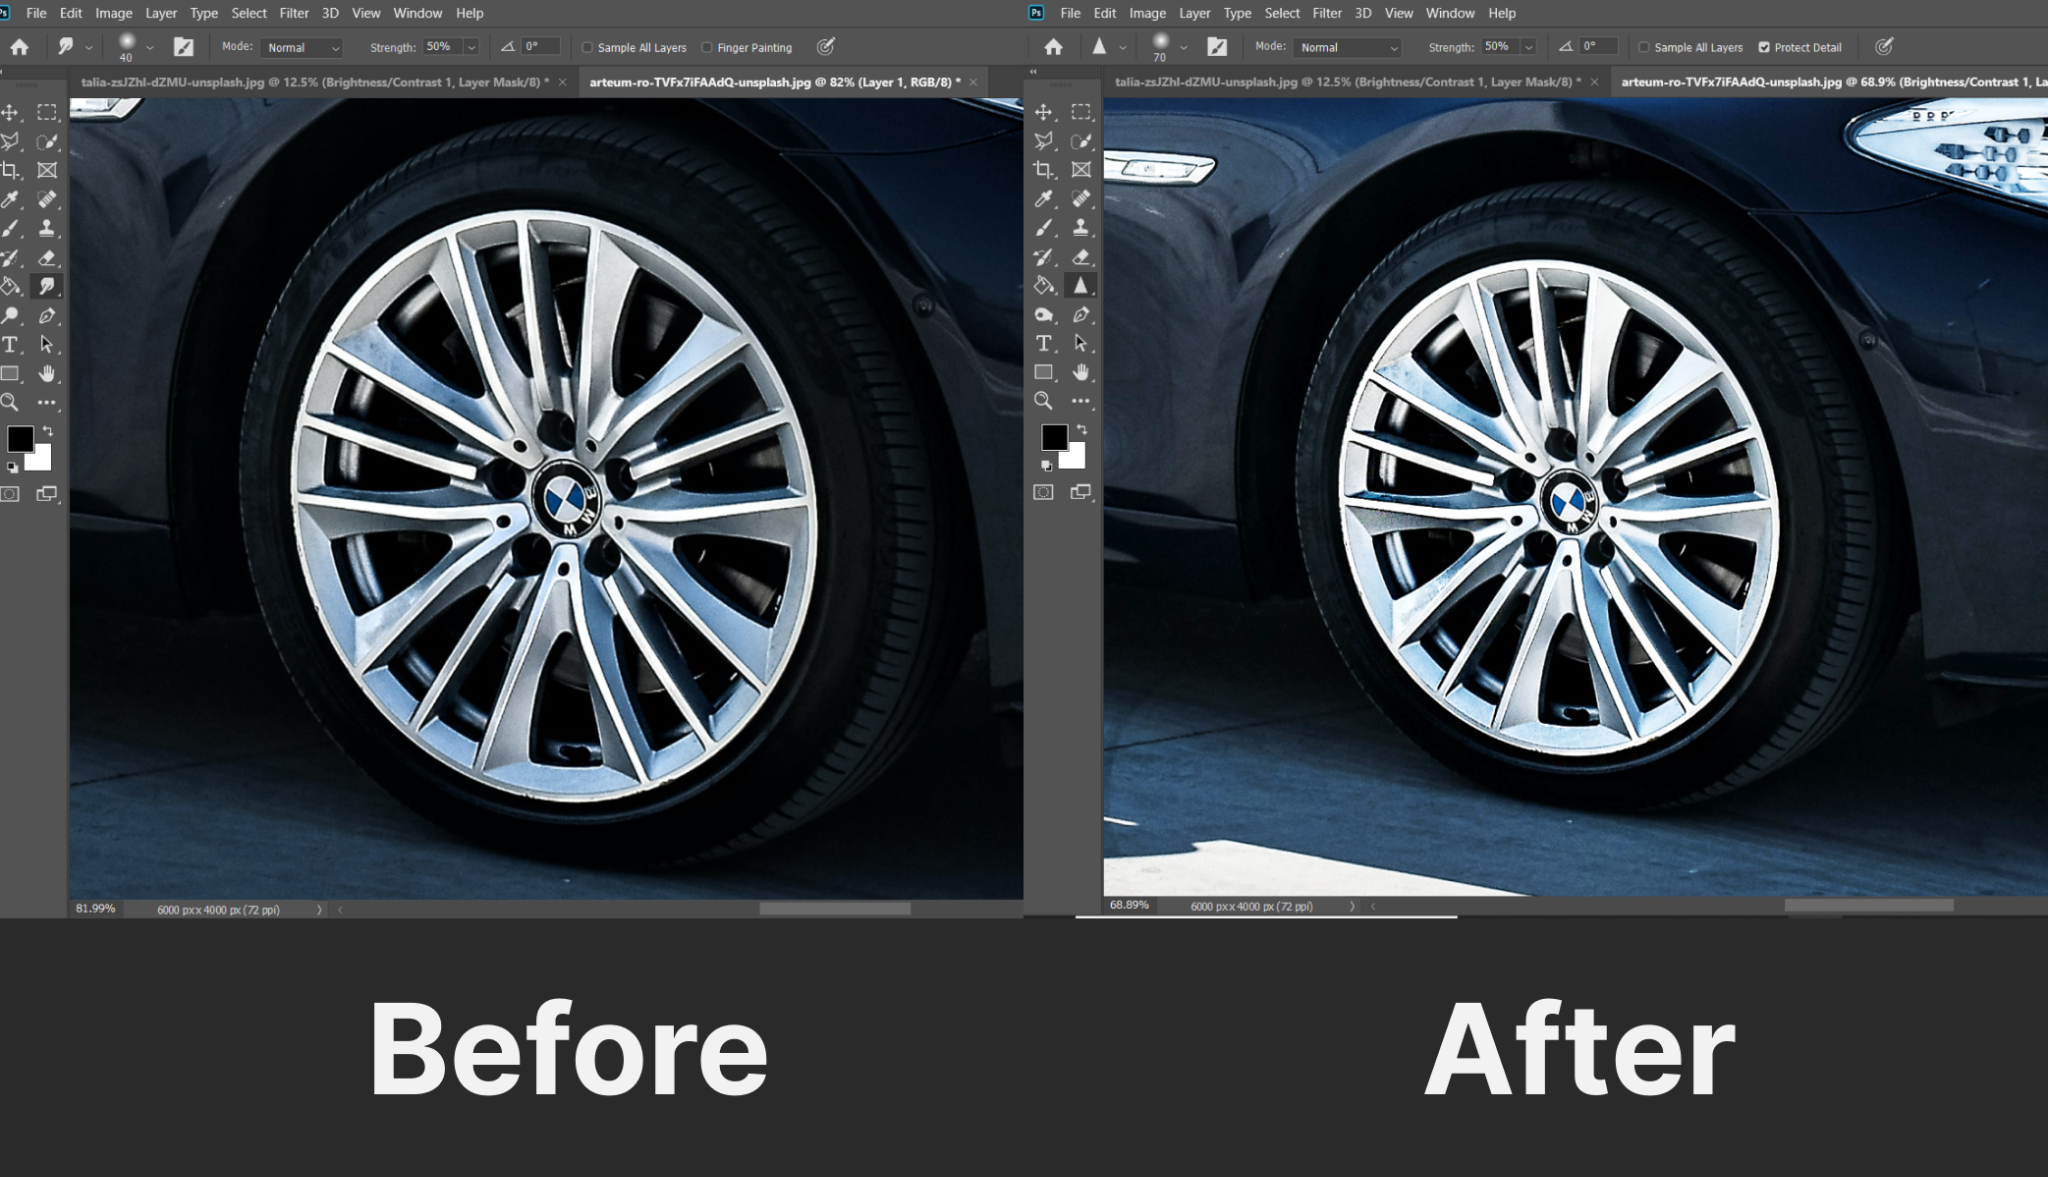
Here is how the final output looks. The wheels are now clearer than the first one. That’s how you focus on every individual and improve the visuals using the sharpen tool.
Background Fix
Have a look at this image. The car is looking stunning, but wouldn’t it look even better if there were no lampposts?
So, let’s see how can you fix this kind of background –
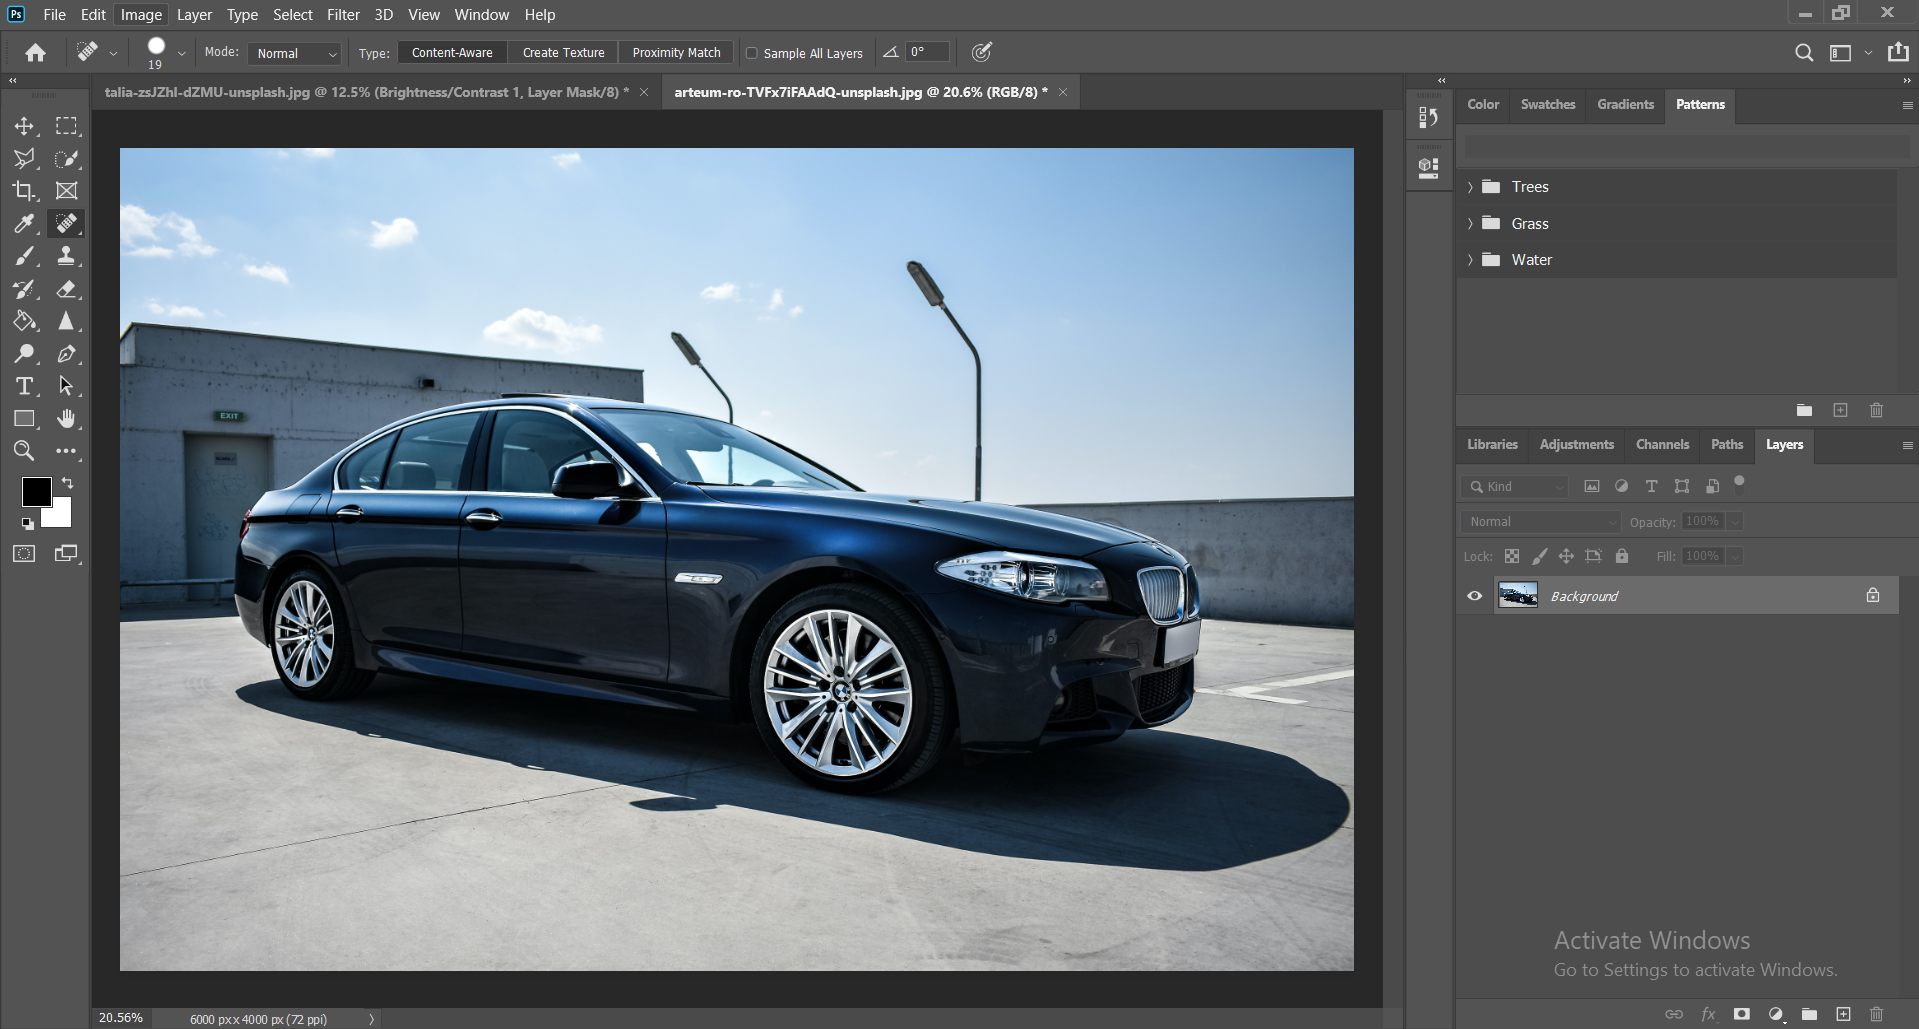
Step 1: Duplicate the Layer
For this kind of fix, we need to use the Spot Healing Brush Tool. Import the image and duplicate the layer using the keyboard shortcut Ctrl + J [Windows] or Command + J [Mac]. Select the tool using keyboard shortcut J.
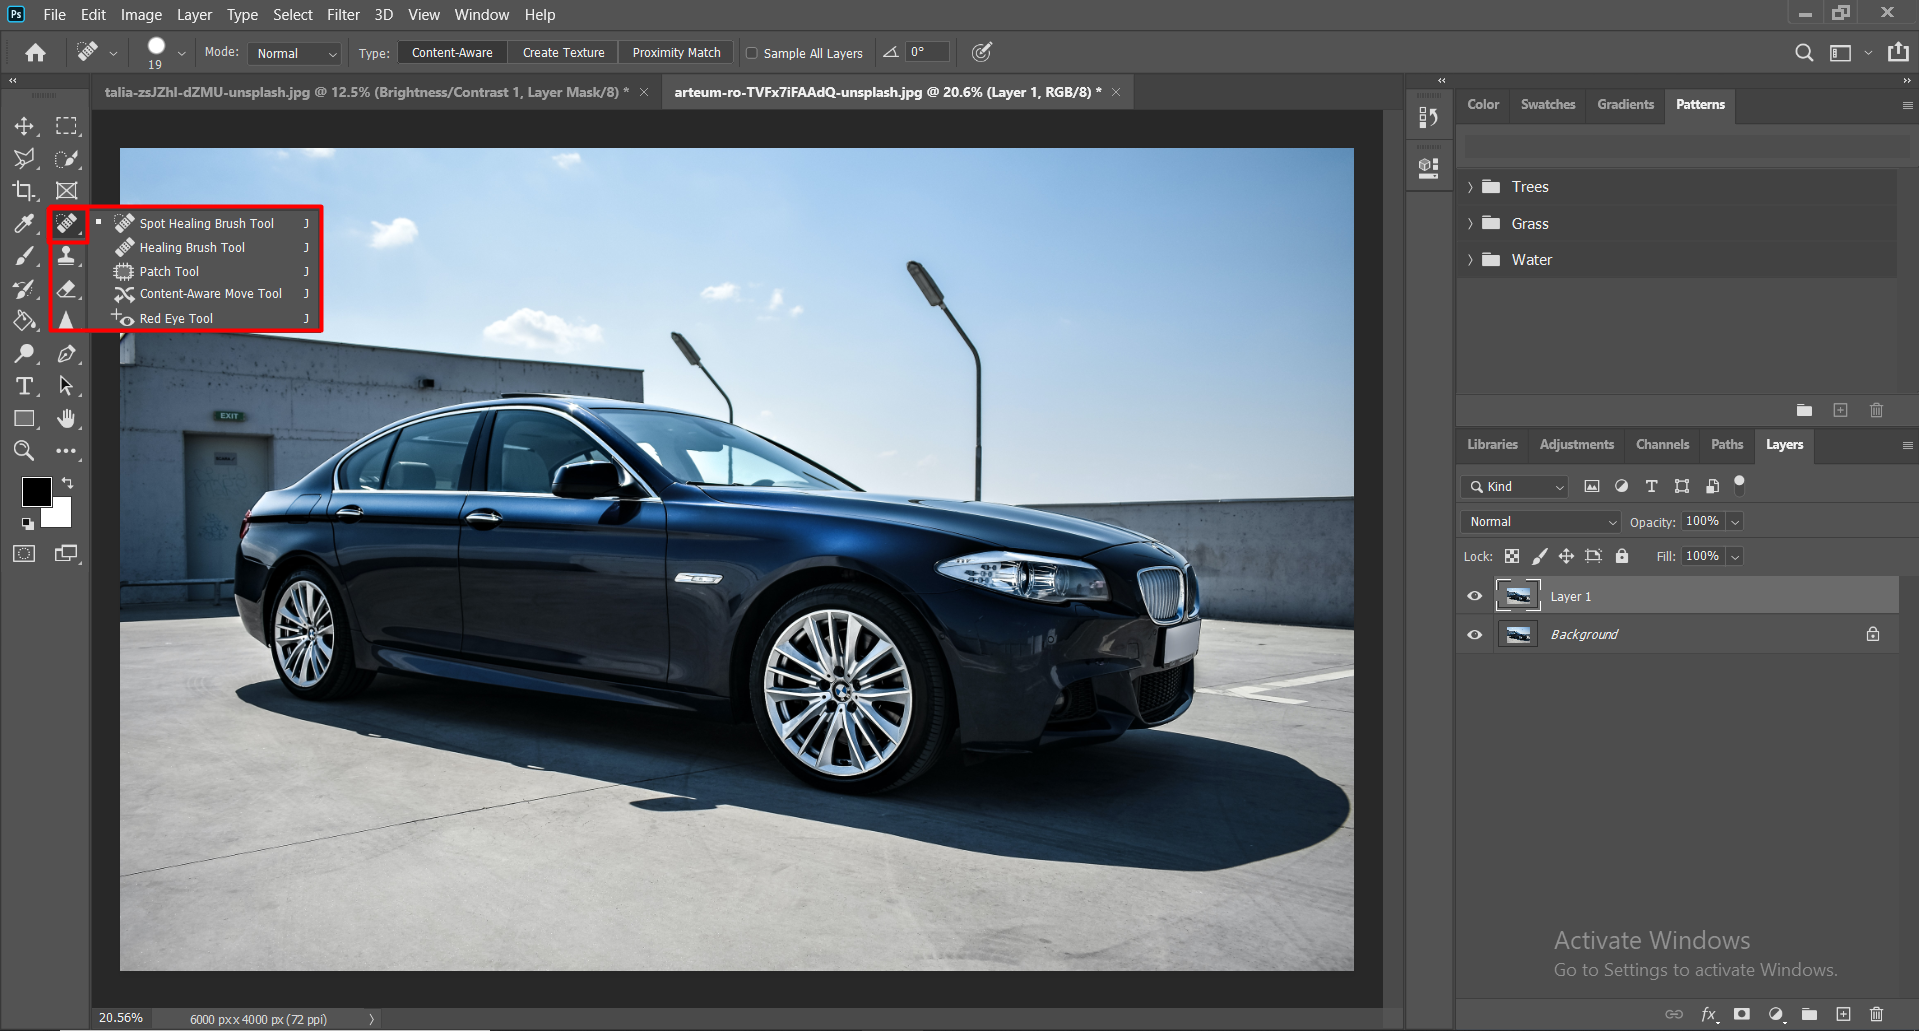
Step 2: Select and Drag the Brush
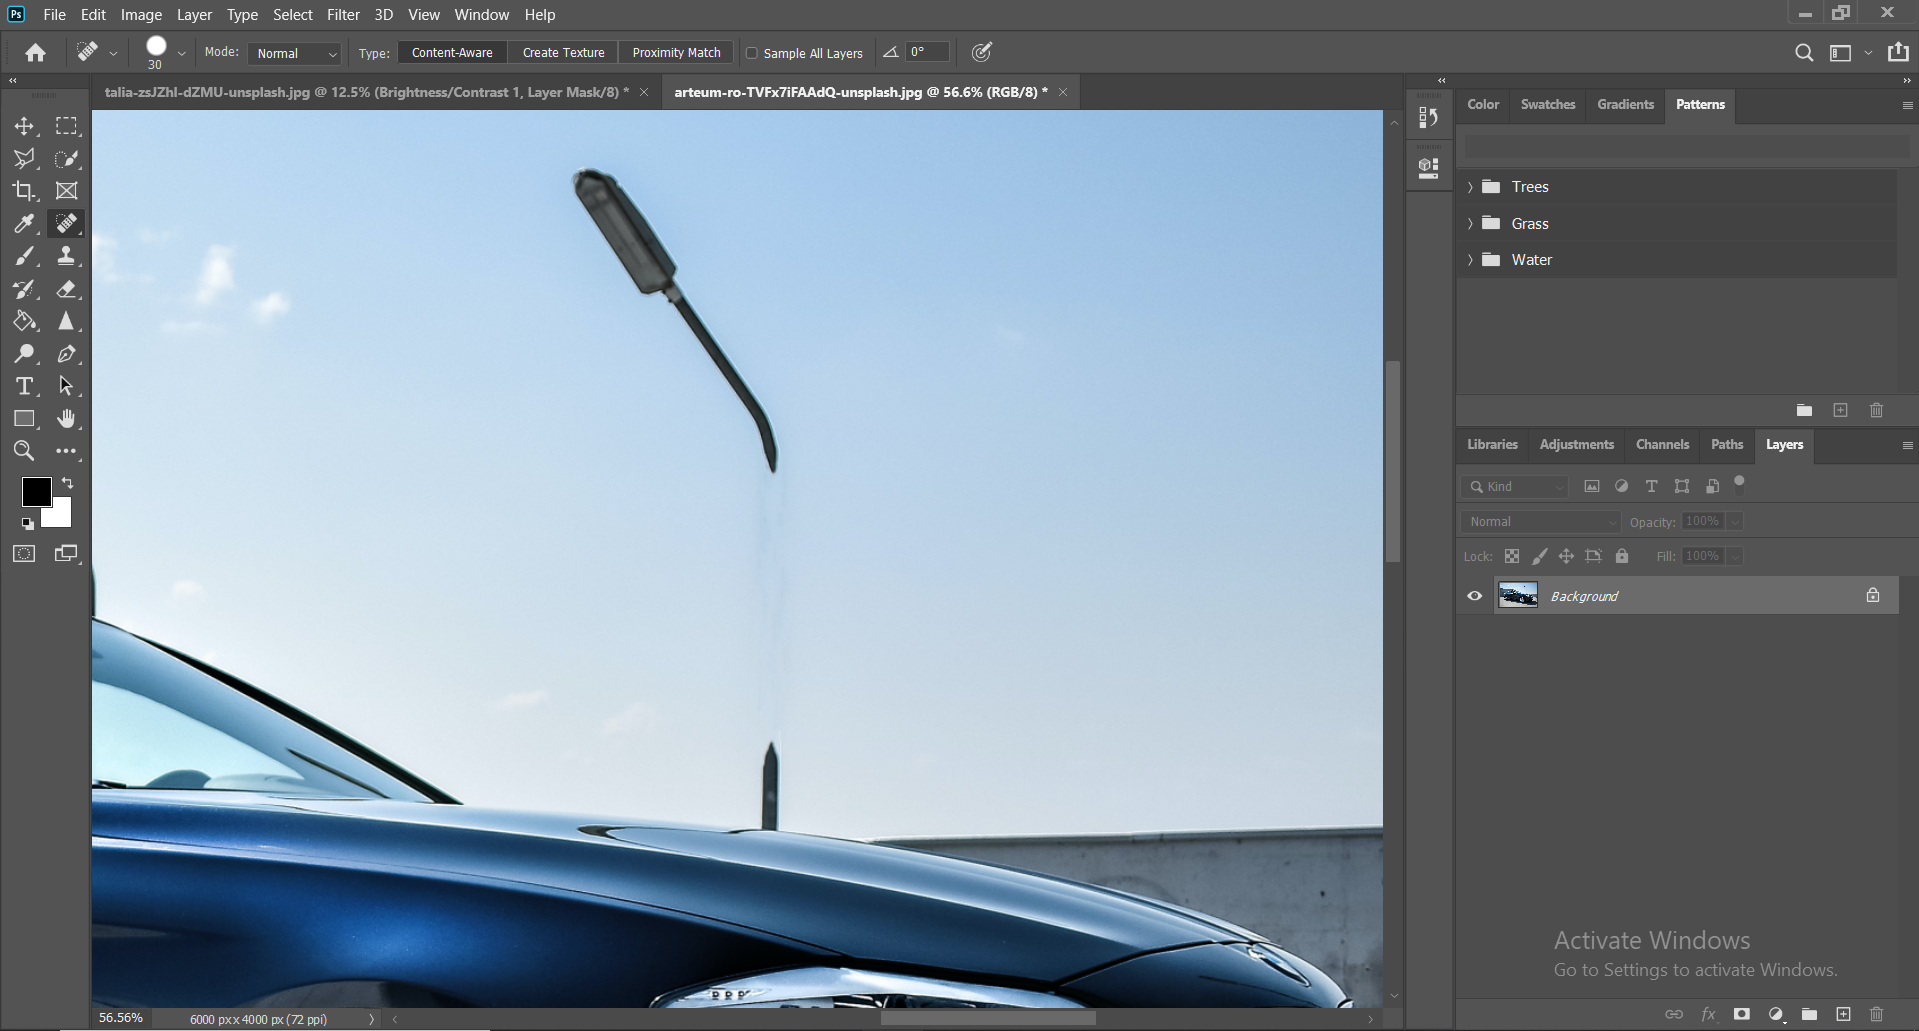
Now, you need to select the tool and click and drag over the lamp post. Don’t drag for too long as it will damage the visual.
You may increase or decrease the size of the brush by using the keyboard shortcut ‘[’ and ‘]’. This removal process needs patience and will get you a good output if you manage to use the tool perfectly.
Below you can see the final output. There are no lamp posts and the background is now looking better than before. Removing these kinds of unnecessary objects keeps the car in focus.
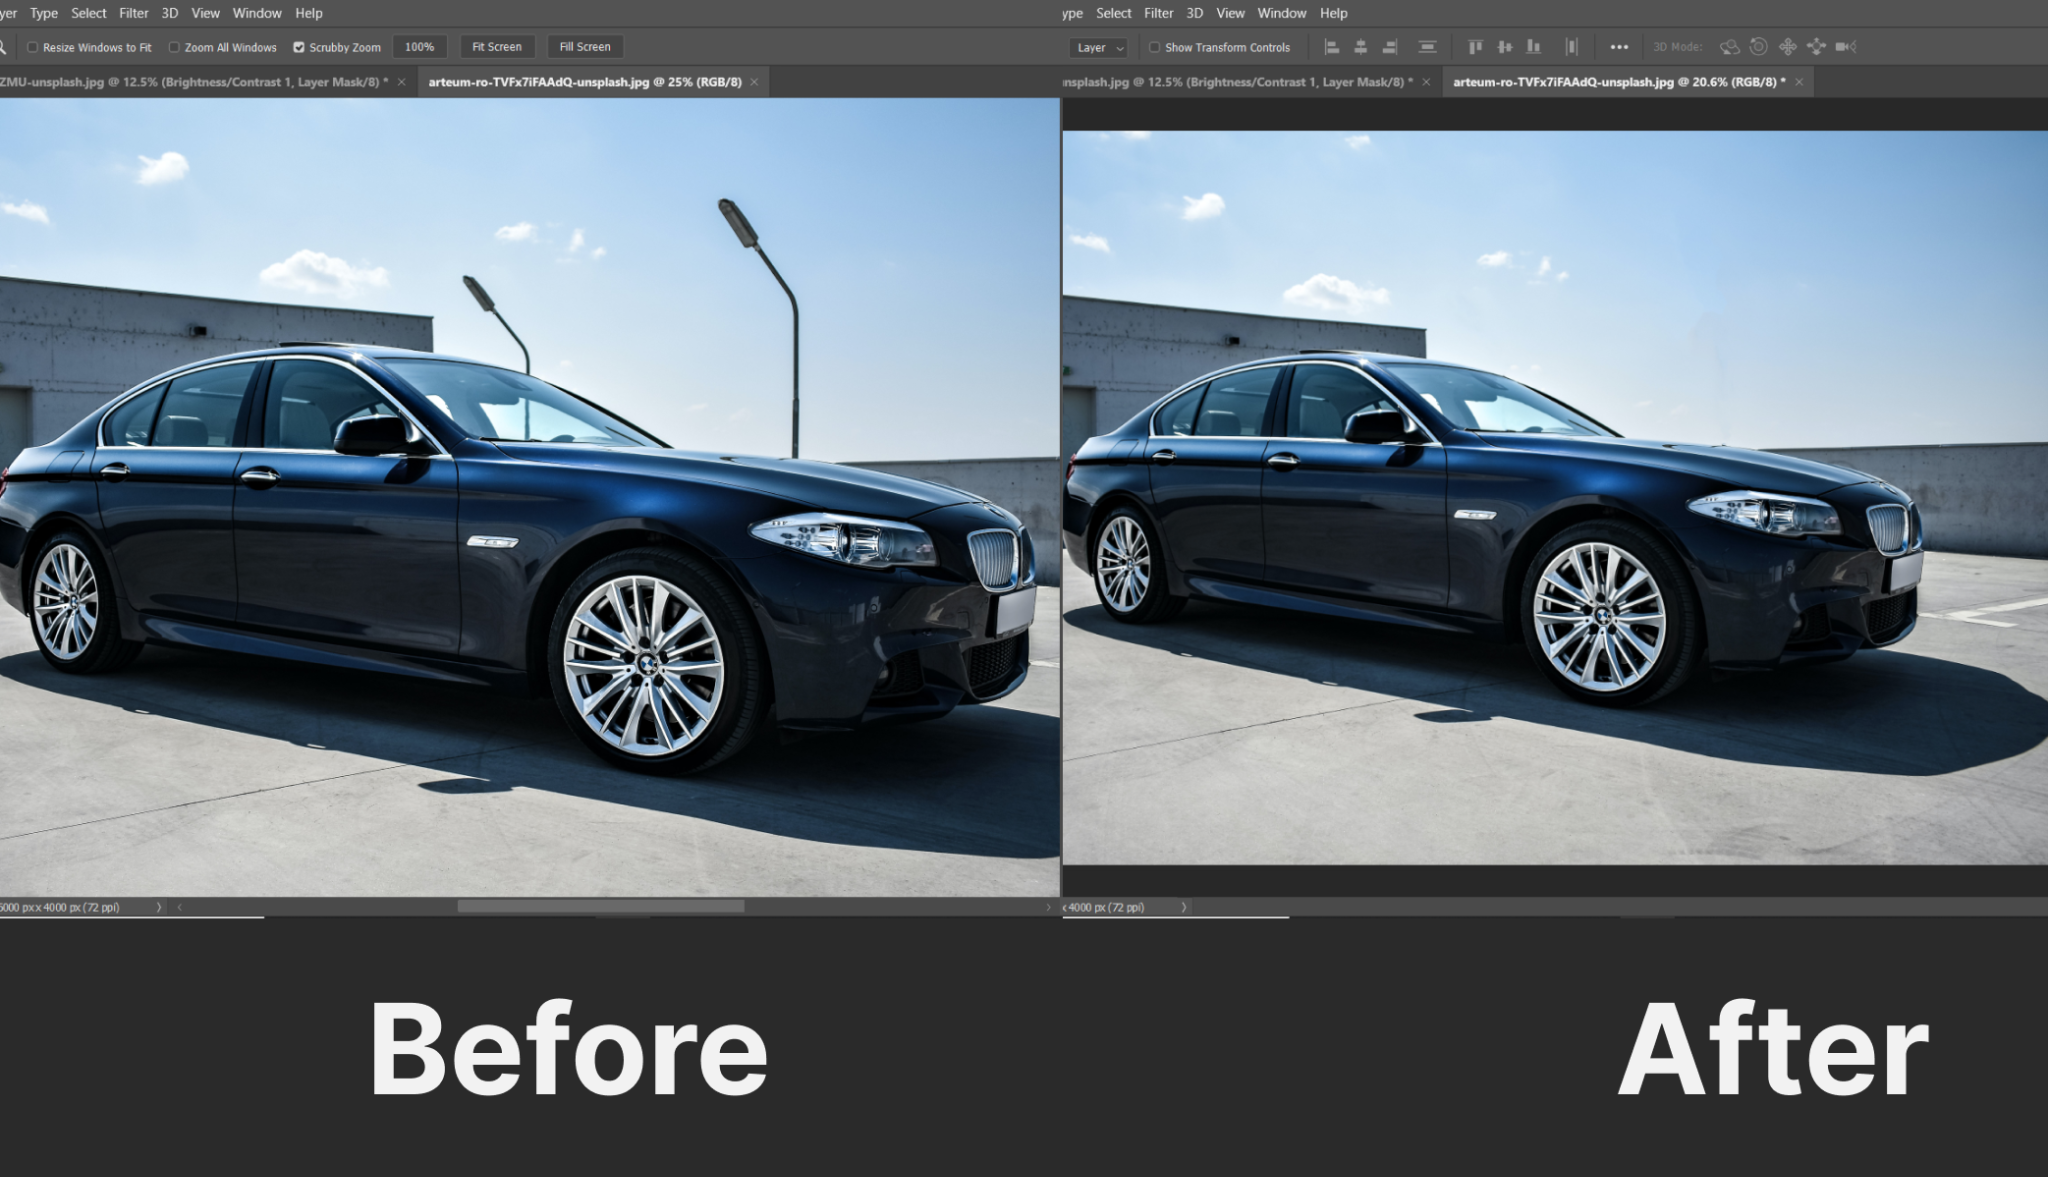
These are some of the common edits of car images. They are easy and can be done by anyone. Just remember not to edit too much as it may damage the natural vibe of the image.
Conclusion
Editing removes the flaws of any image. It helps to present a better version of your car. You can follow the techniques mentioned in this article to make any photo more attractive.
On the other hand, practicing these tools will make your editing more professional. So, next time you have a spot on your car or there is a problem with the background, edit the image in photoshop to solve the issue. Good luck!
Do you want a professional car editing service? Clippingfly would be your best choice. Just check out our car editing service for more information.
