Clipping masks in InDesign allow you to crop an image, text frame, or group with a vector shape or path. It’s a handy way to quickly cut out a specific area and give images and text interesting shapes. Compared to Photoshop and Illustrator, InDesign will allow you to apply clipping masks with ease!
In this guide, I’ll walk through the easy steps to create a clipping mask on text in InDesign. So, be with me till the end to learn how to apply a clipping mask on text within a couple of minutes. Let’s begin then.
Steps for Clipping Mask Text in Adobe InDesign
Clipping masks are a powerful tool in InDesign for controlling the visibility of objects. By applying a clipping mask to text, you can quickly crop text to specific shapes for creative designs. Here are the key steps to clip text with a shape in InDesign:
Step 1: Create the Text You Want to Mask
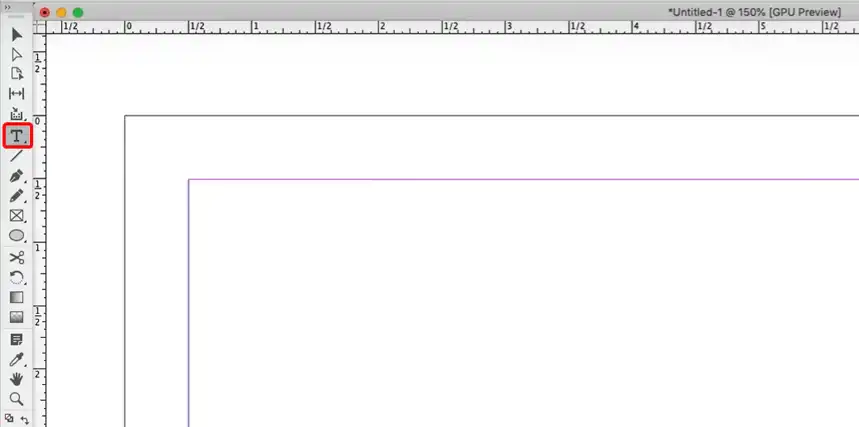
First, create a text frame and type or paste in the text you want to mask. To do it, click on the Text tool or simply press the T key on your keyboard.
After that, click and drag to draw the text frame and then start writing.
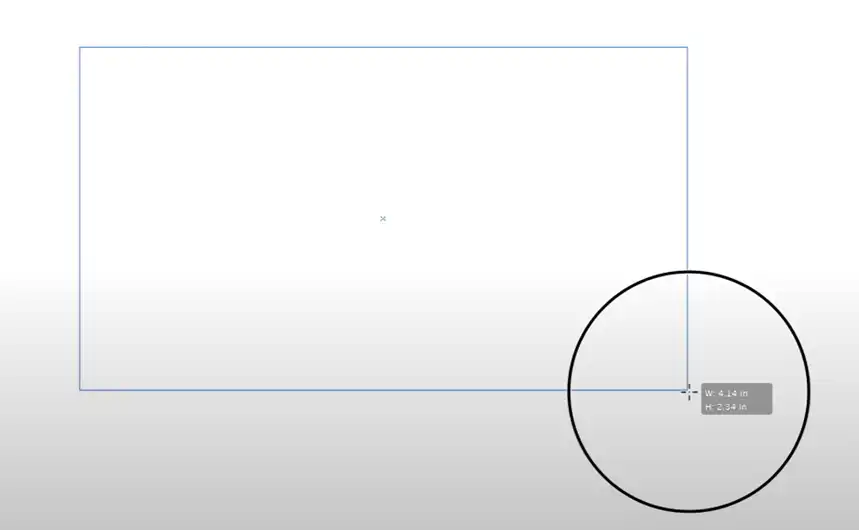
You can size and format the text as needed. Make sure the text frame extends beyond the area you want to mask so there’s enough text to crop.
Step 2: Convert the Text to A Shape
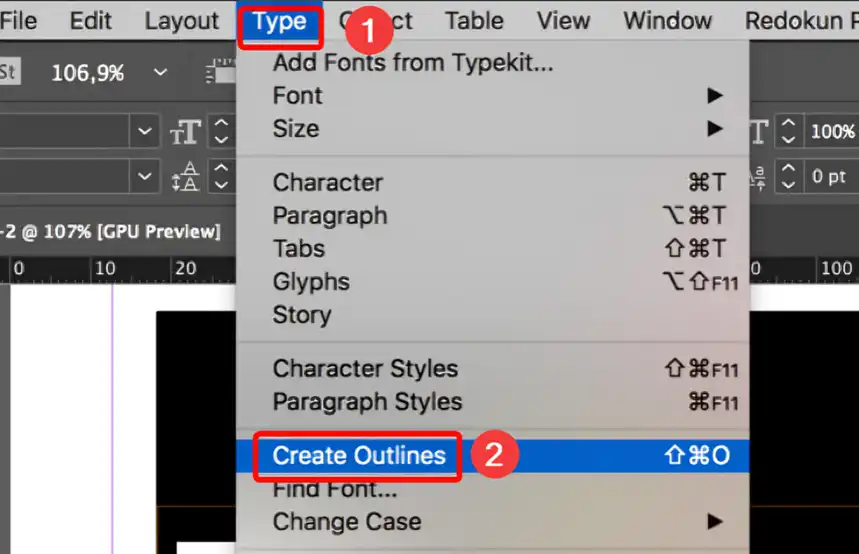
After this, you will need to convert the text to a shape. Without converting, you won’t be able to apply the clicking mask. To do so, click on Type and then click on click on Create Outlines. You can also use the keyboard shortcut as well – Ctrl/command + O.
Step 3: Place the Image
Now, it’s time to place the image that you want inside your text. Click on File and then select Place to insert the picture into InDesign.
Step 4: Create the Clipping Mask
Now, right-click on the picture that you have just inserted into InDesign and then click on Cut. Or you can simply press Ctrl/Command + X. After this, select the Text frame and then right-click > Paste into.

The picture will paste inside the text and you will get the clipping mask text sample that you were looking for!
Using clipping masks is an easy way to add some creativity and flare to your InDesign projects. The key is selecting the objects in the right order – text frame first, then shape. Give it a try on your next design!
Bonus Tips – Steps to Create Clipping Mask with a Group of Shapes
The basic clipping mask method involves masking text or images with a single vector shape. But you can also use multiple shapes together to create a more complex clipping effect.
Here’s how to clip text using a group of shapes in InDesign:
1. Draw the Shapes
First, create all the shapes, lines, or objects you want to include in the mask. Any type of shape can be used here. So, draw whatever you want.
2. Group the Objects
Select the shapes and go to Object > Paths > Make compound path to combine them into one grouped object. This lets you use the group as one unified clipping path.
3. Apply the Clipping Mask
With the group selected, choose the picture, insert it in InDesign, and then press Ctrl +X to cut. Now, select the frame of the shapes, right-click, and then click on Paste into.
With a little practice, using grouped shapes for InDesign clipping masks becomes quick and intuitive. Masking text with complex shapes opens up many more possibilities for your layouts!
So in summary:
- Draw shapes
- Group shapes together
- Select shapes then group
- Make clipping mask
This gives you the flexibility to leverage multiple shapes for original masks on InDesign text frames. Expand your designs with clipped text!
Wrapping Up
And that wraps up the key steps for creating clipping masks on text in InDesign! As you can see, it’s a really useful feature for cropping text and adding visual interest to your designs. With just a text frame, a vector shape, and the Make Clipping Mask command, you can mask text into all kinds of cool shapes. I hope these tips give you some inspiration for your next InDesign project. Clipping masks let you easily take text and images in creative new directions. Thanks for reading! I hope you feel more confident working with InDesign’s clipping mask tools. Let me know if you have any other questions as you experiment with clipped text in your designs.