Creating a firecracker clipping path in Photoshop can add excitement and energy to your images. With some clever selection techniques and layer blending, you can make it look like fireworks are exploding out of any subject.
Today, I’ll walk you through two easy methods for making realistic-looking firecracker clipping paths using Photoshop’s Pen Tool and Quick Selection Tool. Whether you want to create fun holiday cards, explosive sports photos, or patriotic July 4th images, learning to clip firecracker paths is a valuable Photoshop skill.

How to Do Firecracker Clipping Path in Photoshop?
There are a couple of different ways to create a firecracker clipping path effect in Photoshop. Let’s look at two of the most popular techniques: the Pen Tool and the Quick Selection Tool.
Method 1 – Using Pen Tool
The Pen Tool allows you to draw very precise paths and shapes. Here are the steps to create a firecracker clipping path with the Pen Tool:
Step 1: Open Firecracker Image in Photoshop
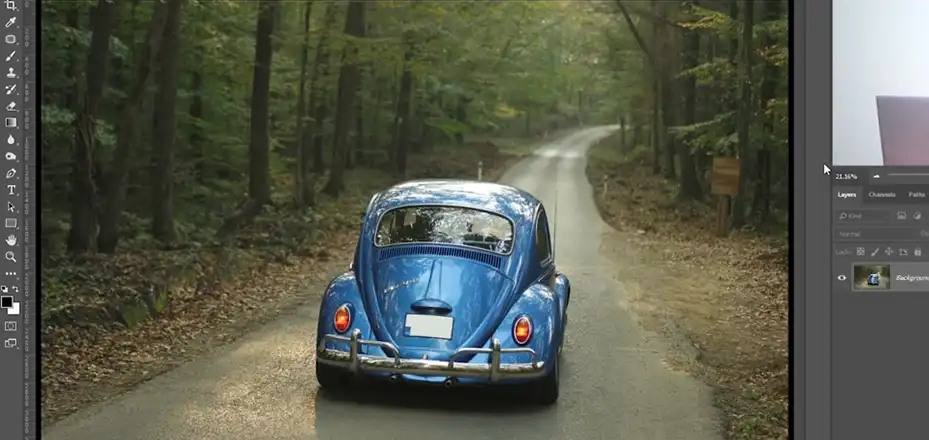
Open the firecracker photo in Photoshop. Make sure the background layer is unlocked or flatten the image if needed.
Step 2: Zoom In
Use the Zoom tool to zoom in close on the edges of the firecracker. Getting a closeup view will help you create a more accurate path.
Step 3: Make Path with Pen Tool
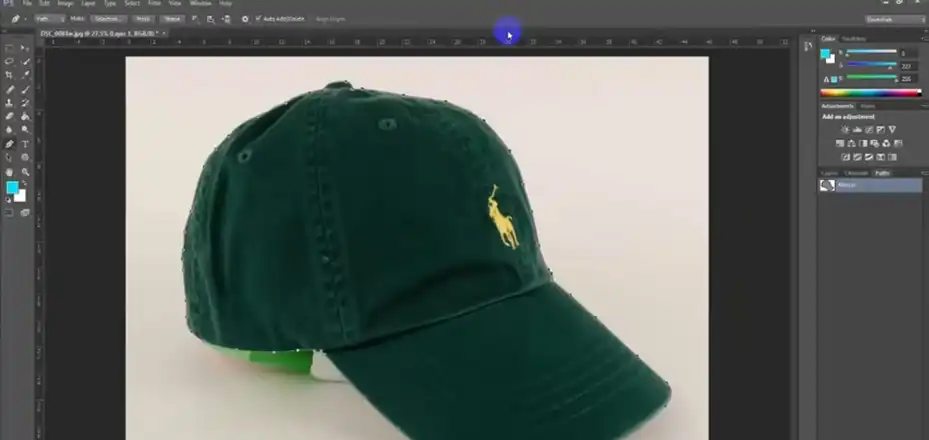
Select the Pen tool from the toolbar. Carefully trace around the edges of the firecracker using anchor points to outline the shape. Click to add anchor points and drag to create curves.
Aim for using fewer points with smooth curves instead of many jagged points. Zoom in on tricky areas to plot precise paths.
Step 4: Complete the Path
Once your path outlines the entire firecracker shape, click the starting anchor point to complete the path. Right-click the path in the Paths panel and select Make Selection. Or you can select selection from the top menu bar.
Step 5: Refine Selection
Use the Refine Edge dialog to fine-tune the selection. Adjust the Feather values to 0 to soften the edges. Shift the edge in or out as needed to capture fine details.
Step 6: Create a New Layer
With the firecracker selected, add a new Layer to hide the background. Click on Layer > Layer via cut or press Ctrl + shift + j.
Step 7: Change Background
Now select the firecracker layer in the Layers panel. Click the Adjustment Layer icon and choose Solid Color to add a new background color.
Choose a bold color that complements the image. Click OK to apply it and save your clipped firecracker.
With practice, you can create amazingly complex and realistic firecracker shapes using the Pen Tool. It takes precision and patience but delivers brilliant results.
Pros: Utmost precision, ideal for complex shapes.
Cons: Requires steady hands and practice, less forgiving for mistakes.
Method 2 – Using the Quick Selection Tool
The Quick Selection Tool provides a faster, more organic way to make your firecracker clipping paths. Here is a simple workflow with this method:
- Open your base image and add a new layer – As with the Pen Tool method, you’ll need the photo you want the fireworks on as your bottom layer. Make a new layer above it for the clipping path.
- Select the Quick Selection Tool – You can press W to select this tool quickly. Make sure “New Selection” is chosen in the options bar.
- Roughly paint over the areas you want to be selected – With this brush-like tool, paint zig-zaggy strokes outward from a center point, mimicking exploding fireworks.
- Adjust the selection as needed – Use Shift to add to the selection and Alt to subtract from it. Get it as close as you can to the firecracker shapes you want.
- Refine the edges – Switch to Select and Mask (right-click the selection) and use the Refine Edge brush to clean up the edges. You can do the same thing while selecting the quick selection tool. At the top bar, you will find the Enhance Edge option, just select it, and the edges will be refined by itself.
- Add Layer mask – Once you are done with reigning the edges, now click on Add a layer mask which can be found at the bottom right panel. And then you will be able to obsolete the firecracker portion from that picture.
The Quick Selection Tool gives you much more creative freedom when designing your fireworks paths. You can work faster and more intuitively to craft the perfect fiery shapes.
Pros: Faster and easier, suitable for simpler shapes.
Cons: Less precise than the Pen Tool, and might require more manual adjustments.
Remember: Both methods have their merits. Experiment to find the workflow that best suits your comfort level and desired outcome.
Bonus Tips – Simple Yet Effective Ways to Add Firecrackers or Fireworks in Photoshop
Beyond basic clipping paths, there are a couple of easy ways to add firecrackers or fireworks to your Photoshop projects:
Brush Tools
Utilize Photoshop’s built-in brush library or download custom firework brushes to paint amazingly realistic explosions and smoke trails onto your designs. With the right brushes, you can create incredibly convincing firework effects by simply “painting” them directly onto a layer.
Stock Images
Search leading stock photo sites like Adobe Stock, Shutterstock, iStock, Getty Images, etc for high-quality fireworks images. With the right licenses, you can download a huge variety of fireworks photos and seamlessly composite them into your Photoshop projects for photorealistic results. Stock sites offer fireworks in all shapes, sizes, angles, and arrangements.
With dynamic brushes or real stock images at your fingertips, adding eye-catching yet believable firecrackers or fireworks to your designs becomes quick and easy. Give one of these simple techniques a try for a big “wow” factor in your next Photoshop project!
Conclusion
I hope this guide provided some helpful techniques for mastering firecracker clipping paths in Photoshop. Whether you prefer the precision of the Pen Tool or the organic quality of the Quick Selection Tool, clipping your own paths gives you lots of creative control. It’s also convenient and lightweight compared to using complex smart objects or pixel layers. With a few bursts and glow effects, you can easily transform any photo into a celebration!

