Do images with messy or unwanted stuff in the background bug you? If you want nice, clean designs for your cutting machine or printing projects, you need to remove those annoying backgrounds.
If you are looking for the easiest software that allows you to remove the background with ease then Silhouette Studion is one of them. It has handy tools that can trace around the edges of your images. With just a few clicks, you can remove backgrounds, even from very detailed pictures. This article will show you how to take away backgrounds using Silhouette Studio. You’ll be able to create perfect cut files and printed designs that really show off your creative skills. Say goodbye to cluttered backgrounds and hello to polished, professional looks.

Ways to Remove Background in Silhouette Studio
Silhouette Studio offers the easiest way to remove the background. You will get a lot of options for removing the background and here I have shared all of them. Choose whichever you find easy and convenient for you! Let’s find out how to remove the background!
1. Remove the Background Using the Trace Panel
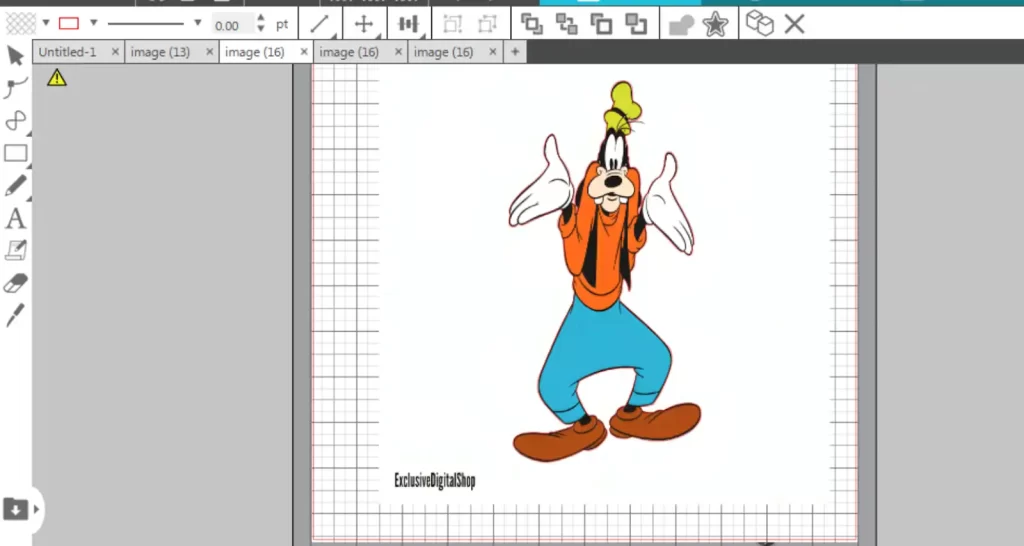
When you open an image in Silhouette Studio, you will often notice a white background behind the subject of your picture. It is essential to remove this background before printing as the software cannot always identify the background, which results in an overlapping or design mishap.
The steps for removing the white background are:
- Open the image in Silhouette Studio
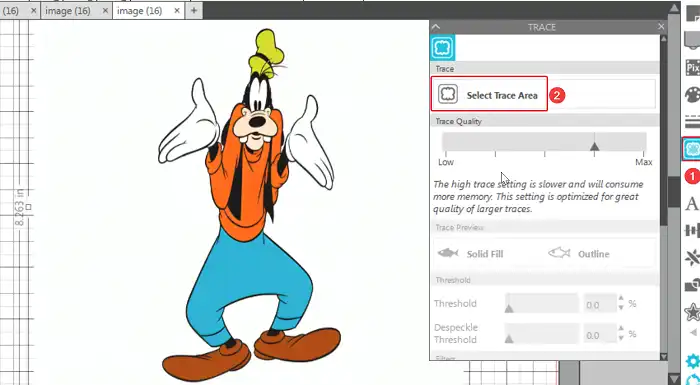
- At the right toolbar, click on Trace Panel, and click on Select Trace Area.
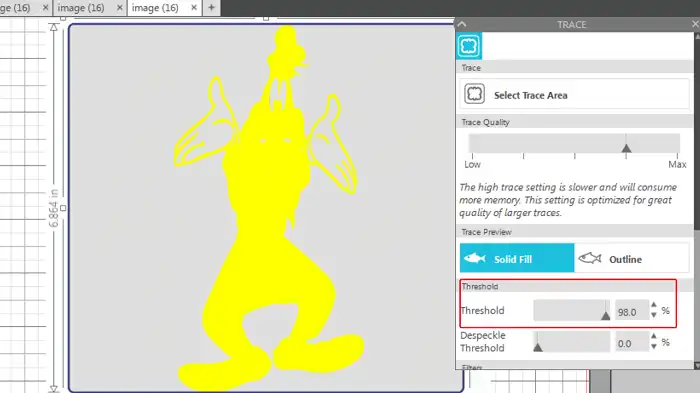
- After selecting the picture, look for the Threshold option in the Trace Panel. Start increasing the threshold value until the entire object isn’t marked yellow.
- After that, click on trace and detach, then move the subject away.
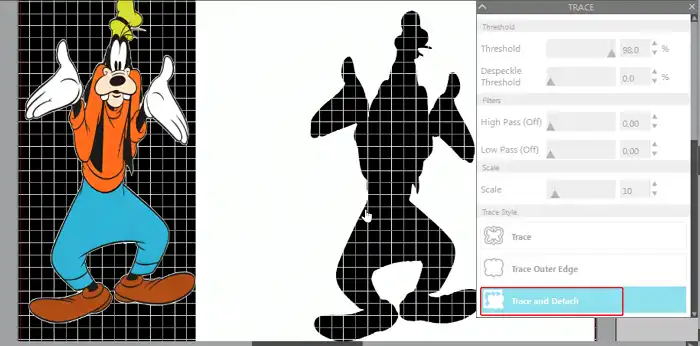
- The transparent background is now removed.
If you own Designer Edition then you will get another option in the Trace Panel named Magnet Trace. With the help of this tool, you can also remove the background. In this case, you will just need to draw curved lines around the object in the picture and then take out the object by clicking on the Trace and Detach option!
2. Remove the Background Using the Line Tools
In the Silhouette Studio, you can use the Line tools to remove the background or separate the object from any background easily. The steps are quite easy. Here are the steps you will need to follow –
- Open the picture in Silhouette studio. After that click on Line Tools > Choose Curve shape.
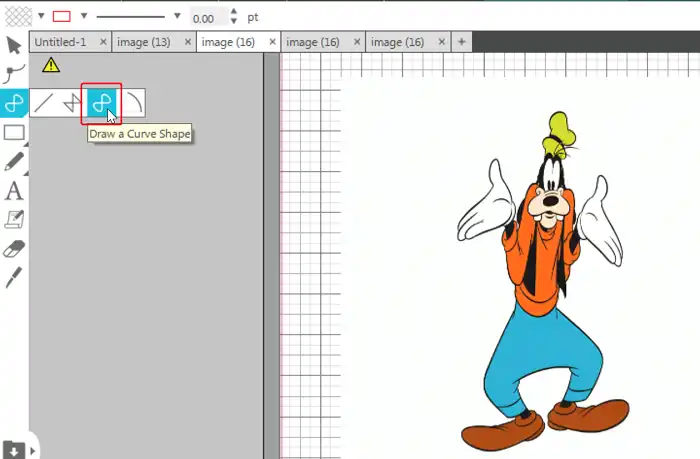
- Now, start drawing curved lines around the object that you want to separate.
- Now, press Ctrl + A to select the cut line and the picture. After that, click on Modify Tool at the right toolbar and click on Crop.

The area you have outlined will be cropped from the main picture, providing you with an erased background.
3. Remove Background Using Edit Points
This method is quite the same as the previous one, however, there are some differences. Here are the steps you will need to follow –
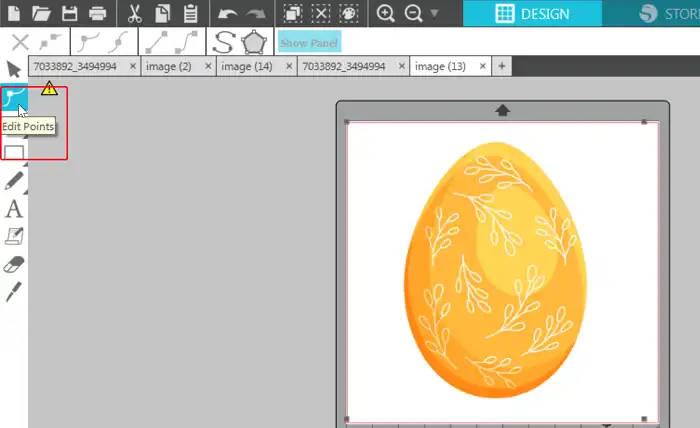
- Open the picture and click on Edit Points.
- After that, start squeezing the area to isolate the object. You can use different types of point options to make the work easier for you.
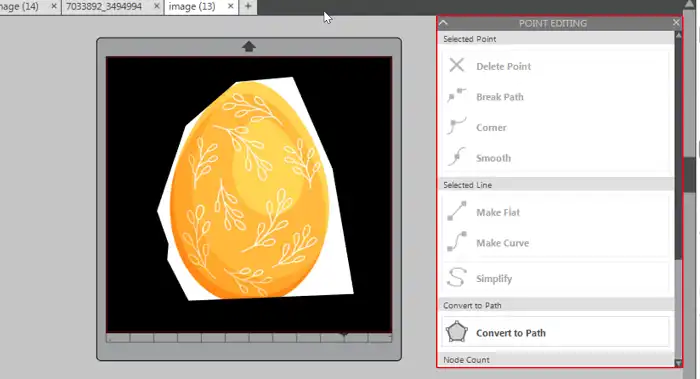
- Mark the object properly. If you want to edit any line, just click on the line to create an intersect point.

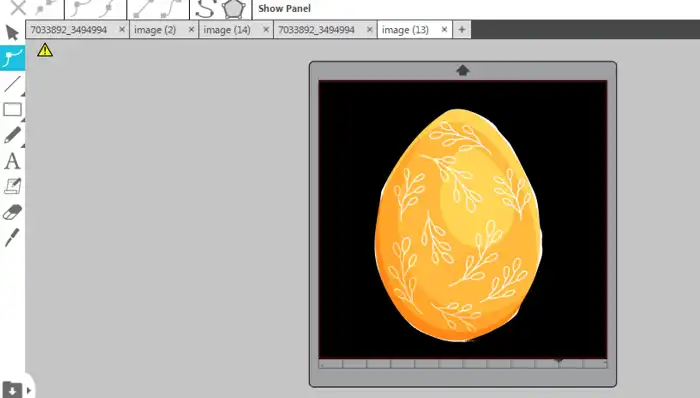
- When you are done with marking around the object, then you will get something like this. In simple words, the object will be isolated from the background! Simply save the picture and you are good to go!
Final Words
The methods discussed above on how to remove background in Silhouette Studio are simple and can be done within seconds. However, you need to practice it more often to get the perfect precision. Besides, you can try all the methods and get comfortable with one that gives you the desired result.
Do you want a professional photo background removal service? Clippingfly would be your best choice. Just check out our background removal service for more information.