How often do you find a good photograph of yourself but the background just kills it? Whether for social media or business, sometimes the background of an image can badly affect the appeal.
With Photoshop, removing the background from a photo has never been easier. Just a few tools and tricks here and there will give you a new and attractive background in photos.
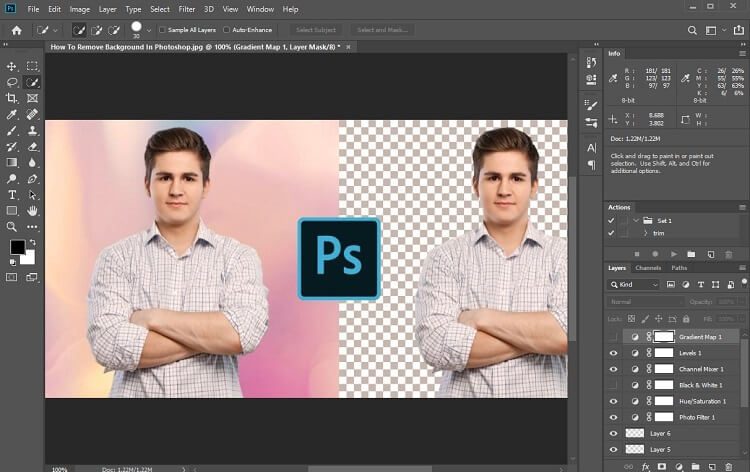
Join me in this guide where I walk you through on how to remove background in photoshop. You’ll learn 4 different methods along with tips to remove the background of an image using Adobe Photoshop.
Do you want a professional photo background removal service? Clippingfly would be your best choice. Just check out our background removal service for more information.
Is Photoshop Good For Background Removal?
Photoshop has certainly evolved over the years, and fortunately now it offers more than one process to remove background from an image. Background removal is always a valuable part of photoshop, mainly due to the increase of product photography and social media influence.
But how good is it?
The truth is, Photoshop is a great way of removing the background from a photo and it is quite easy as well if you know the tricks. Most professional photo editors prefer using Photoshop for it’s vast range of useful functions too.
However, just removing or replacing the background will not do the trick. You will have to take care of a few things such as the edges, color combination, corrections, and many more. Unlike other background remover apps, Photoshop helps with that as well. So, Photoshop is the complete package you can ask for good background removal.
How To Remove Background In Photoshop?

Let us discuss 4 ways on how to remove background in photoshop.
1. Object Selection Tool
The object selection tool is a smart tool in Photoshop and honestly, it makes our work much easier. Follow these steps to get your job done in a few minutes.
- Choose the photo you want to remove the background from and open it in Photoshop.
- Select the object selection tool and click on the object you want to select. The selected object will turn blue.
- Press ‘shift’ on your keyboard and continue selecting all the objects you want to keep intact in the photograph.
- After marking all the objects you want to keep, select inverse and this will mark the background of the photo as selected and exclude the marked objects.
- Unlock the image if you want to remove the existing background and make it transparent.
- Take the eraser tool of Photoshop and remove the background. You will end up with an image with a transparent background and the objects you selected at the beginning will remain in place.
- You can now save it as PNG or keep editing for advance enhancement.
2. Photoshop Pen Tool
The use of pen tools in Photoshop to remove backgrounds in probably the oldest and most effective method. Let us take a look at how this tool works.

- Open the image you want to work on in Photoshop and create a duplicate layer of it.
- Click on the ‘eye’ icon on the original layer to hide it.
- Find the pen tool on the toolbox and select.
- Zoom in on the object you want to keep in the photo and outline it properly.
- Complete outlining the subject and meet the line with the starting point.
- Once you are done, you will have to save the outline by clicking on path.
- Open the path you have just saved and select it using the Mark Selection option.
- Choose inverse to select the background excluding the subject and click on delete. This will delete the existing background and replace it with a white one.
Tips: If you want to make a curved line during the outlining process, simply click, hold, and drag the line along with the subject and move the mouse accordingly to get a curved line.
3. Photoshop Quick Action
Quick action, as the name suggests, is a fast way of removing the background. However, the problem is that it is not 100 percent accurate all the time. The steps of photoshop quick action are:
- Open the image and create a duplicate layer.
- Click on the eye icon to turn the original layer off.
- Open the properties window on Photoshop and click quick actions.
- Select delete background from the available options and your work is done.
- You will end up with a transparent background around the subject of your picture.
- Make the necessary changes or fix the fine edges around the subject as required.
4. Background Eraser Tool
Lastly, we will talk about the background eraser tool of photoshop. The best part about this tool is that it is manual and pretty efficient in comparison to the other options.
- Open the image and create a duplicate layer of the photo.
- Turn off the original layer by clicking the eye icon.
- Click on the background eraser tool and choose the brush icon.
- Set the opacity of the brush at the highest setting and the size of the brush according to your comfort.
- After adjusting the brush, adjust the tolerance in the ‘find edges’ option to make the work easier for you.
- Start removing the background with the help of the tool around the subject.
- Once you have removed the area surrounding the subject, increase the size of the brush and remove the remaining background.
Final Words
Removing the background from a photo using Photoshop isn’t hard but tricky. I think now you have grasped the methods of how to remove background in Photoshop in different ways. You have to use the tools properly and practice regularly to get fine precision.
If you do not want to do this by yourself, you can also use a professional Photoshop Background Removal Service to get a perfect finish.