As a digital artist, resizing images is a crucial task, and PaintTool SAI provides a straightforward way to do it. Whether you need to resize for printing, web use, or any other purpose, having the right image dimensions is essential.
In this guide, I’ll walk you through the simple steps to resize an image in PaintTool SAI. This popular software may be known for its advanced illustration tools, but resizing is a basic function that every artist should master. Stay tuned as I break it down into an easy-to-follow process, perfect for beginners and seasoned artists alike.
Methods for Resizing an Image in PaintTool SAI
If you want to resize image without losing quality on PaintTool SAI, then you must follow appropriate guidance. Since there are multiple ways to perform image resizing, make sure you apply the best one.
Here we’ll show you two different ways to resize your image on PaintTool SAI, have a look:
1. Resize the Picture by Using Change Size Feature
Like other professional photo editing apps, PaintTool SAI also came up with a specific tool to perform image resizing. PaintTool SAI will let you perform image resizing with the Change Size option, and here we’ll show you how to do so.
Step 1: Open the Image
First, open the image you want to edit. Then go to the layer option from the left side and make the layer invisible by clicking the eye of the layer.
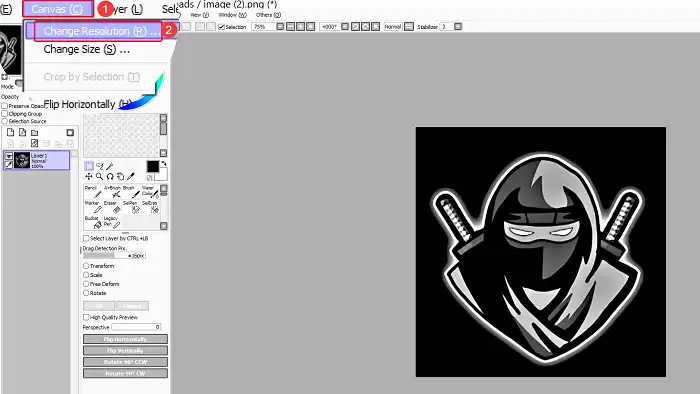
Step 2: Go to the Canvas (C)
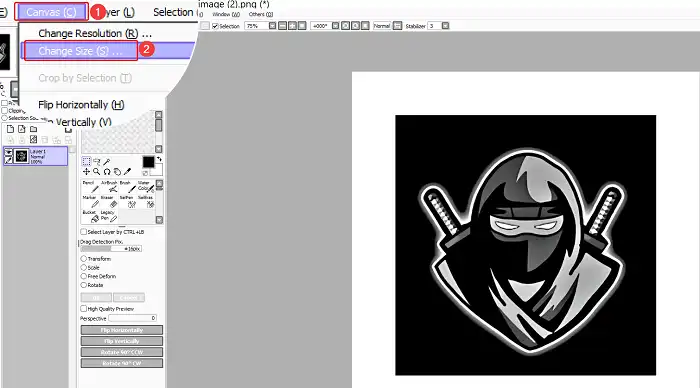
In the second step, go to the Canvas option from the top editing tools and then select Change Size.
Step 3: Put Your Desired Height and Width Length
Now put your width and height size on the pop-up window and click OK.
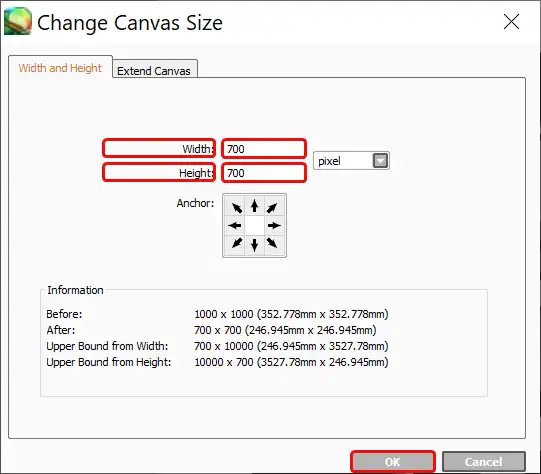
After that, the picture will be resized according to the new pixel size. In the picture, you can see that the previous size was 1000 X 1000 pixels, and the new one is 700 X 700!
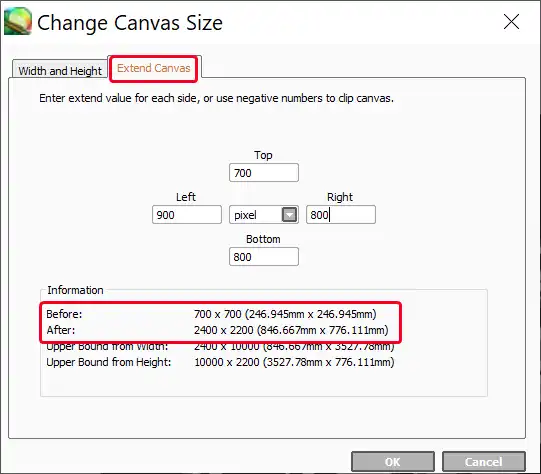
However, if you want to provide different pixel sizes in different directions, then it can be possible as well! In the Change Canvas Size window, click on Extend Canvas. There you can add different Pixel values for the top, bottom, left, and right sides!
2. By Using the Change Resolution (R) Feature
After resizing your image, sometimes the resizing option can decrease the image quality or resolution, resulting in a lousy look. There is an option in PaintTool SAI which will let you do both image resizing and increase the resolution. You can do it with the Change Resolution option and check the below section to learn it.
First Step: Open the Image
Open the picture you want to edit or increase resolution.
Step Two: Select the Canvas Option
Now select the Canvas (C) option from the upper menu bar. And then click on Change Resolution (R).
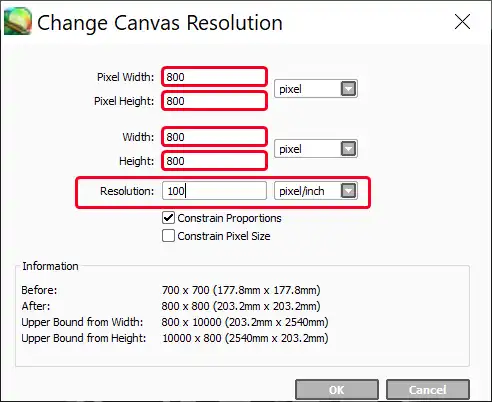
Step Three: Make a Change For Resolution
Here, you’ll see a lot of options and change Pixel width and height to your preference for resolution.
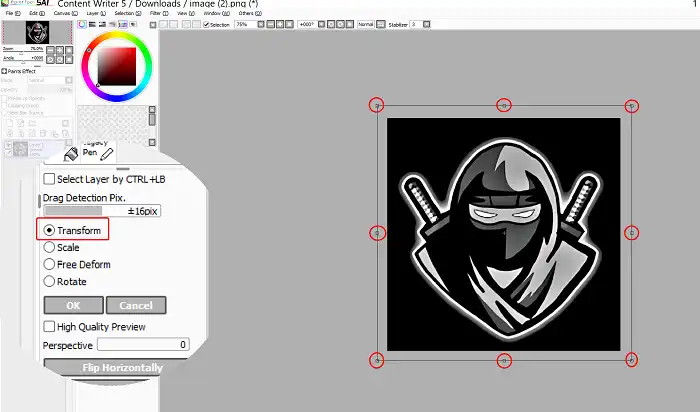
3. Resize an Image by Using the Transform Tool
In Pain Tool Sai, you can resize an image without following the two aforementioned methods! With the help of the Transform tool, you can resize a picture by dragging the picture! Interesting, right? Here are the steps you need to follow.
- After opening the picture in Pain Tool Sai, press Ctrl + T to open the Transform Tool.
- Once the Transform tool is activated, now you will able to resize the image from every side of it!
- Keep dragging the image until it comes up with your desired size. Once you’re done, press enter.
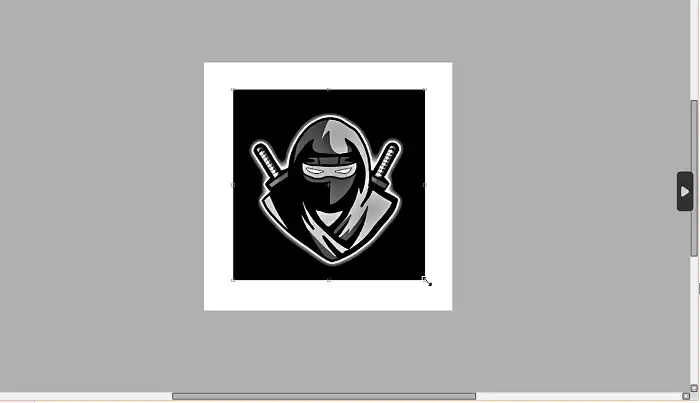
- When you get the preferred size, save the picture, and then you are good to go!
See how easy it is. You can resize any image or your artwork on PaintTool SAI through this option. Remember to hold the shift button while dragging the image and never drag the transform box with the sides.
Conclusion
Unlike a bunch of art programs, PaintTool SAI offers useful features and functions that allow performing artwork effortlessly. This tool also comes with an easy interface system so that anybody can be able to use it without any confusion.
When you’re performing any artwork in PaintTool SAI, you may need to resize your work and even the entire image. And since you know how to resize an image in the PaintTool SAI, you can easily perform image size modification activities. Alongside modifying the size, now you also know how to increase the resolution as well.