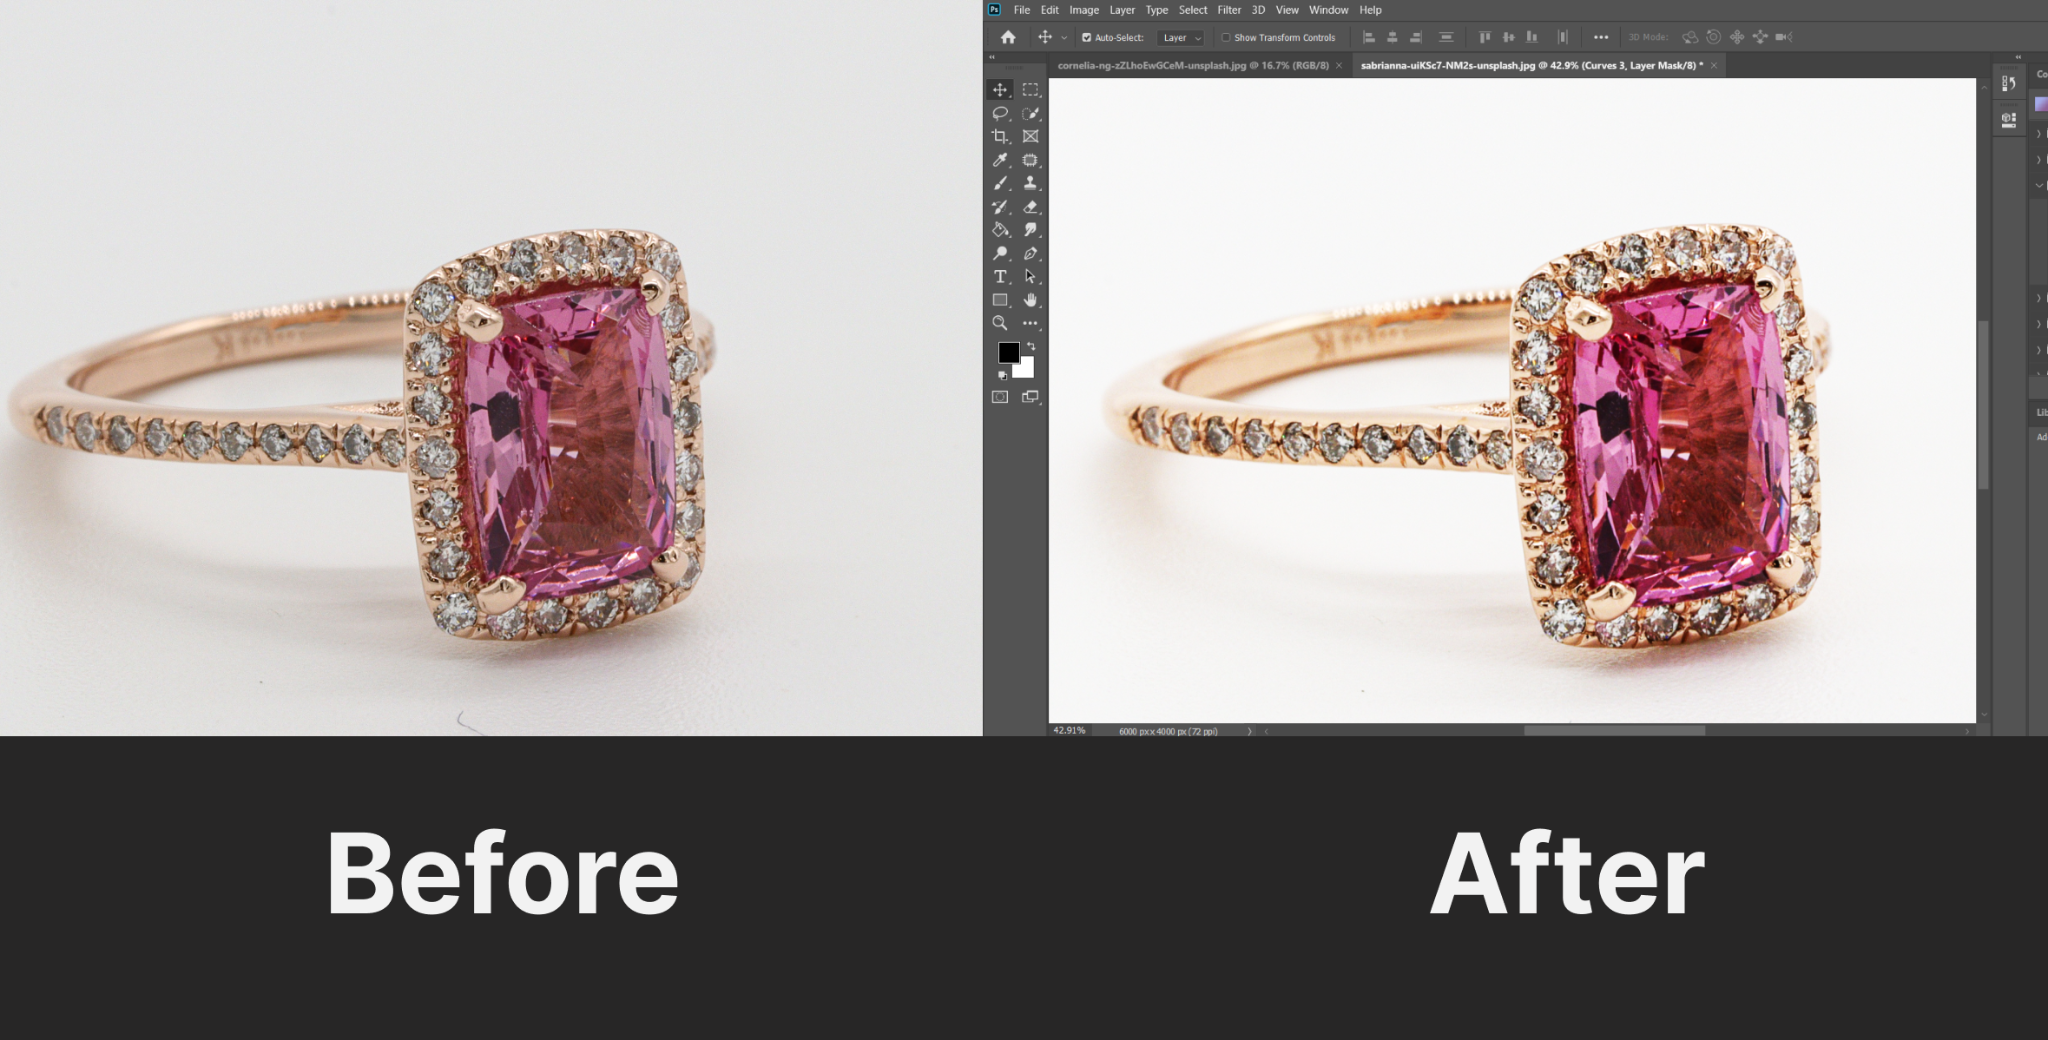
If you have an online jewelry business or something similar, you will need good product images to showcase your collection. But if you can’t get a good jewelry retouching services for the products, don’t worry.
In this article, we are going to show you how to edit jewelry photos in photoshop, even if you’re not a professional. You’ll only need a PC or laptop with Photoshop CC installed on it.
Editing jewelry photos in photoshop will make your products more appealing. You will get a better engagement if you present your products with a better look.
Check this article to know more about editing jewelry photos.
What Photoshop Tools Do I Need For Editing Jewelry Photos?
This depends on what type of editing you require. However, there are some common photoshop tools required for editing jewelry photos. Including the tools, you will need to use the adjustment options as well to make the pictures pop.
Check out the list of the most useful tool and adjustments you may need to use while editing your jewelry photos on Photoshop –
- Spot Healing Tool: Spot healing tool is a common photoshop tool that removes any spot with just a single touch. This is available in the left toolbar. Select this tool and click on any spot you want to remove from the picture.
- Sharpen Tool: Sharpen tool is used to make the image clearer. If you have a jewelry image with stones, using the sharpen tool will enhance the visibility of the stones and will make them pop.
- Brightness/Contrast: This is an adjustment tool available on photoshop. To get a quick fix of the image brightness, you may try this adjustment available on the right bar of the application.
- Background Removal: The latest versions of photoshop have a built-in background removal feature. This will save you from manually removing the background from the image subject.
These are the most common tools used for editing jewelry photos. If you have a basic idea about these tools, you are ready to go. If not, then that’s why we’re here for!
Get the best image of your jewelry product and let’s make it more beautiful. For a good beautification, you will need to use lots of tools and adjustments. So, get an idea about the steps to edit jewelry photos on Photoshop in the section below.
How To Edit Jewelry Photos In Photoshop
There are so many ways to improve the visual of an image. Let’s start with the most basic one.
First, you need to find the part that needs to be improved in the photo. Is the brightness too low? Is there any unwanted objects in the background that should be removed? Observe the product image as closely as possible and make a list of edits it needs.
However, we’ll provide a basics step-by-step guideline below so the picture looks more enhanced overall.
Step-1: Import the Picture
To edit or retouch an image, you should import the image into Photoshop first.
Create a duplicate layer by pressing Ctrl+J on Windows and Command + J on Mac. Now, you need to observe the image and find what can be improved. You should try the adjustments to check what makes the image look better.
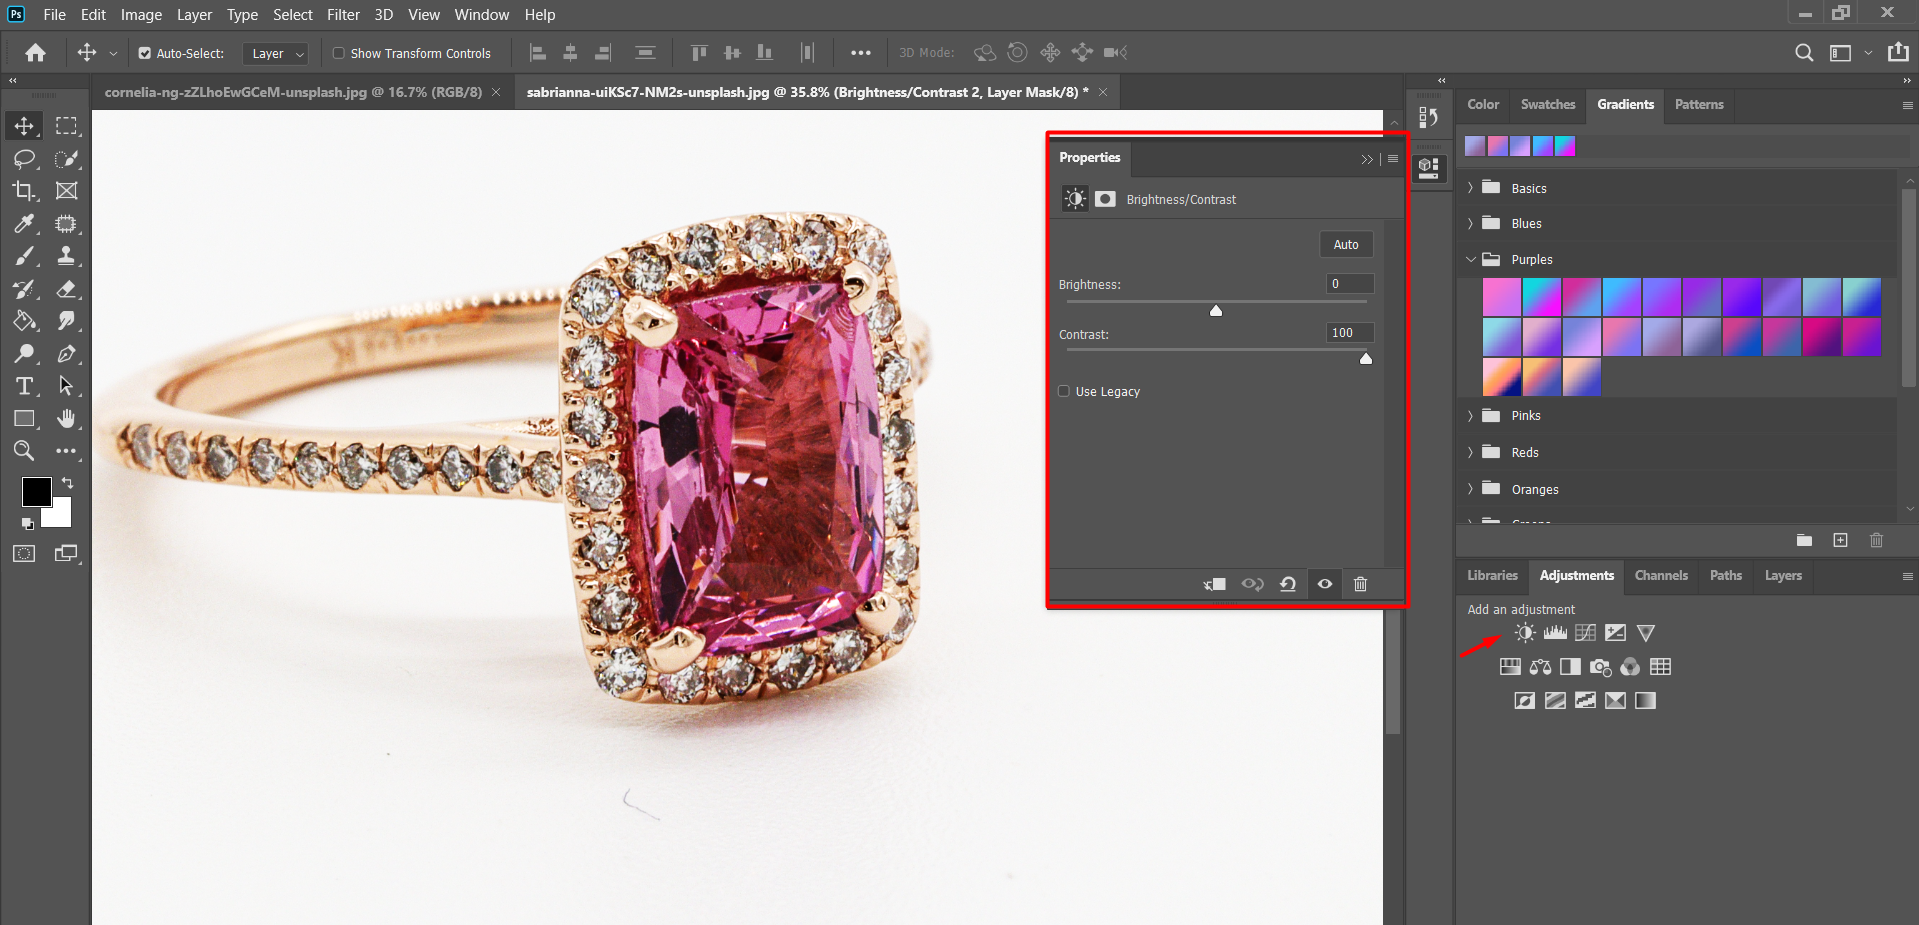
Step-2: Adjust Brightness/Contrast
This modification is done by changing only one value. Increasing the contrast may make the Jewelry look better. It should look more appealing and detailed than before.
So, how to increase the contrast of an image in Photoshop?
- Once you have imported the image into photoshop, look for the adjustment panel on the right sidebar.
- The first option in the adjustment panel is Brightness/Control.
- You will be able to change the contrast and brightness from here.
In this picture, changing the brightness won’t make it look better. Depending on your picture, adjust the values of Brightness and Contrast and check which looks better. For this Jewelry image, only the contrast value is changed. It was changed to 100 from 0.
This one is the most common and easiest photoshop for Jewelry photos in photoshop.
Note: If you’re not sure what tool you’re supposed to use, just place the mouse pointer on the tool icon. It’ll show you the name of tool you’re about to select.
Step-3: Background Removal
Background removal is another common photoshop method that is required for Jewelry photos. You can remove the existing background and add any background that matches the image. Sometimes, you may need a blank background to add product and company details.
Here’s how to remove the background of a Jewelry photo –
1. Auto Removal
- First of all, import the Jewelry image into Photoshop.
- Duplicate the layer by using Control + J[Windows] or Command + J [Mac]
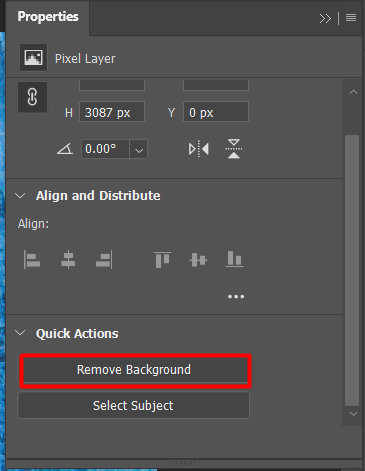
- Search for Properties from the Window option.
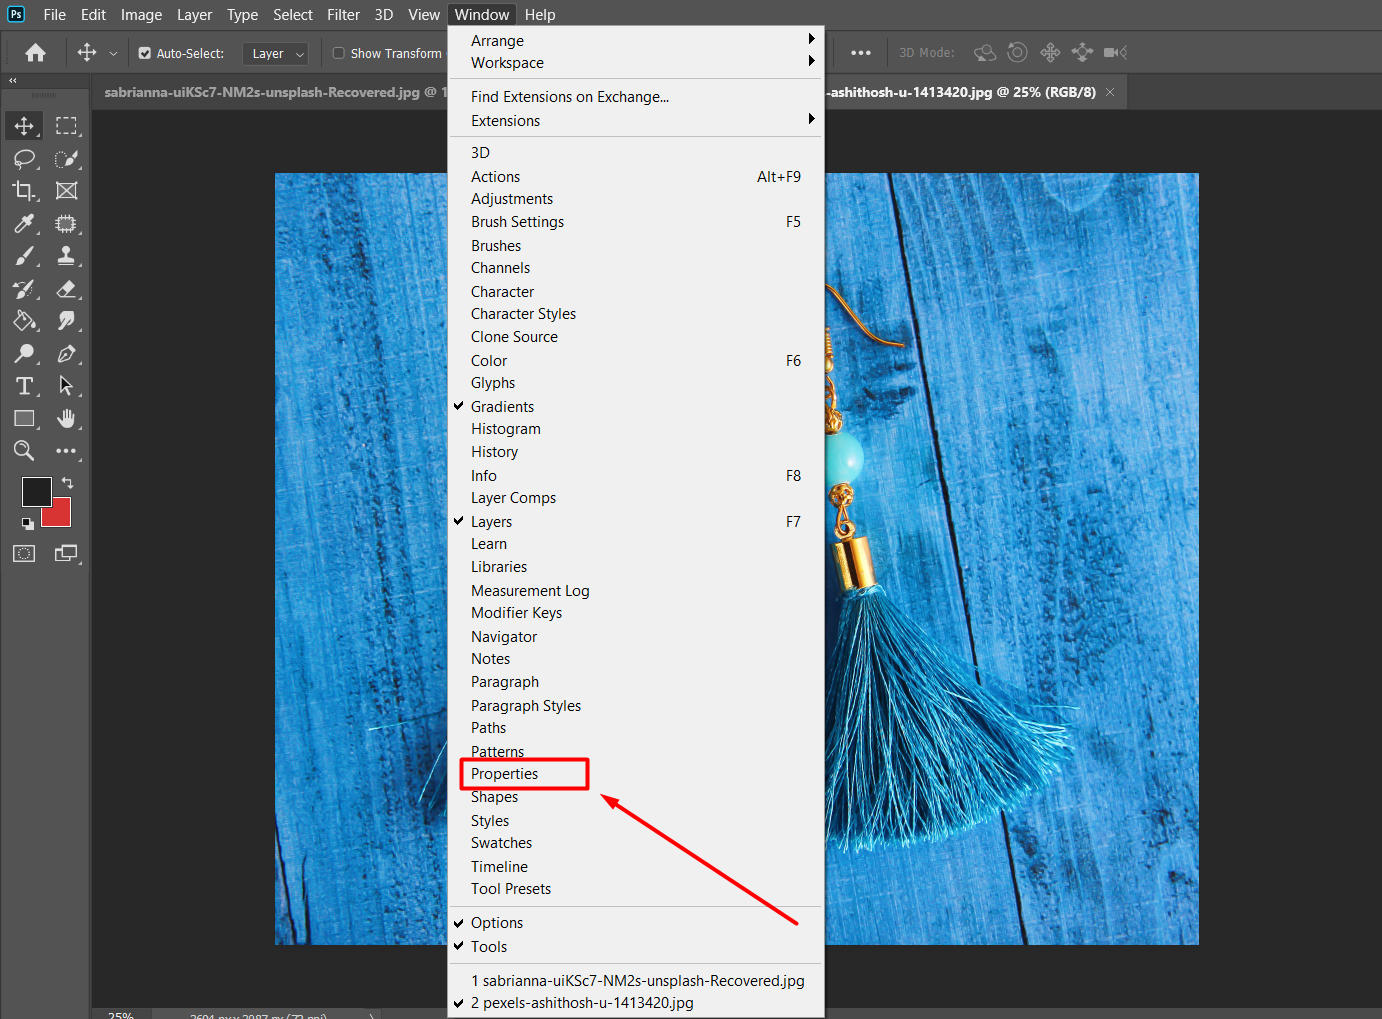
- Look for Quick Action and click on it.
- You will find the Background Removal option there.
As the application performs this action through AI, the background will be perfectly removed if it’s easy to detect. Otherwise, you need to manually select and remove the background.
2. Manual Removal
Check the manual process to remove the background from a Jewelry image below –
In this process, you need to select the Jewelry product manually.
- First, select the jewelry product.
- Go to Quick Action following the previous method and select ‘Select Subject’. Photoshop will try to cut out the subject but it may not be perfect.
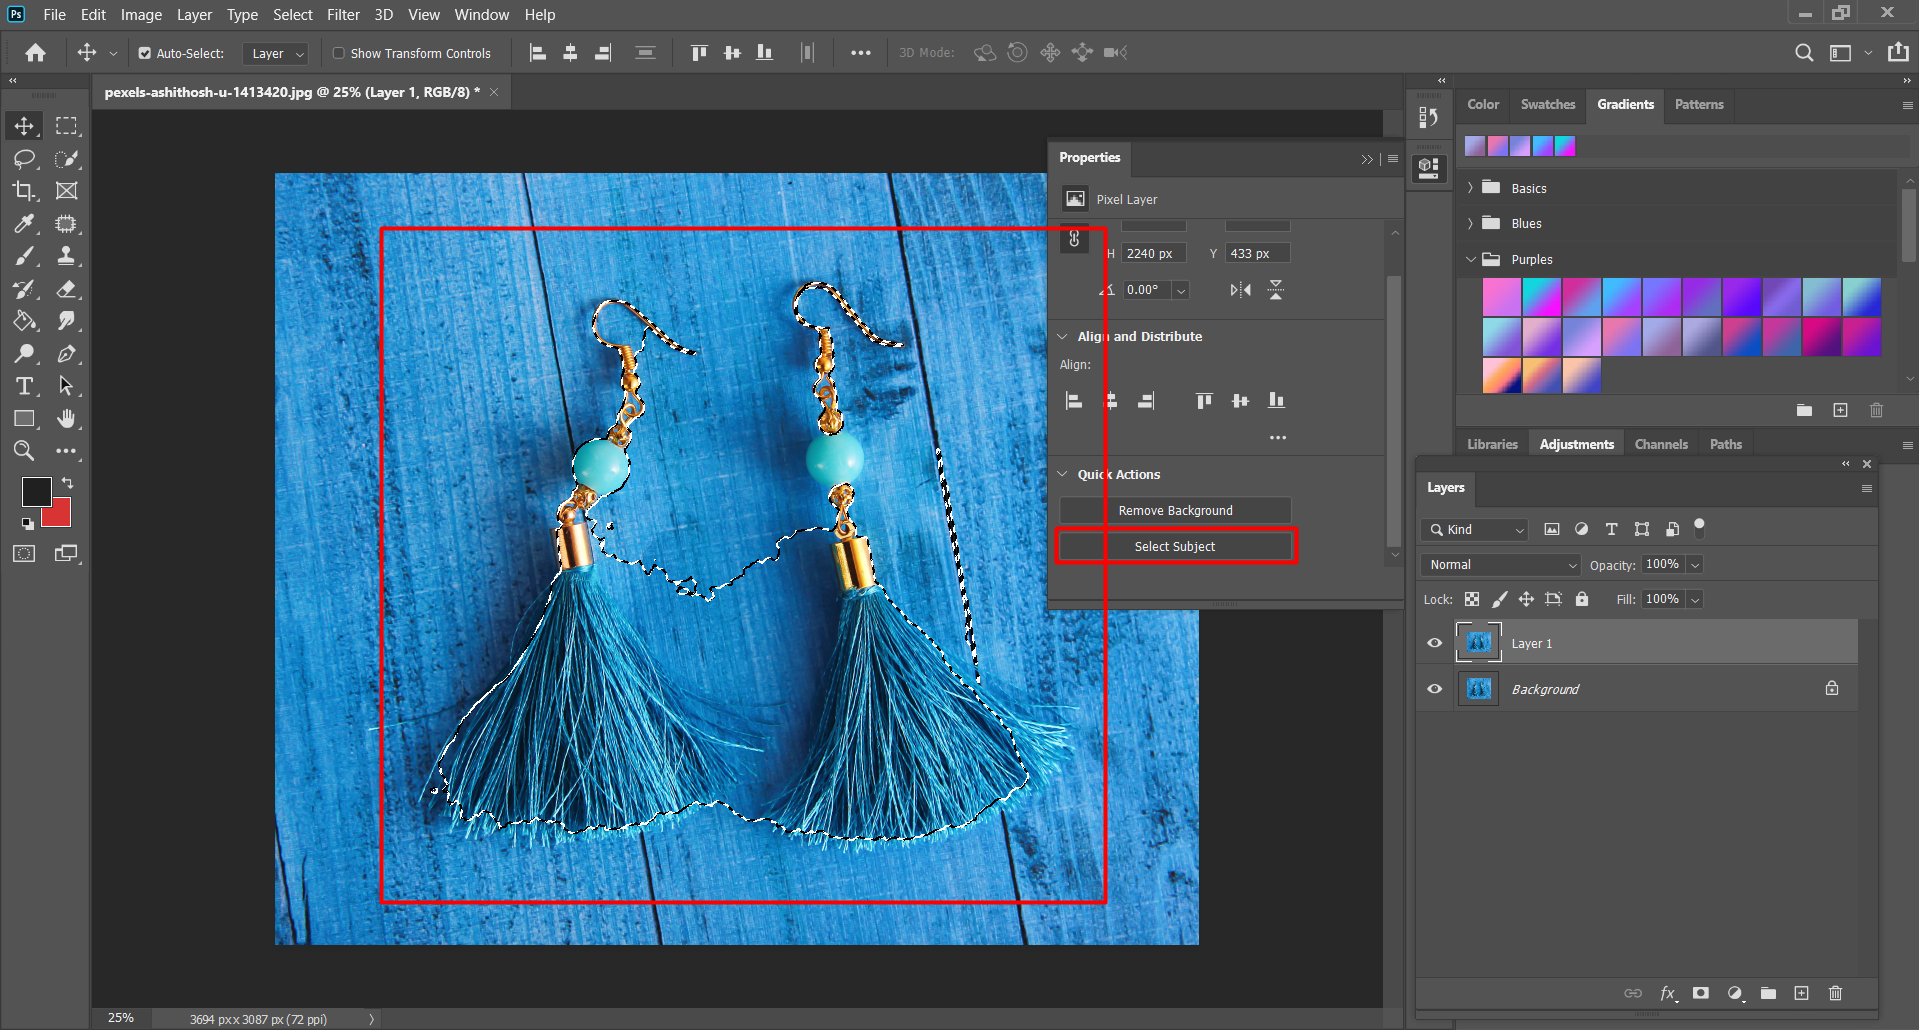
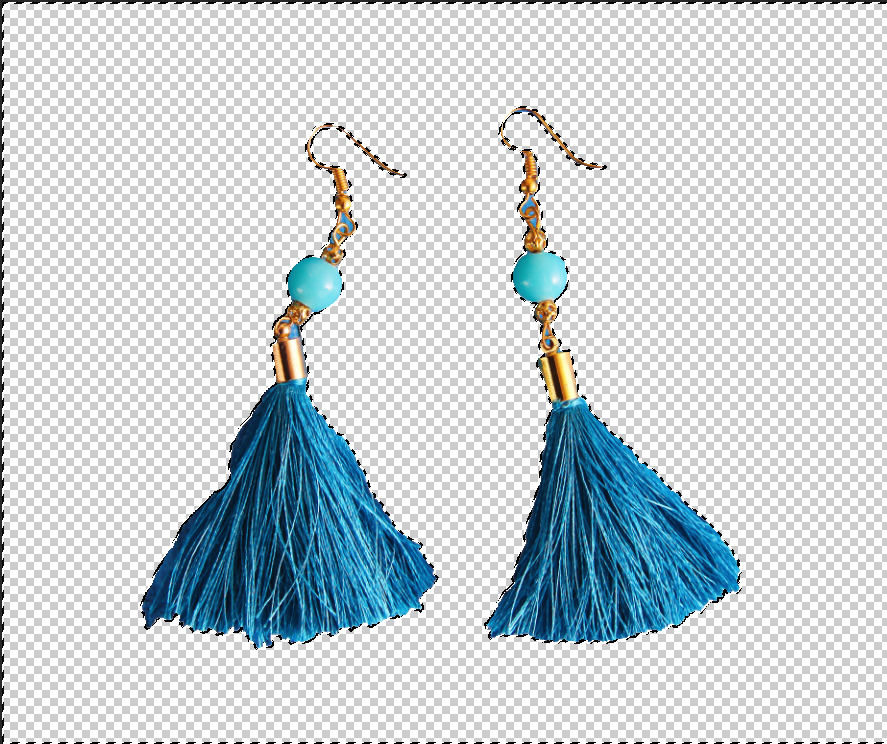
Check the picture. The jewelry isn’t properly selected by using the ‘Select Subject’ option. You won’t be able to remove the background by using this selection. So, you need to get the complete selection of that object.

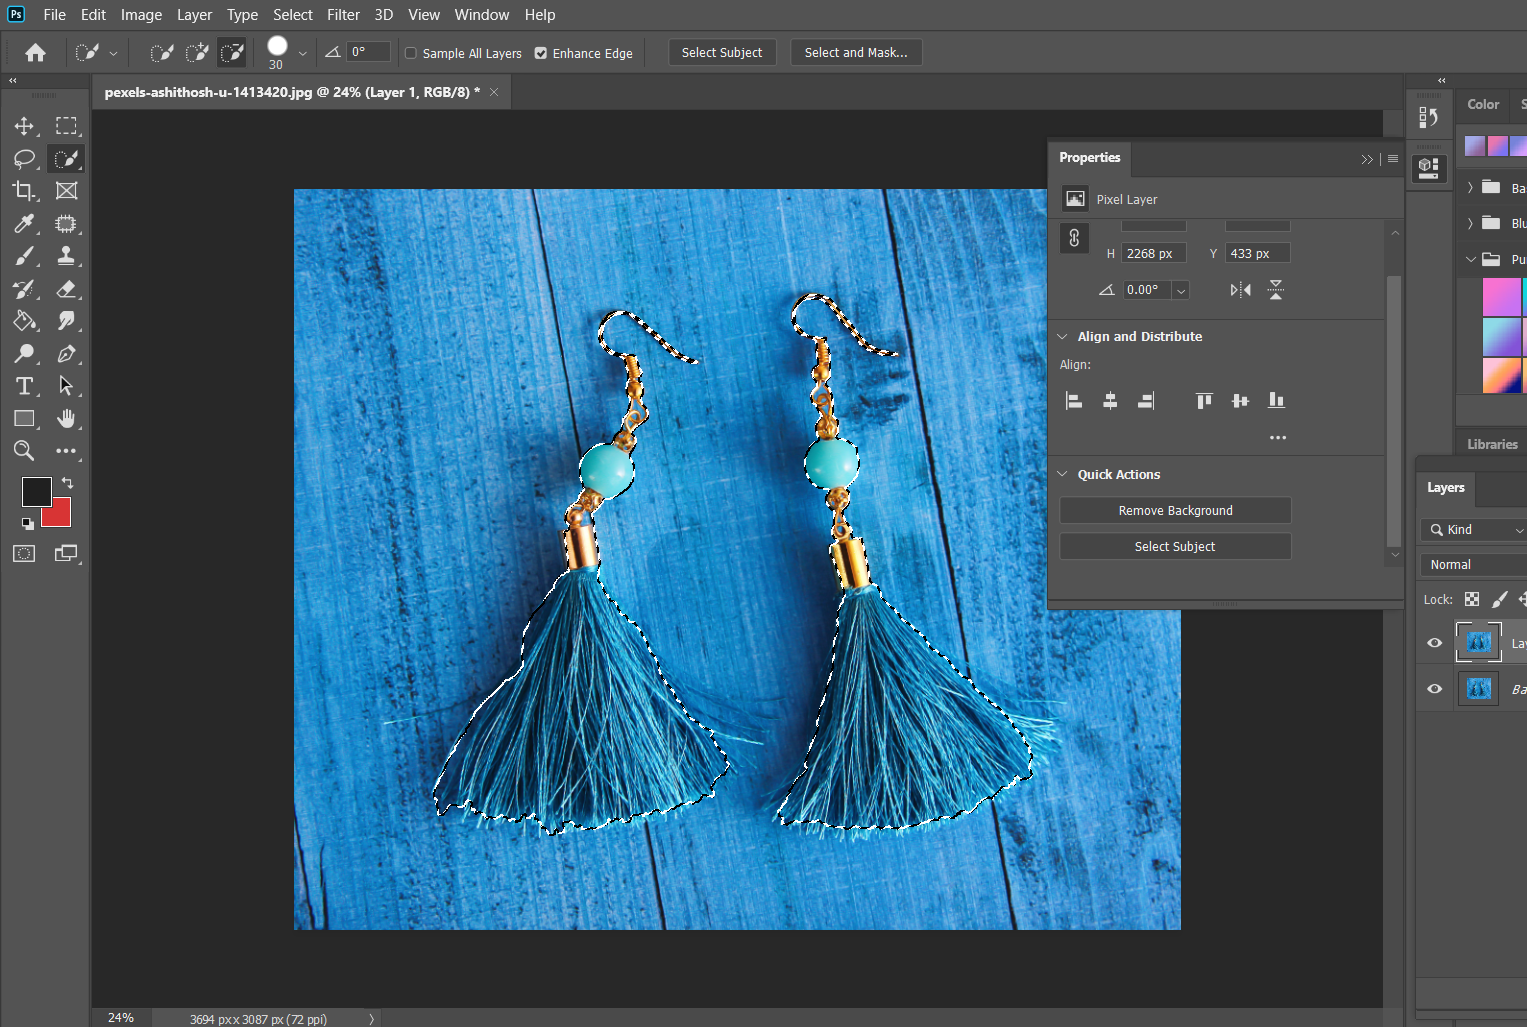
To get the perfect selection of the jewelry, use the Quick Selection Tool and adjust the selection by using the Add to Selection or Subtract from Selection option.
Here, we completed the selection of the jewelry. Now, we can remove the background by inverting the selection. To invert the selection press Ctrl+Shift+I. Now, select ‘Delete’ to remove the background.
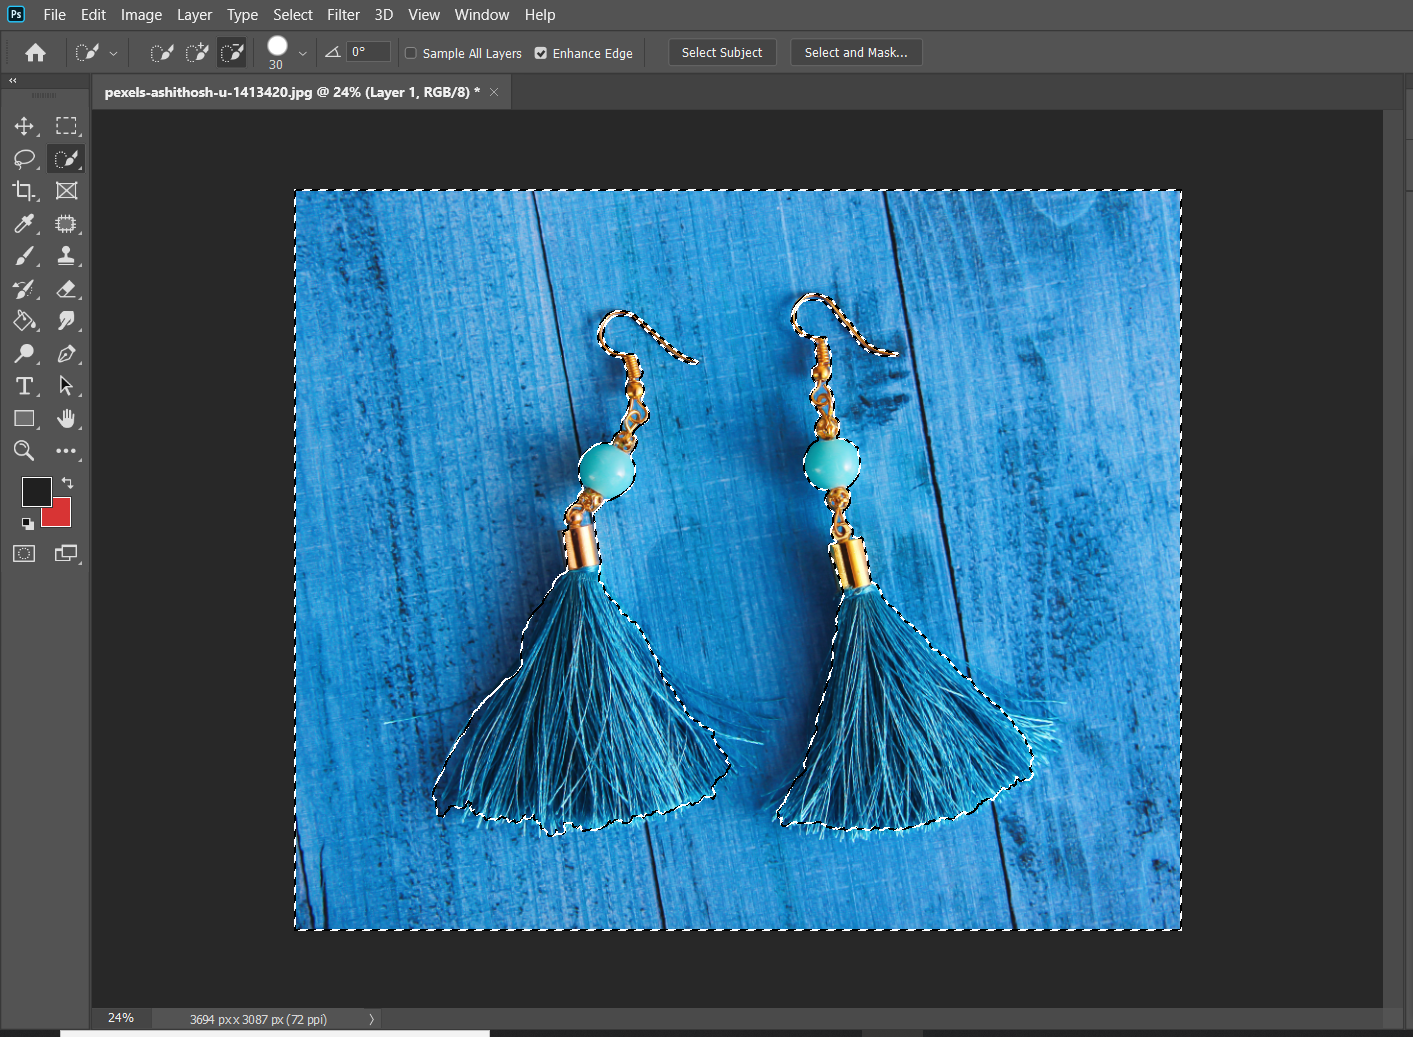
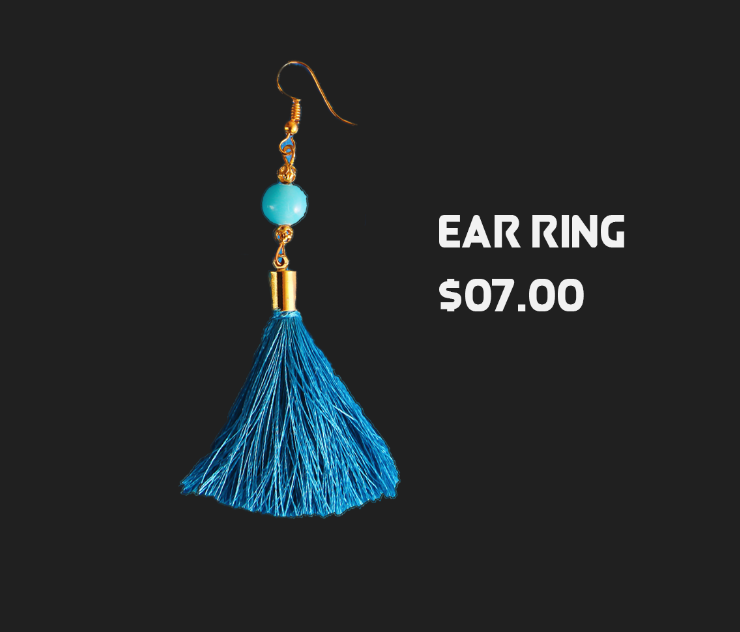
The final output may not be as expected but you will be able to present your jewelry to social sites or others.
Step-4: Add More Detail
Let’s have a look at another jewelry photoshop tutorial. So, how to add more detail to your jewelry image?
This can be done by using the default ‘Sharpen’ feature. To enhance the detail of your image, import the image in photoshop and select the filter option.
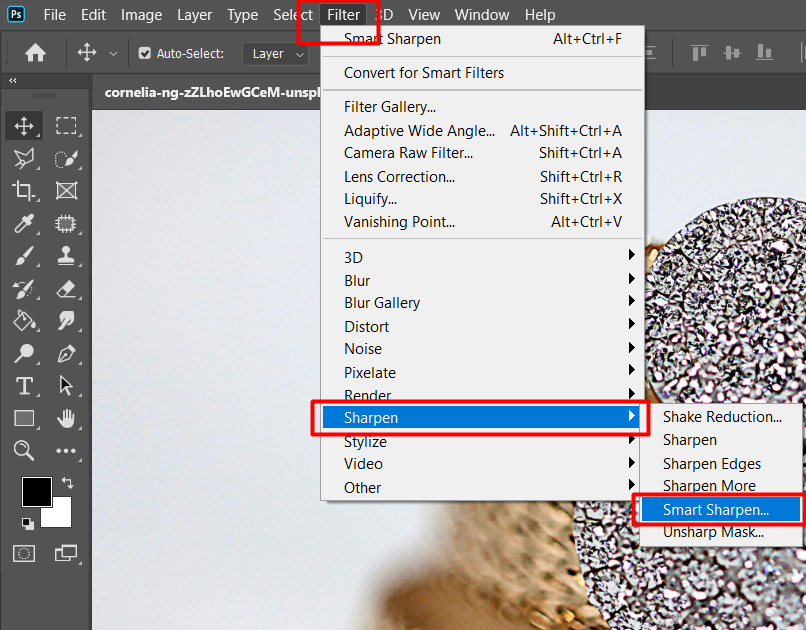
Now follow this directory- Filter > Sharpen > Smart Sharpen.
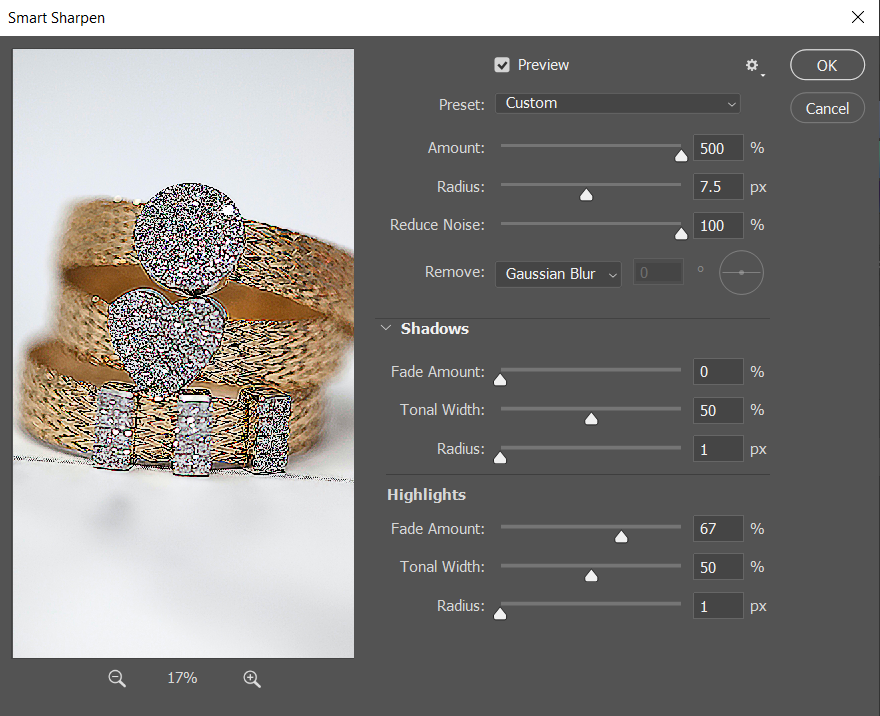
Adjust the values and check the changes. Changing the Amount and Radius will sharpen the image and will enhance the detail. This will help you to get a better jewelry image if you have a low-quality image of your product.
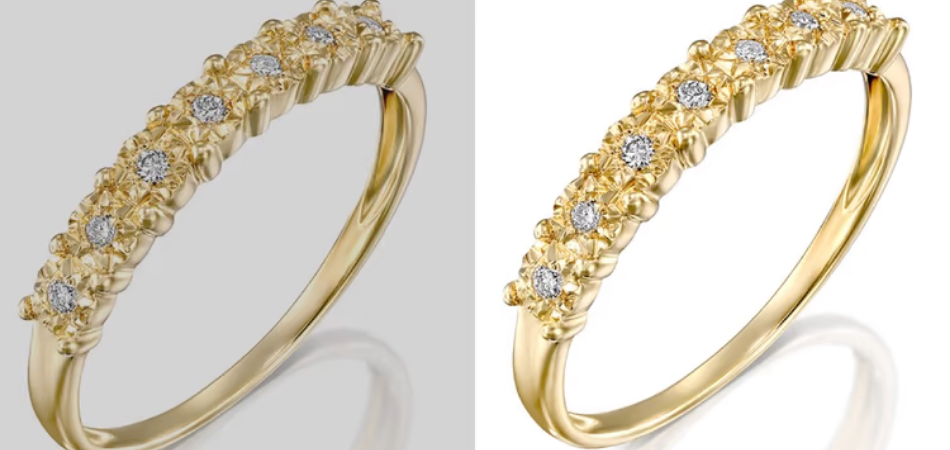
Step-5: Beautify Stones
Here comes another jewelry photo editing trick. As you know stones or diamonds are a common part of jewelry. If you beautify the stones, the jewelry will look more beautiful and appealing.
If the stone is not shining, it will look old and won’t attract users much. So, how do you beautify the stones of a Jewelry?
- Import the image and duplicate the layer using Control+J[windows] or Command+J[Mac].
- Select Sharpen Tool from the left toolbar.
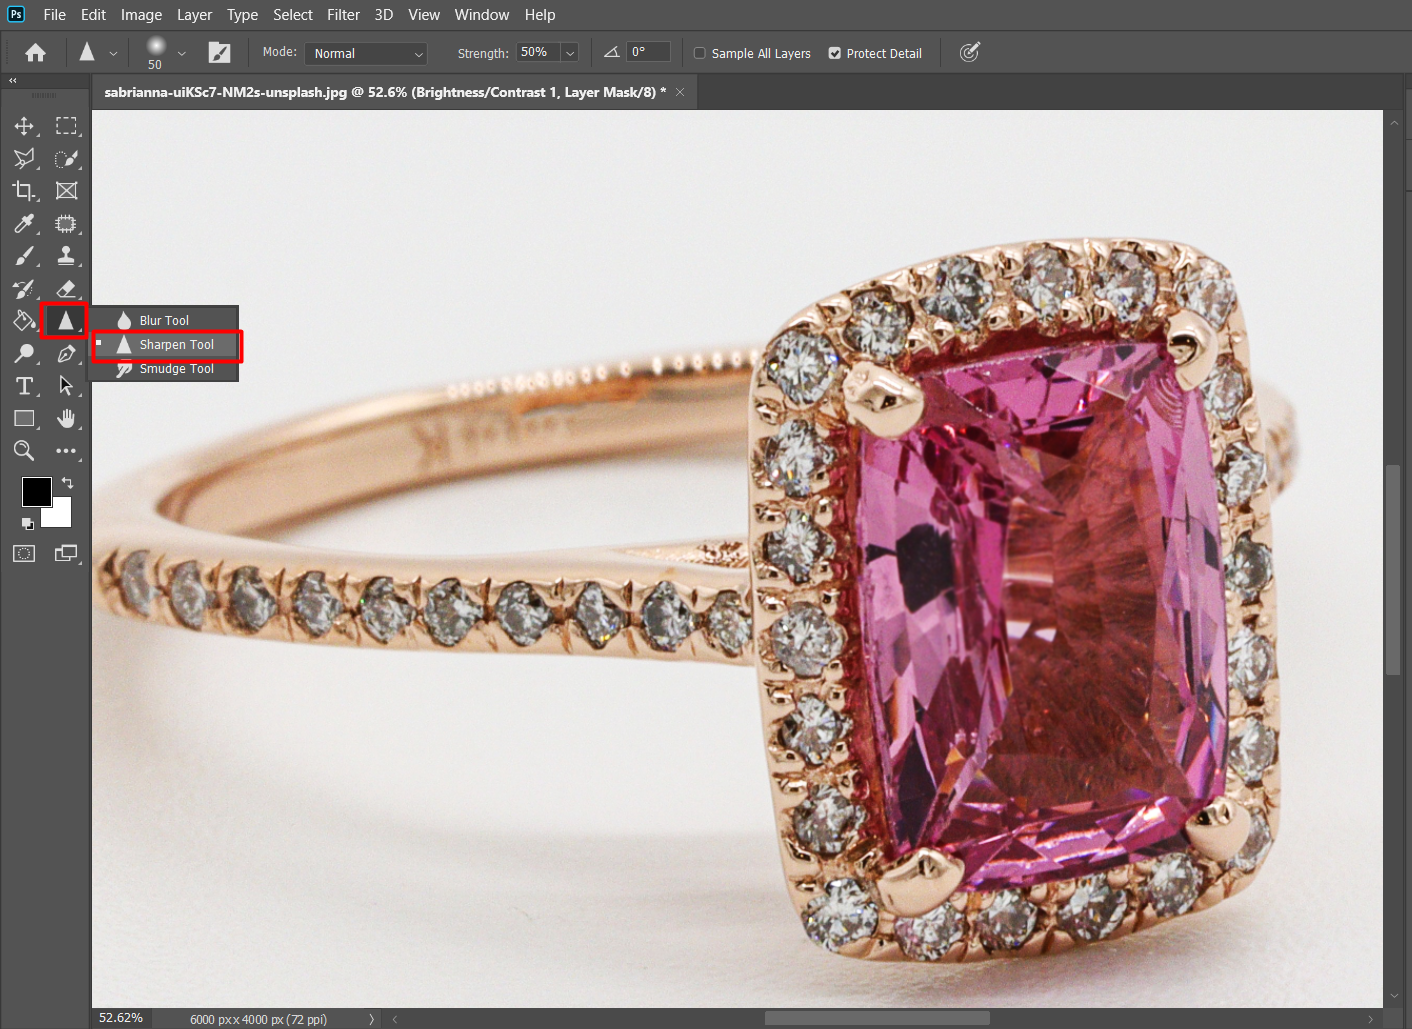
- Apply the Sharpen Brush to the stones of the image.
- Make sure you selected the layer of the image.
- Keep applying till you notice a shiny effect on the stones.

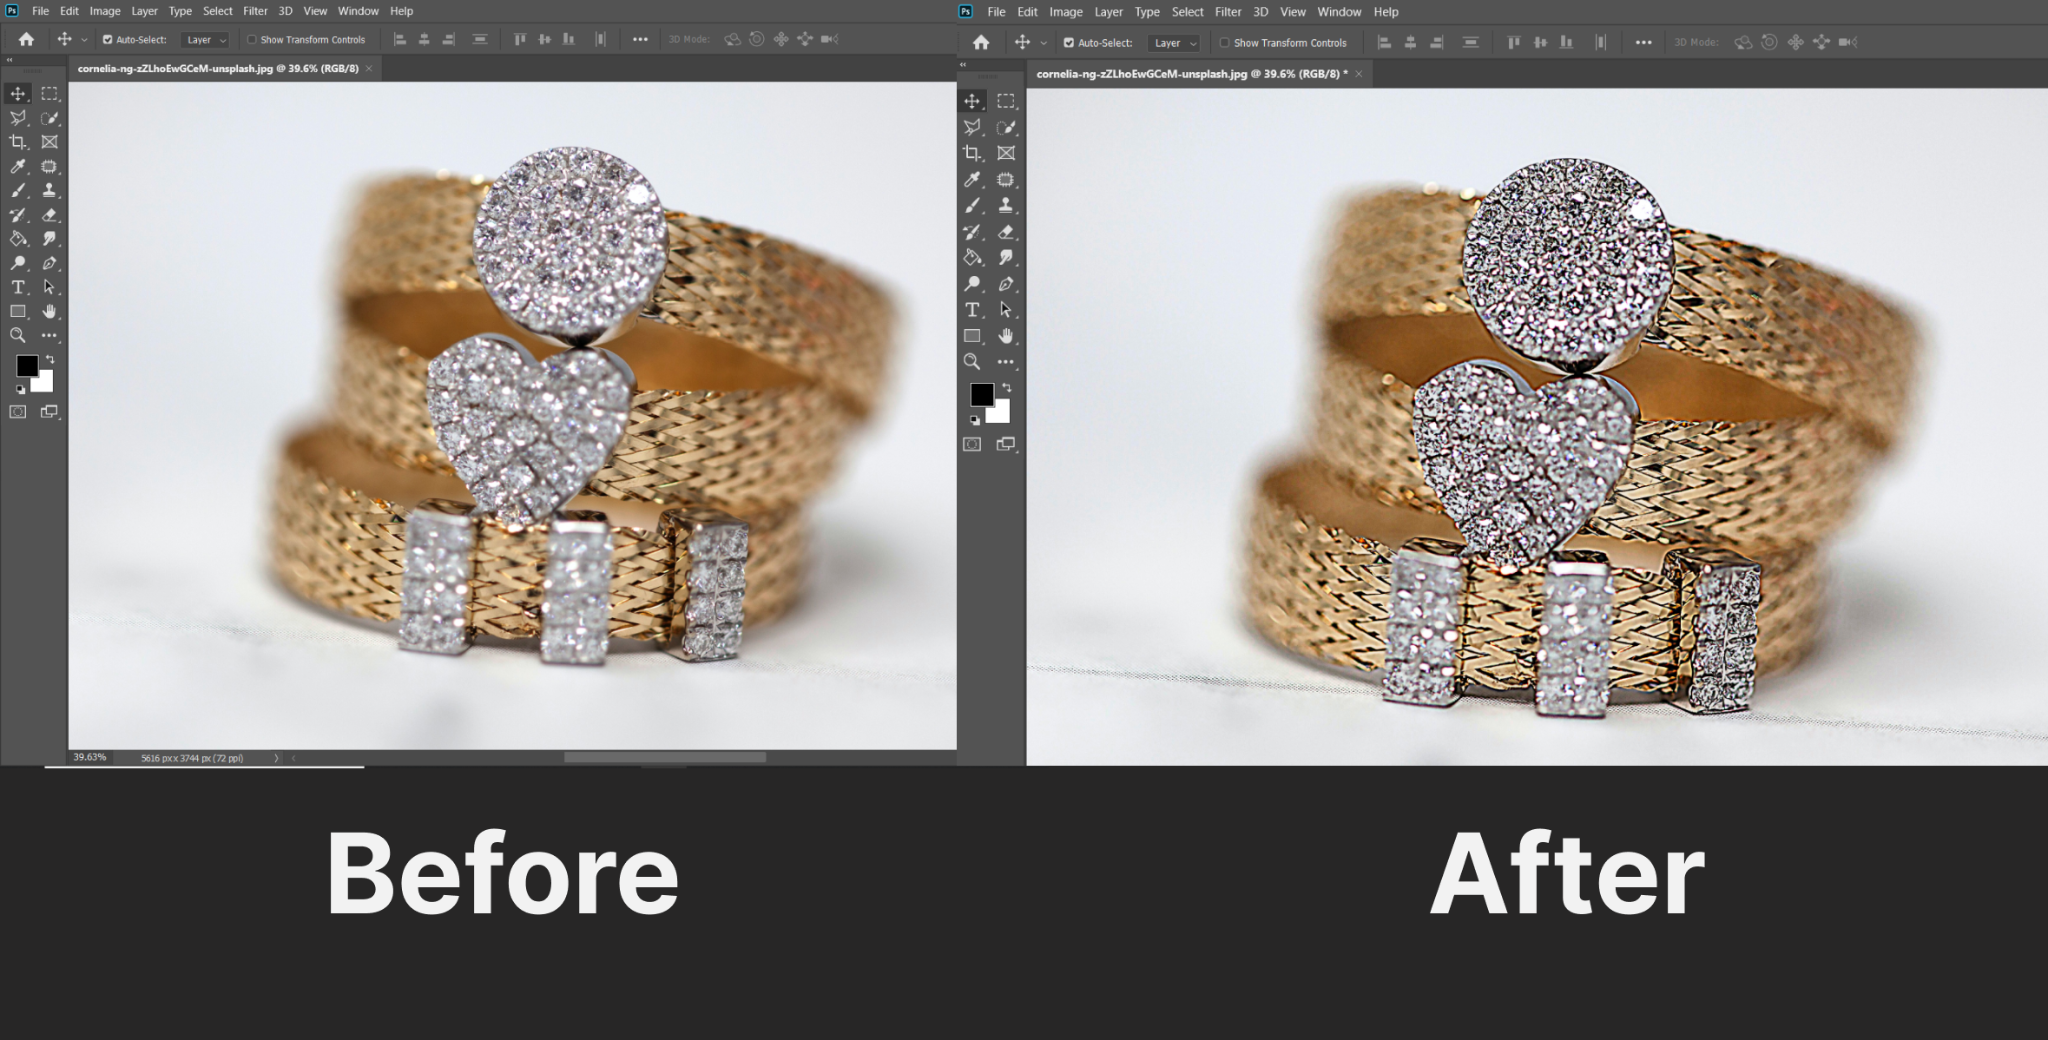
Check the difference between the stones in this image. The stones are looking fresher and better on the 2nd one. This is how you present your jewelry with a touch of photoshop.
Conclusion
Using Photoshop will get you high-end jewelry retouching. And the best part is, you don’t need any professional experience with the software to complete these photoshop actions.
Just follow the instructions we mentioned in this article and try to understand the changes happening in your image. To get the best output, keep practicing with different jewelry images.
One small piece of advice though, don’t change the image tone too much as it will make the jewelry look fake. Keep it simple and try to make it look more attractive to the users or audiences.
Do you need a professional jewelry photo editing service? Clippingfly would be the best option for you. Check out our service page for more info on jewelry retouching.